Some days, everyone is full of energy. Other days, not so much!
We were sailing in the Southern part of the bay when Maddie felt like taking a nap. This video was taken while sailing along at 7kn under Jib and Main off of Hoopers Island.
Some days, everyone is full of energy. Other days, not so much!
We were sailing in the Southern part of the bay when Maddie felt like taking a nap. This video was taken while sailing along at 7kn under Jib and Main off of Hoopers Island.
Part of cruising is dropping the hook when the days sailing comes to an end, but there are other times when anchoring becomes necessary.
Our go to anchor is a 20kg (44lbs) Bruce (claw style) anchor attached to 300' of all chain rode. We use a Simpson Lawrence Seatiger 555 windlass to help bring it up. It's a manual windlass that doesn't bring it up fast, and takes a lot of work to raise anchor, but it always brings it up!
The Bruce always comes up full of mud and shells as it digs deep into the soft Chesapeake mud. Even when current change the boats direction by 180*, and we swing all the way around, this anchor holds. There have been times when the mud was only on a side fluke, indicating that the anchor was laying on its side, and it still held well. Mind you that I let out an excessive amount of chain and use a nylon snubber to take the strain off of the windlass and roller. If there is any wind or current, I usually let out between 140' to 180' of chain in 20' of water. I know it's more than needed, but I can sleep deeply knowing that the anchor is secure.
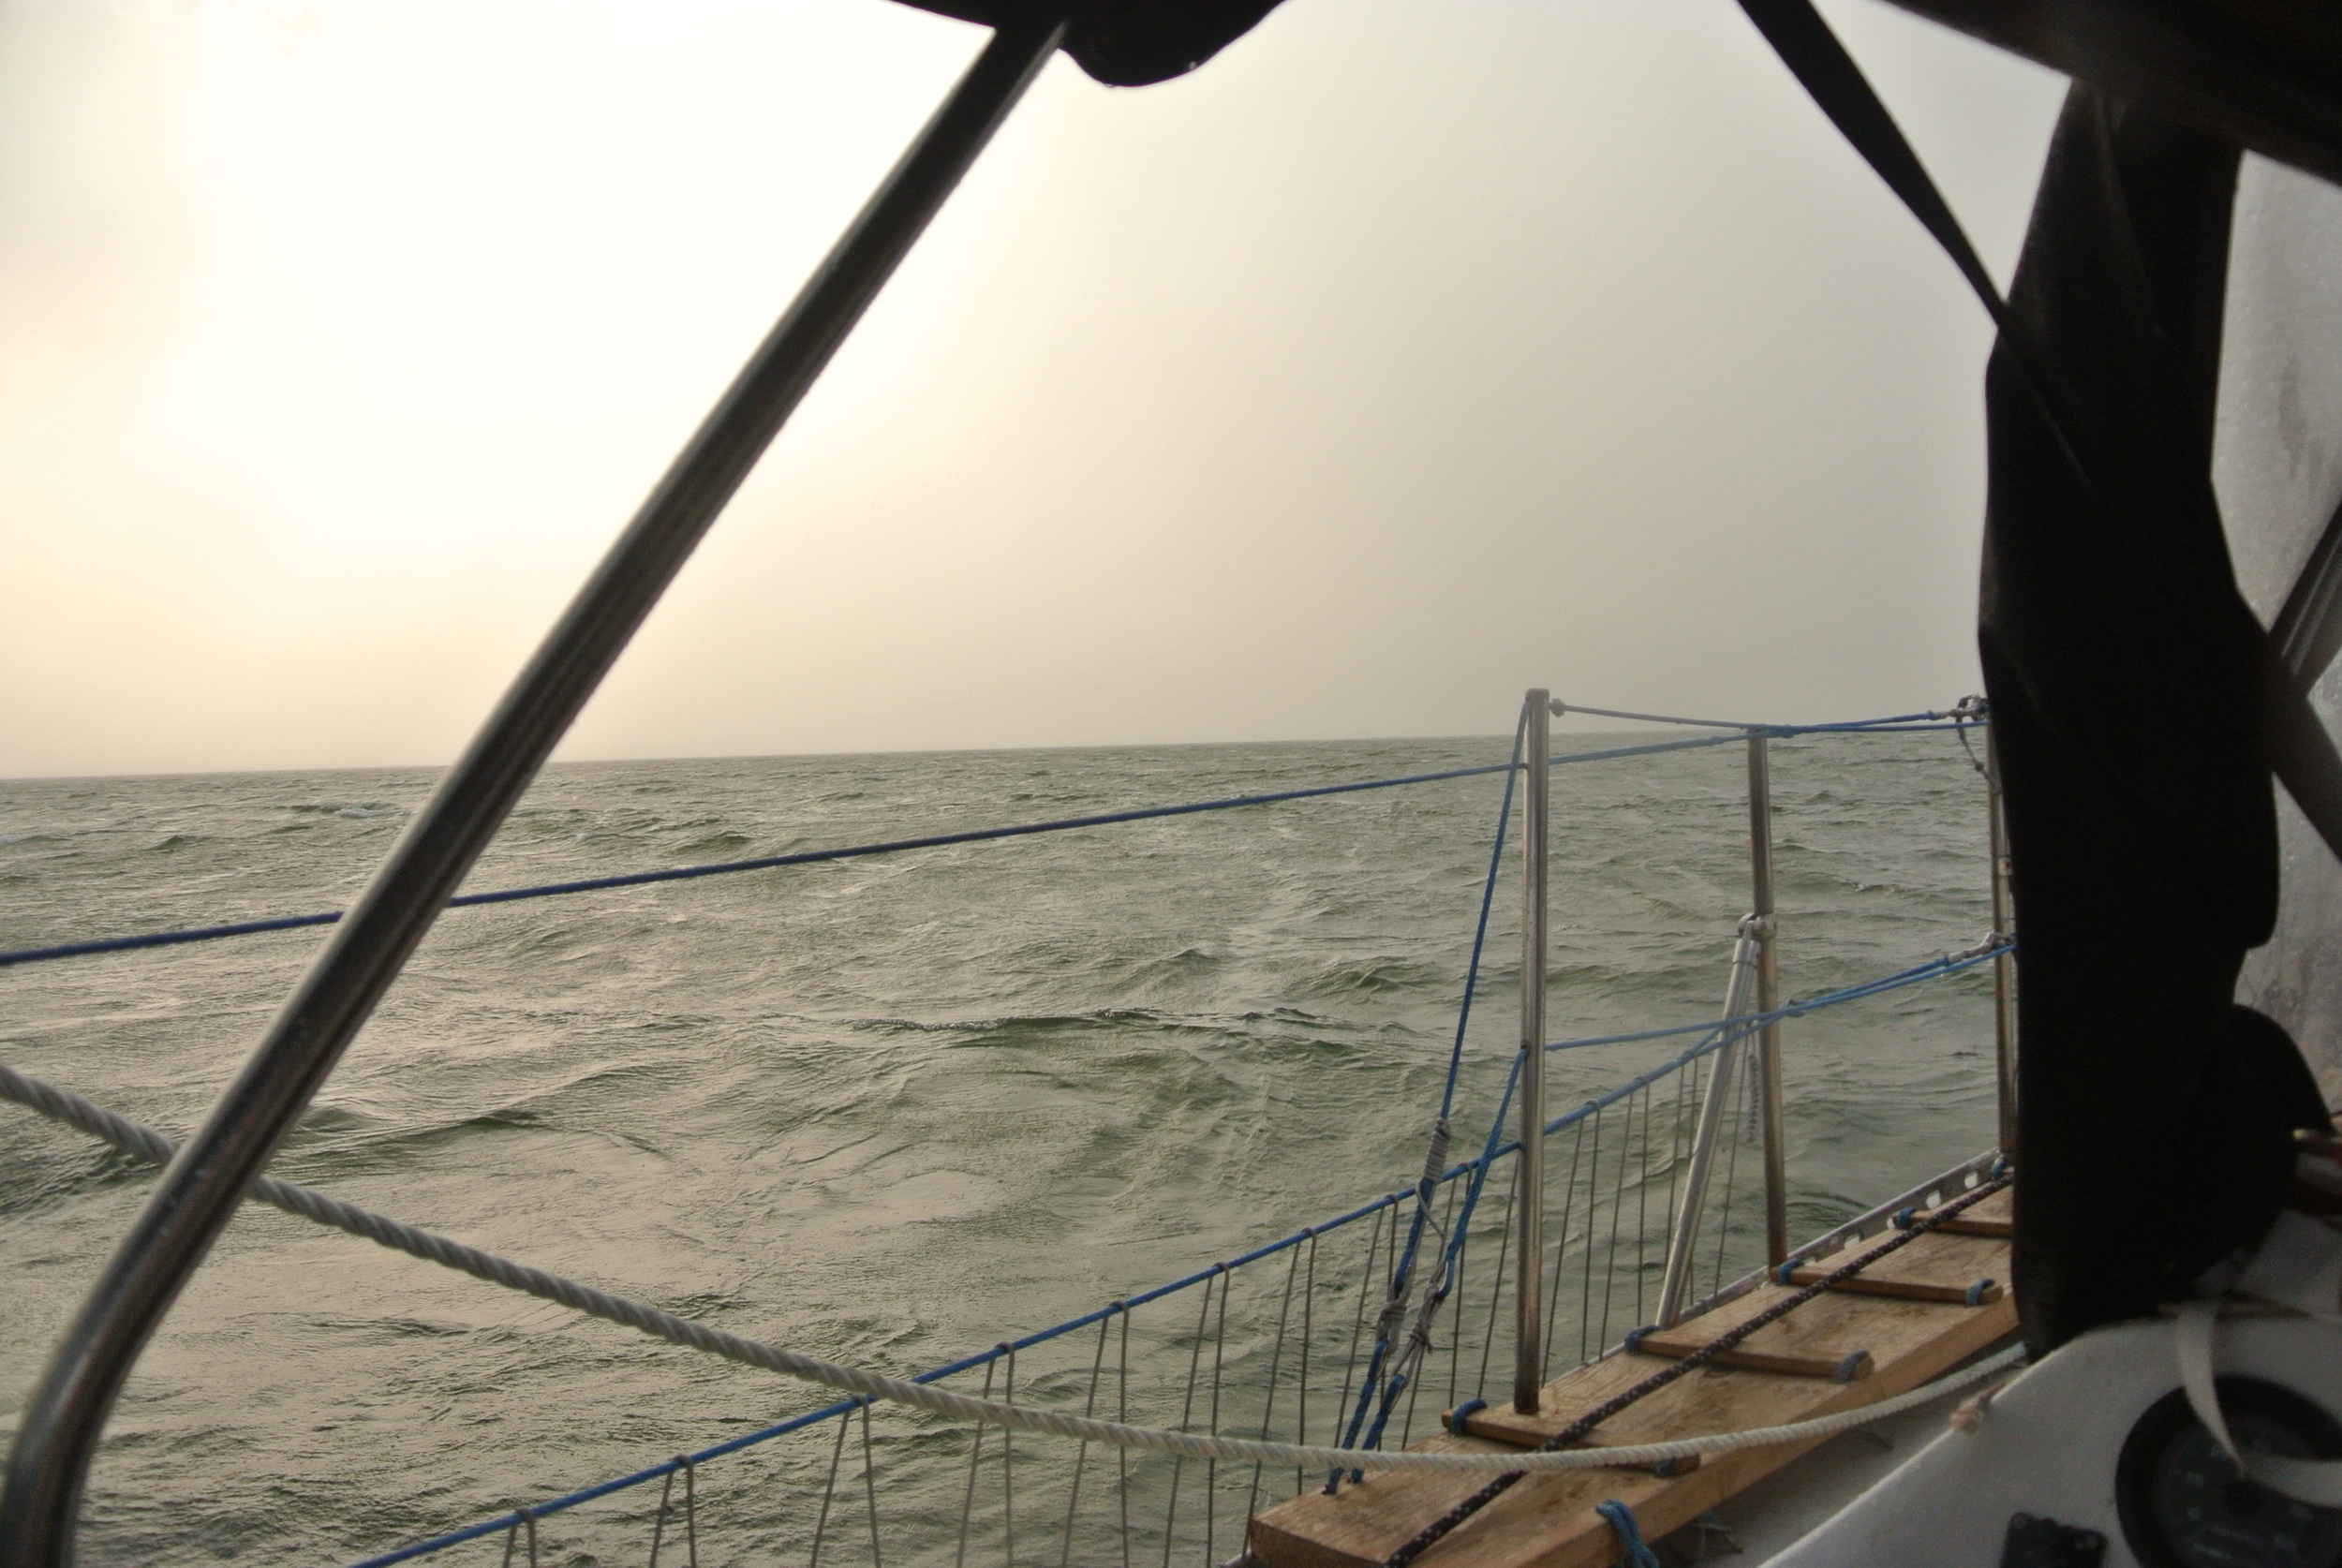
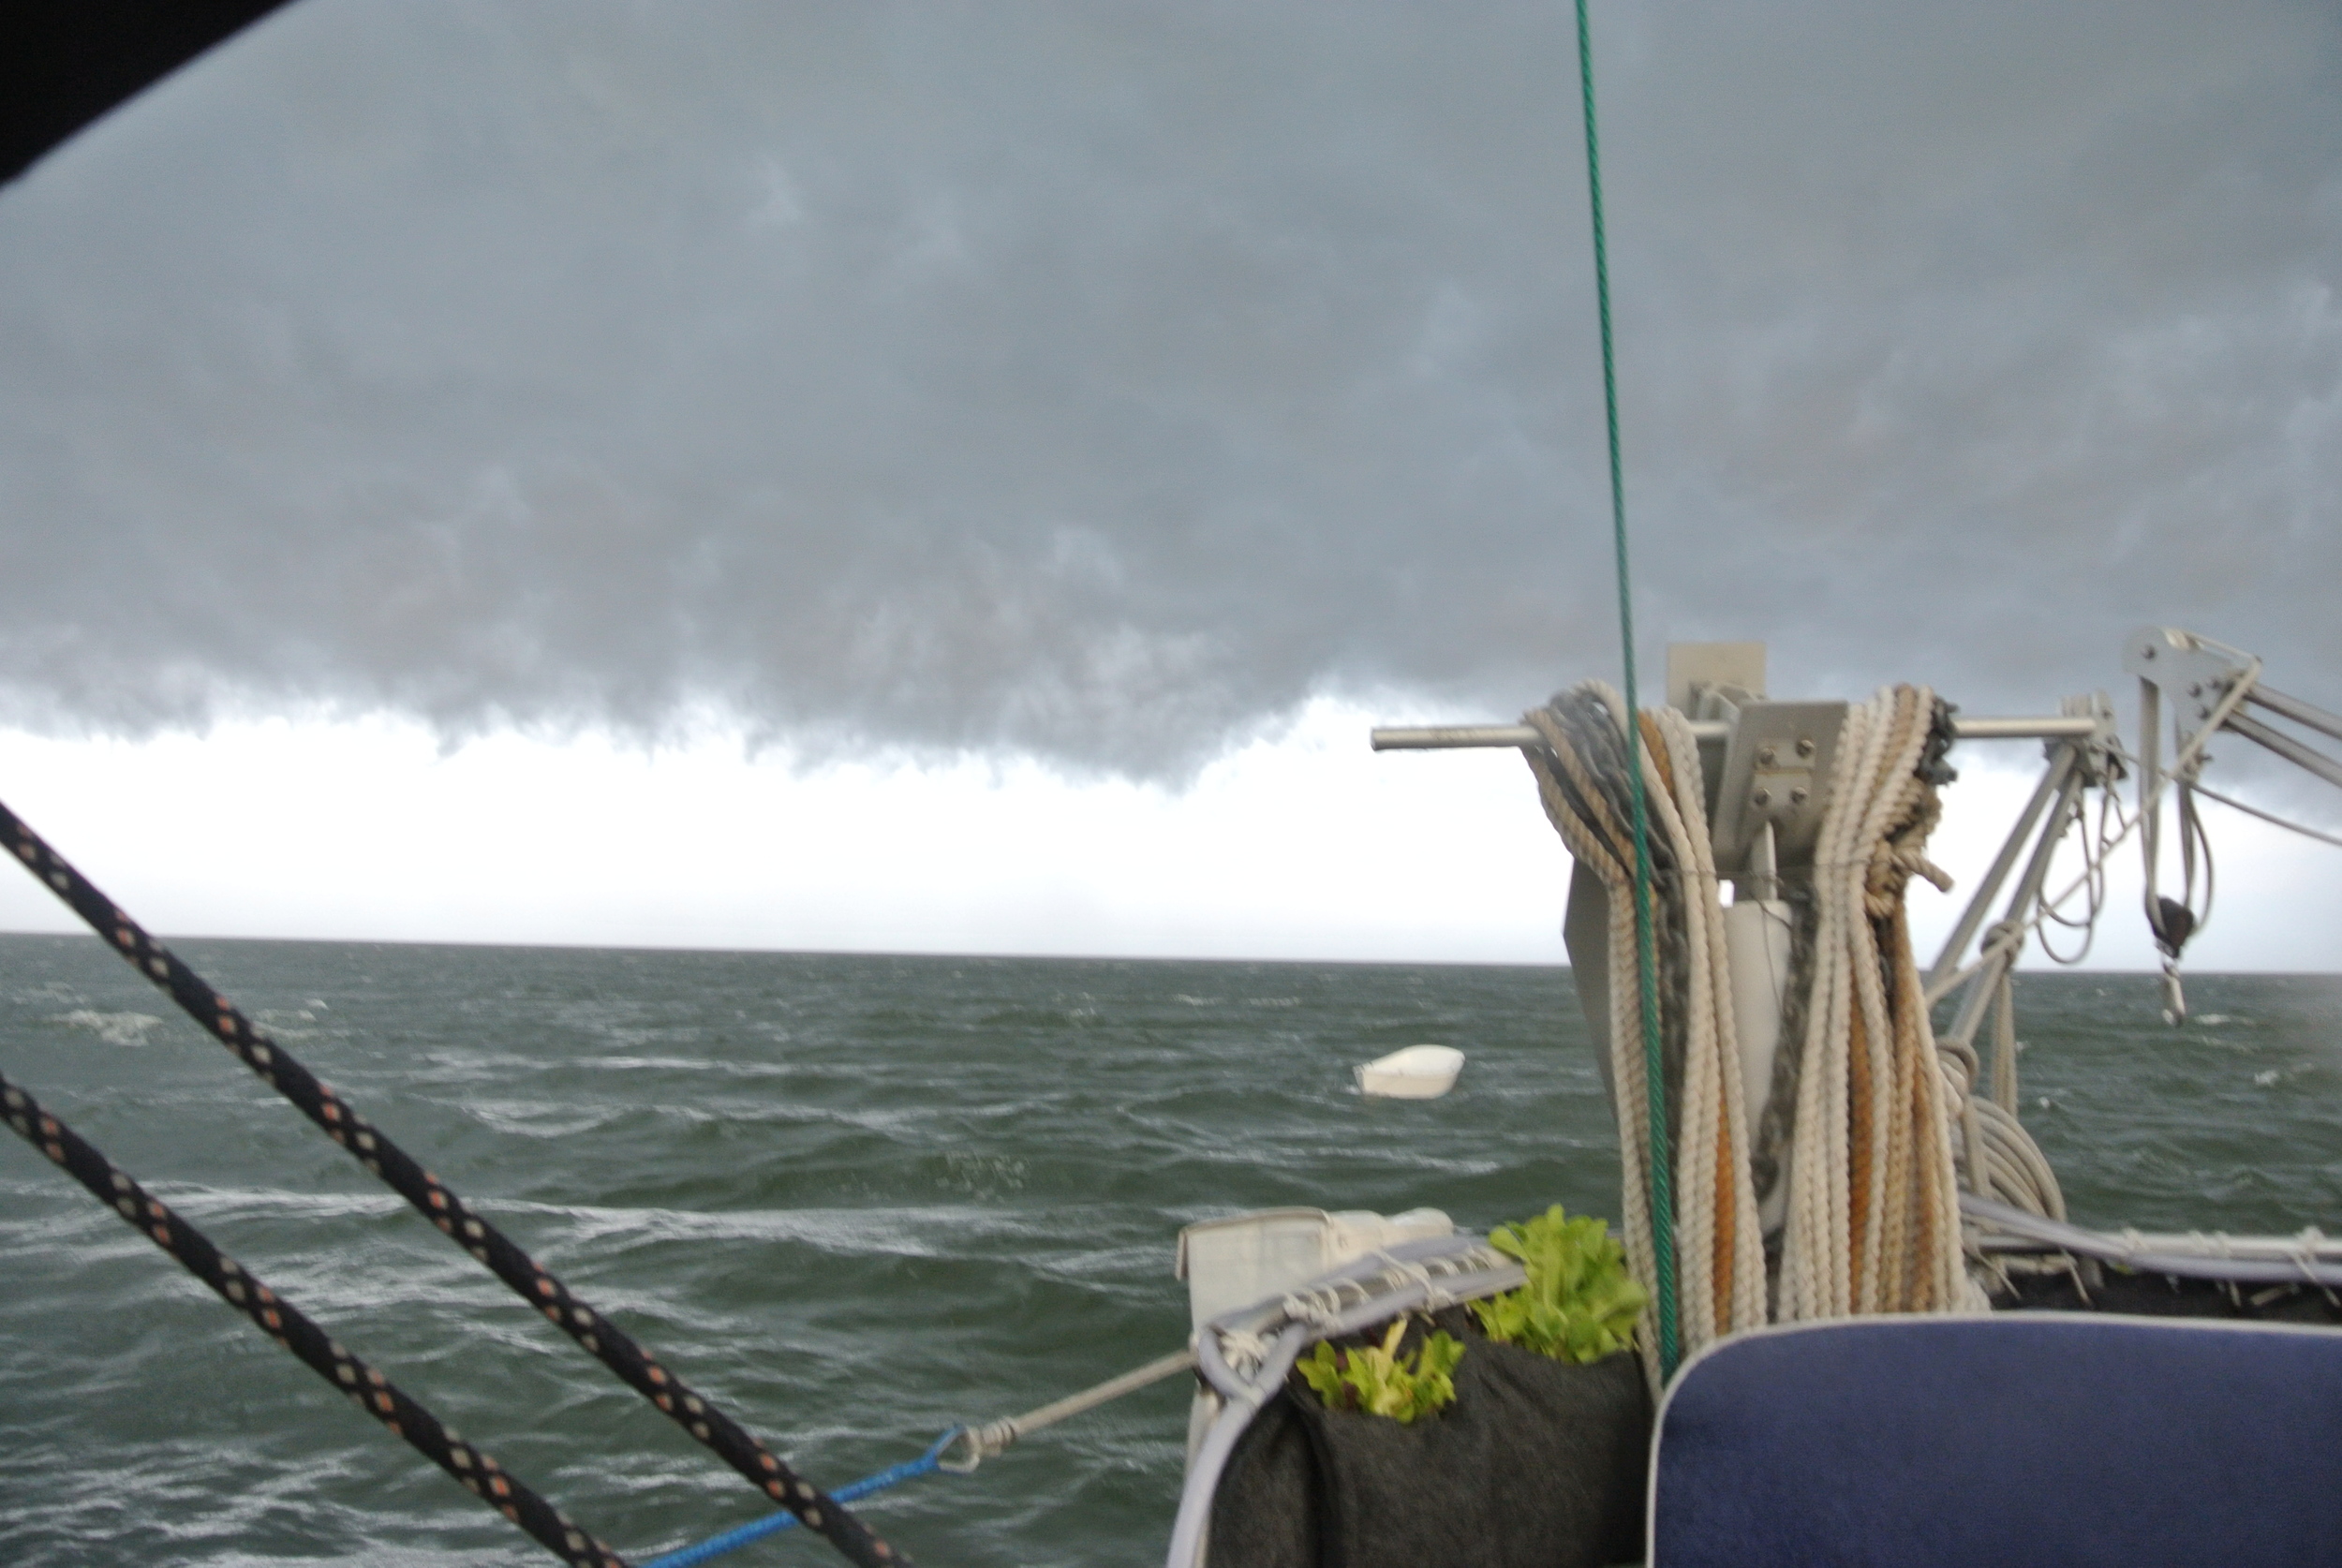
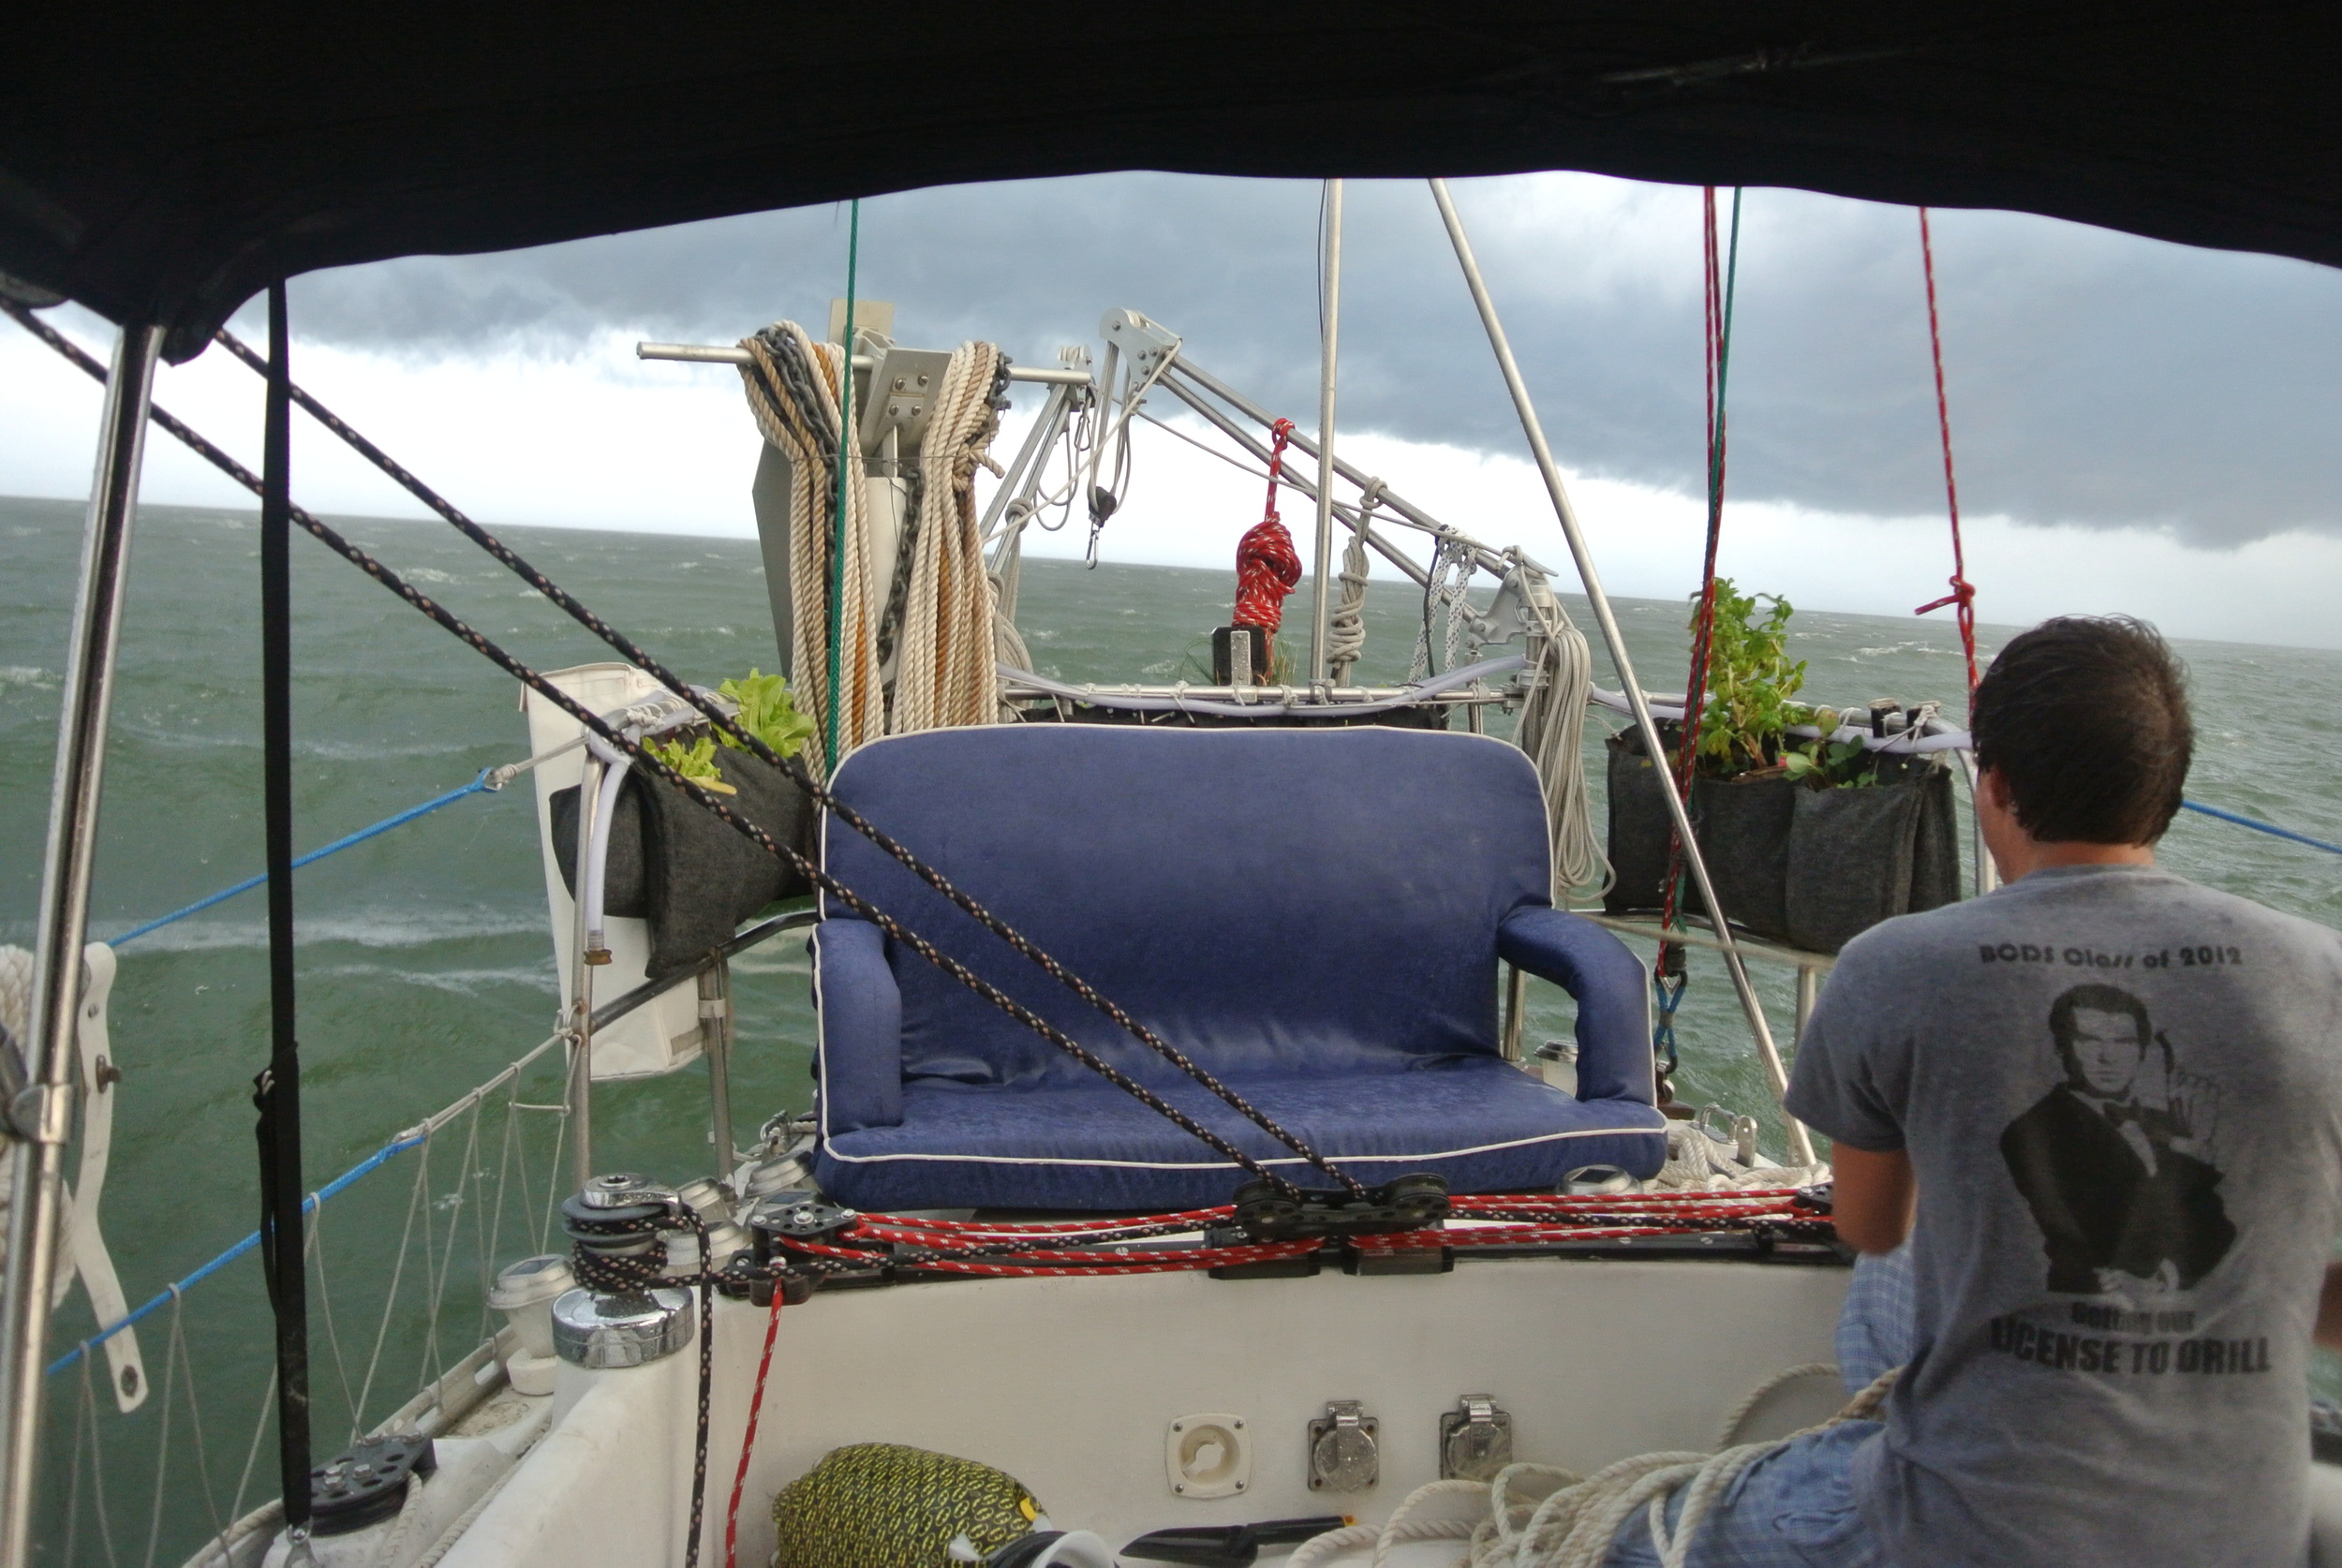
We did have a squall that hit us near New Point Comfort, VA while at anchor. The water was only 8 to 10 feet deep but we had 280' of chain out in preparation for the coming storm. Winds kicked up to 52 kn as the waves built and the rain came pelting down.


During this epic squall of 20 minutes, the anchor never dragged! The bottom was sand and shell, which provided excellent holding when paired with the Bruce.
Scrap piece of dyneema helps bind all the rode so it doesn't fall off the flukes while sailing.
Our secondary anchor is mounted on the stern ready to deploy, a Fortress FX-37. This anchor could replace the Bruce, but the Bruce has held me through so many storms and poor anchorages that I would find it insulting to it to remove it from its throne at the bow. The FX-37 is attached to 30 feet of chain and then nylon rode. The plan is if something really bad were to happen, we could deploy the anchor in a hurry and move the attachment point to a bow cleat. Being stern mounted, we can reach this anchor in a hurry from the helm, yet it is out of the way when cruising or working with the bow anchor. It lives in a 4" PVC pipe lashed to the stern rail with sufficient rode for stern anchoring and kedging wrapped around its flukes.
I have only used this anchor once so far, it was in a sleepy creek and I wanted to keep the stern of the boat in the shade of a large tree, so I set it as a stern hook to keep the boat from swinging during the afternoon. Talk about overkill for a stern hook!
The Storm anchor is an 80lbs Fishermans Anchor, also called a Herreshoff Anchor. The large flukes will hold in mud, clay, and sand, the hooks of the flukes will hold in weeds and rocks, and the sheer weight will help it dig into anything it lays on. The reason it is my storm anchor and not my main bow anchor is that it weighs 80lbs, and the shape makes it hard to stow. The cross bar is actually supposed to lay flat along the stock so that it can be stored deep in a locker, never to be seen again. Since it weighs 80lbs, I would not be able to lug it out of a deep locker and assemble it while bouncing around in a storm. This is why it lives assembled and lashed to the toe rail. Its center of gravity is actually outside of the toe rail, so merely untying it will launch it. The problem is retrieving the heavy sucker! It takes the windlass to raise the anchor and then a halyard to hoist it onto the deck and get it lashed to the toe rail again. All the lines seen hanging from the crossbar are needed to retrieve the anchor and stow it.
If we had to deploy the anchor in an emergency, it would be a quick proceeding, but we would have to wait for the weather to turn dead calm before we would ever be able to consider recovering the anchor.
Sailing along with all three anchors ready. The Bruce ready to launch off the bow roller, the Fisherman mounted but ready if ever needed, the Fortress on the stern, also at the ready.
As far as when to anchor, the usual reason is to take a break from sailing; be it sleeping, a lunch hook, kedging, or because conditions call for it.
We usually drop anchor around sunset after a day of sailing, we let out a fair amount of chain, tie off the snubber, and rest easily that evening.
If we are out with friends, sometimes we will drop the hook while we all eat lunch. The Lunch Hook usually involves a very short scope, as it is a very temporary hold. In 20 feet of water, I would usually let out between 140 to 180 feet to sleep, I may only let out 60 feet for lunch. The more you let out, the more you need to pull back up in about an hour.
While we were cruising, we ended up anchoring because conditions demanded it. We had been becalmed and were riding the current South while we waited for the wind to return. It turns out the winds didn't come back that day, but the current did reverse and began taking us North. To avoid backtracking, we dropped anchor to hold our position. We ended up raising the anchor when at the following slack tide to ride South on the next current. Needless to say, we did not cover much ground that day.
Kedging is a nifty trik to keep in your sailors hat! When you need to move the boat, be it off a shoal or into shade, kedging can be your best friend. It is a rather involved procedure, so you need some serious motivation to get all the gear in order.
First you have to load the anchor in the dinghy and start rowing it away from the boat. If you are on a shoal, you have to row it out to deeper water. Once there, you deploy the anchor from the dinghy and let it set. Then you row back to the main boat and start winching in the anchor line. If you are not grounded too hard, this should be enough to pull you off the shoal. The less stressful way to kedge is to pull the boat into the shade. This is done by running the stern hook beyond where you want the boat to be. Then launch it like usual from the dinghy and pull in the stern rode. This will pull the stern to a desired spot and keep the boat from swinging.
For me, that desired spot is in the shade of a tree while it sit out and read after a long sail to get to the anchorage. Relaxing always feels better after a great accomplishment!
While I was on the hard, Tim Wolbert aboard Marialo was getting his rigging replaced with new stainless steel 1x19. Replacing my standing rigging was on my list of things to do, and watching his be replaced made me take a close look at my own standing rigging.
I had replaced my running rigging the previous year when I had my new sails made and knew that the standing rigging would be next before any ocean sailing were to occur. When I took a good look, it was startling to see what I had been trusting my mast to, many of the stays had corroded wires that ran up the stay creating dark streaks that circle up the stay making it look like a candy cane.
The backstay has corroded strands
This along with the corroded fittings pushed the standing rigging to the top of my to-do list.
I began looking for alternatives to stainless 1x19 since I plan on doing ocean sailing and the salt will destroy any metal. I considered using galvanized 1x7 steel that had been wormed, parceled, and served; as this would keep out any salt, water, or anything. Galvanized steel is a bit stronger than stainless, but it can be preserved in this wrapping. The downside is that the covering needs to be frequently painted with slurry to keep it water tight. If there is any lapse in maintenance, corrosion can quickly start and since it's covered, there is no way to easily inspect it. So... strike that idea.
I began looking at other materials and stumbled across synthetic fibers. Dyneema is stronger than steel and a fraction of the weight. The problem with synthetic fibers is creep. As a dentist, I deal with creep in various materials and know how to factor it in when designing a system.
I was all excited to talk to Colligo Marine at the Annapolis Boat Show later that year. The idea of an entirely synthetic system was music to my ears. No longer having to worry about corrosion in turnbuckles or inside compression fittings at the line terminators was the peace of mind I wanted to have when I set off on an ocean voyage!
My conversation with Colligo was very disappointing, I was told that no boat over 25 feet could be rigged with deadeyes and that it would be impossible to rig a 45 foot because I wouldn't be able to get the proper tension in the rig.
This is when I began my study into rigging, going all the way back to Viking and Egyptian rigging and working my way towards modern stainless steel rigging. Throughout history, rope was used as standing rigging, tensioned with deadeyes and lashings. The concept of steel and turnbuckles is a very recent blip on the rigging history. For a long time, hemp was used as the standing rigging on tall ships. If they could rig the tall ships that way, there is no reason that modern fibers can't rig a 45 foot cutter!
Looking at the modern instructions for how to tie off the lashings shows why no one is able to tension synthetic rigging properly. By combining the traditional methods of deadeyes and lashings with the proper traditional knots, it was very easy to tension and tie off the rigging for a 45 foot cutter. This includes dealing with the creep!
Dyneema Deadeye
For information on how to make a Dyneema Deadeye, click here.
There is no way to create enough pre-tension by hand with deadeyes, this is a fact; but by using a pulley system, it can easily be achieved. When I tensioned my forestay and shrouds, I constructed a 1200:1 purchase system, making it very easy to achieve the thousands of pounds of tension needed.
The rigging was perfectly tuned with the mast in column and allowed to sit under tension to allow the creep to take place. In a few days, stays that were bar tight were now very slack. Once again, the rigging was tensioned and allowed to creep once more. After about 6 to 8 of these episodes, the rigging was mostly stable as it was nearing the end of the first of the three stages of a Dyneema life cycle. During the first stage, creep is quite extensive as the fibers in the weave are settling in. During the second stage, creep becomes very minimal and the stay will hold its tension very well. During the third (and final) stage, the creep begins again and this is the signal that it's time to replace the stay.
Once the stays settled in, we were able to go sailing every weekend without needing to touch the rigging (which was a nice change after messing with it for over a month). During our later trip into the Atlantic Ocean, I was frequently checking the rigging to make sure the mast was still held straight and true. It was able to make the entire trip without needing to be touched once!
The weight reduction from switching to the lighter synthetic rigging made the boat float higher. This vessel weighs 17 tons and came out of the water a few inches!
Another nice feature about the synthetic rigging is the reduced weight aloft which led to less heeling while under sail. We used to sail heeled over 20* in 10 kn of wind, and had to put the first reef in at 17kn, and the second reef at 22kn. The headsail had to be taken in at 15kn as well. The reefs were mandatory at these wind speeds because our heel would exceed 30* if we did not reef in time.
With the new rigging, we only heal over 10* in 20kn of wind under full sail! The new protocol is Jib, Staysail and Full Main up to 20kn, Staysail and 1 Reef up to 25kn, 2 Reefs at 27kn.
At one point, we were on a beam reach in 27kn of wind and full sail, only healing over 20*! This wind came on all of a sudden and with no warning and was quickly taken in to Staysail and 2 Reefs. It was nice to have the buffer of reduced weight aloft which kept us more upright in the blow.