Topside Paint

Primer on the Deck

If you read the instructions on your paint tins, Interlux recommends painting white primer if you are going to paint white for the final color; grey primer if you are going to paint any darker color. 

Five years ago, when I painted the deck, I followed the instructions and had the hardest time telling where I had painted and where I hadn’t yet. This time around, I’m making my life easier and breaking the instructional rules! 

GREY PRIMER!! 

FullSizeRender.jpg

I painted the whole deck with a 2 inch chip brush that I bought in a value pack at Home Depot while were still in the states. I started using it for edging and then began filling in the areas between the edges. In no time, I was painting the whole thing with this tiny brush.

FullSizeRender.jpg

The dark grey paint really does pick up the heat. In no time the inside of our home went from rather cool to very warm. I can only imagine what it’s like to have a dark deck on a tropical summer day! 

Beauty in the Boatyard

Maddie is an artist, adn she can see things most mere mortals overlook.

FullSizeRender.jpg

We have just been painted and the workers in the yard came and sanded off a few layers of our old bottom paint. Then it rained and the blue dust washed away a little bit . After the rain, we were simply walking from the boat to the town to grab some lunch when Maddie asked for my camera. I saw nothing in the area that merited a photograph, but I did not question her.

She instantly snapped this picture and we continued on.

She saw the blue bottom paint in the puddle mixing with the reflection of the blue sky and our bow, in a puddle of filthy antifouling paint dust. She found beauty in the light that was reflected off of rubbish. She has an artist’s eye!

New Topsides

The grey primer coat on Wisdom is now a thing of the past. The topsides have finally been painted and she is very white and very shiny!

IMG_4680.JPG

When I bought Wisdom, her topsides were heavily oxidized and shiny was the last descriptor on the list of things she was not. I gave her a paint job using Roll and Tip to make her look better, but she was never this pretty! The paint job I did made her look good from a distance, but when you got close, there was no shine, no pizzazz, nothing. She was just flat white paint covering her hull.

In the Azores, we had a professional spray job done and now she looks new! This is one way to take 50 years off the clock!

Taping Off for Spraying

With the topsides sanded away, it is time to mask off the areas that are not going to be sprayed. In the United States, this would typically occur inside a tent, where everything is covered in plastic.

In the Azores, regulations are severely more relaxed.

IMG_3263.JPG

Newspaper taped to the waterline seems to be sufficient for the local workers, and no tent required, even when painting next to a dark blue yacht.

IMG_3262.JPG

Yes, with some pages of the local newspaper, we are ready to be sprayed with primer. When I asked about the boat next to us, his reply was simple yet honest: “We wait for a day with no wind".

It is refreshing to step outside of the United States where people are so hung up on every little detail that they forget about reality and practicality. The cost to have work done in the Azores is approximately 1/10th of what the cost is in the United States. This may be because of the lower cost of doing business thanks to the relaxed restrictions. They don’t need tents, tarps, or collectors, they simply wait for the weather to cooperate and take it from there.

The painter doesn’t want to get paint on the next yacht, so he is extra careful to make sure that his over spray doesn’t travel in that direction. Believing in a workers skill allows them to work without all this red tape that we have in the states.

Preparing for New Topside Paint

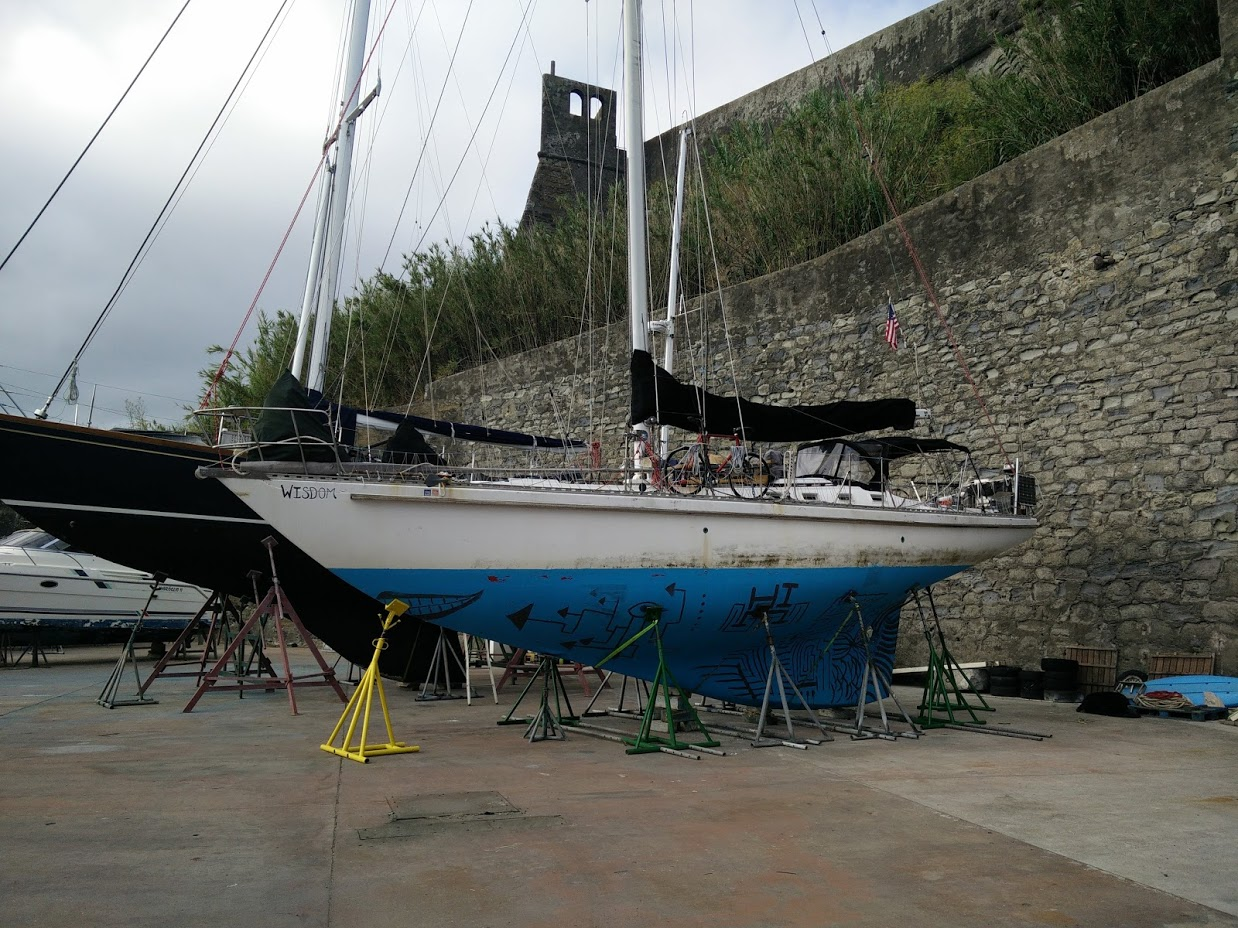
We made it across the ocean purely by sail, with an electric motor, and most of all, without a diesel motor! While we felt accomplished by this feat, Wisdom was looking pretty tired.

IMG_2756.PNG

Since we never motored, and instead were under sail the whole journey, we were also heeled over the whole time. We usually sail at around 10 to 15 degrees of heel, and that means that our topsides go into the water on the leeward side. This has never been an issue, even in the pea soup waters of the Chesapeake Bay, because they were never under the water for very much time. We would sail by day and anchor by night, most importantly, we would dry out by night.

IMG_2757.PNG

Our topside paint was old and beginning to peel, making the surface porous and prime to grow fouling growth. Being heeled over with the topsides under water for days on end the paint grew some nasty fuzzy fuzzies. We knew we needed more than just a good washing; for it was time to repaint the topsides.

FullSizeRender.jpg

Labor in the Azores is very reasonable. 6 years ago, I painted the topsides myself because the cost of having the topsides painted was prohibitive! I received 3 estimates, all ranging around $20,000 to paint the topsides. Needless to say, I painted it myself for a grand total of $800 in materials.

Maddie and I were planning on painting the boat ourselves, until a worker in the yard offered to paint us for € 2,000. We quickly discussed the offer and decided that I could go back to the states and work as a Dentist for the same amount of time that it would take for them to paint the boat, which would pay for the project but be a lot less taxing on my body. The decision was made, and a handshake agreement sealed the deal. I now owed Paulo € 2,000 and he owed me a bright white hull.

FullSizeRender.jpg

Painting is easy, but prepping the topsides is where the real labor lies. The first step for Paulo was to sand off all the old paint and take the hull down to the gel coat, which in our case, was a lovely shade of Fighting Lady Yellow.

The long and laborious project has begun, which has snowballed into a long list of projects that are going to take place while we are on the hard.