Finishes

Wooden Doors Not Closing

Wood on a boat is subject to a lot of dimensional changes in size as humidity and temperatures change the moisture content of the wood. Wooden doors are going to swell and shrink as the air in the boat becomes moist or dry. 

The doors in our table (where we store our linens) are rather large, so a small percentage in dimensional change will equate to some significant movement in the wood. 

IMG_2114.JPG

These doors used to close easily, but after a rather most winter, the wood swelled slightly, but caused the doors edge to migrate a few millimeters. Now the doors overlap instead of closing. The solution will be to trim the wood at an angle to allow the latches to meet and the doors to close.

IMG_2122.JPG

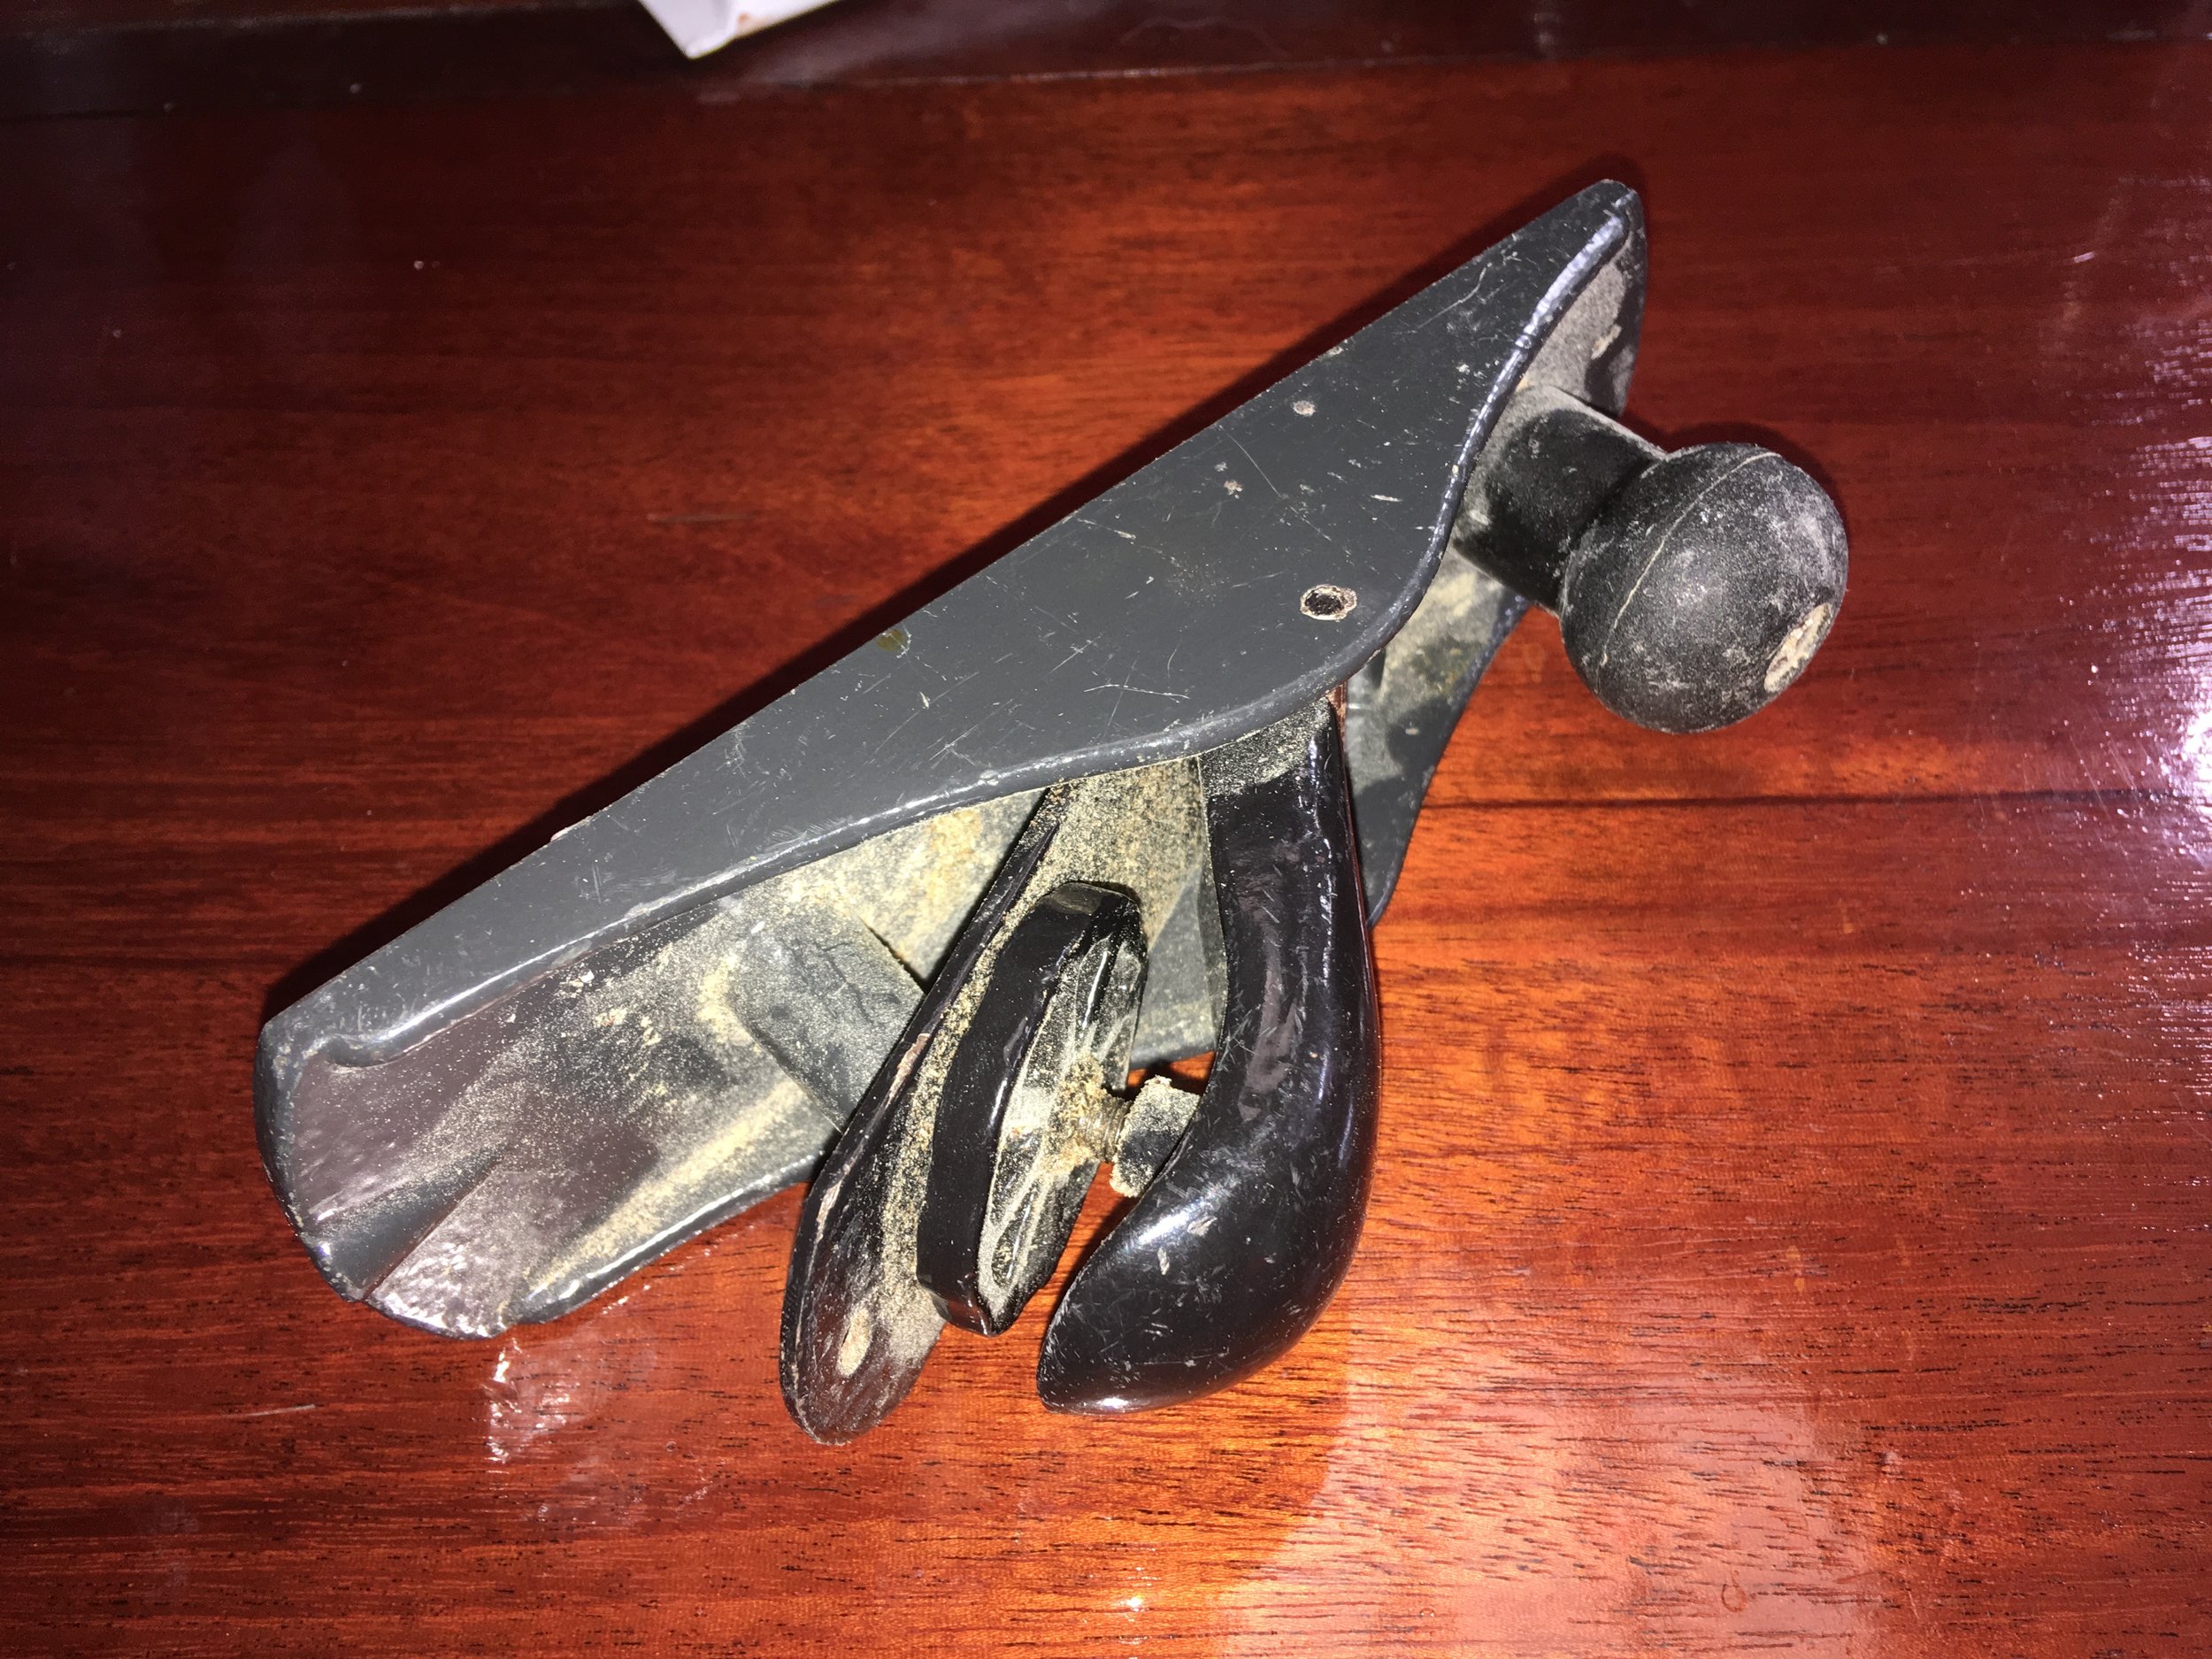
Using a block plane, I was able to slowly and carefully bevel the edge of the door to allow the edge to pass the latch and the doors to close effortlessly.

IMG_2118.JPG

With the wood trimmed off and the doors closing easily, the fresh wood was then given a few coats of varnish to seal it up and protect it from future moisture. Varnish doesn't make wood waterproof, but it does help. Varnished wood is sealed up and fed well with the oils and resins in the varnish. This creates a barrier to keep the moisture out, or at least slow the ingress of moisture.  

With some simple hand tools, the problem of a non closing door can be fixed and cruising life can continue on without a hitch! 

IMG_2115.JPG

Cheap Bottom Cleaning

Typically, only small sailboats careen themselves, as larger boats will pay for a haul out. That being said, large boats are more costly to haul out and when you're cruising, every dollar counts! 

IMG_1966.JPG

So why limit this free bottom cleaning procedure to only small yachts? We may be 45 feet, but we can do it too! 

IMG_1963.JPG

As the 8 foot tide rushed away, our 6.5 foot draft sailboat slowly tilted onto her side and rested on the turn of her bilge and her keel. The water around the keel was only ankle deep which meant that we could easily do some work on her bottom. 

IMG_1965.JPG

Hard growth like barnacles were easy to knock off the antifouling paint, while soft growth was easily swept away. We typically use this large brush while snorkeling or from the dinghy to clean the fuzzy parts of the bottom, but this was my first time ever doing so without being underwater! The procedure was simple, wet the brush, wet the hull, scrub the hull, wet the brush, rinse the hull. 

The entire side of the hull took less than a half hour to clean, giving us a smoother bottom to grant us less resistance as we sail through the water. 

IMG_1967.JPG

In no time flat, we had the bottom cleaned up and we were ready for the tide to come back in and float us again. 

While we were heeled over and dried out, we were able to see the condition of the mural that Maddie had painted on the bottom when we set off on our journey! It was nice to see that the bottom mural had not all rubbed away into obscurity. 

Teak Wonder

As you may have noticed, I am a huge fan of wood on a boat. I think wooden boats are gorgeous to look at, which is probably because I live in a fiberglass boat where the maintenance is significantly less. The little wood that we do have, I like to keep varnished. This is a personal preference, as there are millions of options available for taking care of your trim wood. 

Varnished teak looks pretty in my opinion, but it is rather slippery to stand on. Also, if you don't give it a new coat of varnish every month (or more often if it gets damaged by the elements) then you risk the varnish starting to crack and peel which would bring on a very large job of scraping, sanding, and re-varnishing the wood. 

Cetol and other resin coats are a popular choice, as they paint and encapsulate the wood in a plastic coating that looks pretty. They might be favored because of their masking abilities, but when the coating starts to peel, it is a job that is even harder than varnish! If you are thinking of using Cetol, or any similar coating, I highly recommend using anything else! If you don't want the work of any other coatings, I would then suggest that you leave the teak natural, as all of these options are better than the mess and labor involved in removing peeling Cetol. 

While varnish has that gorgeous look to it, the penalty for not staying on top of the varnish is pretty intense! Once the varnish starts to peel, you are faced with a labor intensive job to bring it back to its beauty. To get a similar appearance with less work and almost no penalty for skipped maintenance, there is yet another class of coatings available: Oil. 

Oils are wonderful for teak, a naturally oily wood, as they will make your teak shine like new. Freshly oiled wood looks just as bright as varnished brightwork, as they both have that honey gold glow. Unlike with varnish, if you neglect the wood for a few months, there is no peeling that could occur; the oil simply washes out with time and the wood begins to grey as it dries out. 

I would say that the most popular oil out there for teak is called "Teak Oil" and it is honestly the reason that oils have a bad reputation. Teak Oil is expensive and it doesn't last for any amount of time. I tried to maintain my teak with teak oil for a few months and got quickly frustrated. Upon first application, it looked amazing, the teak was bright and shined, and the grain looked amazing. This beauty lasted until the first rainstorm which was about a week after I had oiled the teak. With a few hours of rain, all the oil was washed away! I found the same problem to be true when I would go sailing and waves would splash onto the deck, the simple act of wetting the wood seemed to wash away the teak oil. Soon, I was oiling the teak after every rain storm and every time I dropped anchor. It quickly transformed from a labor of love to a ritual of futility. 

Fed up with teak oil, I then tried various other oils. First was Tung Oil. This coating showed great promise at first. The oil lasted many many months, holding up well in the sun, rain, and spray from waves. The problem with this oil is it seems to soak up dirt and turn dark. The wood that started out as a bright honey golden color turned to a dark mahogany color. 

I then gave up on oils and went back to varnish. Since I liveaboard, I'm always around and the thought of varnishing the brightwork once a month seems pleasant to me. This is probably because I enjoy varnishing wood, and I find it cathartic.

But what if you don't want to varnish? What if you want to stick with oil and not have to worry about peeling coatings, nor worry about the oil washing away quickly or turning black?  

IMG_1833.JPG

While sailing through Hatteras, North Carolina, I saw this boat. The teak looks new and perfect! Like it was just lightly sanded this morning. It has a light honey golden glow to it, is not slippery, and there are no signs of checking! 

This then struck up a conversation with the owner, Dale, who runs this boat for fishing charters. A sure fire way to strike up a conversation with another boater is to ask how they maintain their brightwork! He told me that this boat was built in 1988, and he bought the boat back in 2011. In the past 6 years, he has only sanded the teak twice, and these were light standings to knock down some raised grain that was developing.  

Dale told me that he uses "Teak Wonder" on the teak, and that is all he does to it! 

IMG_1835.PNG

I didn't get a picture of the can he had on his boat when he showed it to me, but I did find an image of it on Defender.com. Dale buys it by the gallon and keeps it on hand for when he needs to do another coat. 

Dale does two coats every six months, but he does to touch ups from time to time if the wood looks like it needs a bit before the six month mark. Dale applies it to his teak with a rag, making it easy to apply as he simply dips the rag in the gallon can and then rubs it all over the teak. 

While I am committed to varnish on Wisdom, I will definitely keep this option in mind if I ever decide to switch to oil in the future. Sadly, I am staying with varnish because I don't want to go through the job of scraping off all the varnish on the toe rail. Instead, I am bound to continue the monthly task of coating the wood in a fresh layer of varnish to keep the wood looking pretty and happy. 

An Easy Way to Varnish

Varnish is very easy to do. You might hear horror stories about the varnish rippling or dripping, or anything else you could be afraid of happening. The truth is, varnish is not paint and should not be thought of as paint.

When you apply paint to a surface, your goal is to cover the surface with a pigment. In order to accomplish this, you need to apply a sufficiently thick coat of paint, and many of them. You will hear people talk about applying thin coats of paint to avoid runs and drips. Varnish is the same in this regard; you want to apply thin coats of varnish to avoid runs and drips.

The difference between paint and varnish is the thickness of the coats and the number of coats needed. A thin coat of paint is actually a very thick coat of varnish. You usually apply 2 to 3 coats of paint for full coverage and to fully pigment the surface. With varnish, you are looking more at a dozen coats, each super thin.

The ideal thickness of varnish is so thin that it hardly covers the surface. The wood will still appear poorly coated after the first coat because the brush was rather dry and you didn't apply enough varnish. This is actually good.

This super thin coat will dry without any risk of drips, runs, or crinkles. It will dry into a smooth and hard layer that is ready for the next coat. As the coats go building up, the varnished surface will begin to shine with the beauty of the wood.

To recap, you simply want to apply a coat that is so thin that it feels like its too thin. Your brush should be as dry as if you just ran out of paint and are trying to spread what is left in your brush all over the rest of the surface! Each coat builds on the last, and it takes about 12 coats to get a finished product.

Since it is impossible to dip your brush into a can of varnish and have it come out dry, there is a trick to achieving this super thin coat. I simply dip the tip into the varnish a quarter of an inch (about 6mm), then I wipe one side of the bristles on the rim of the can as I extract it. This wipes the amount of varnish on the brush down by half. I then take this super dry brush and stroke across the grain on the wood to put a thin little puddle of varnish on the wood. As I slide across the grain, the brush will run out of varnish and become completely dry. You will see that no more varnish is present and you simply have a thin streak on the wood. I then brush over this streak with the grain to spread it out until that entire area feels dry and the brush is sliding over the area without effect. I then move to the adjacent space and repeat.

It pretty much feels like if you are "not" varnishing the wood 12 times with a dry brush. While it may seem labor intensive to coat something a dozen times, it really goes quickly since there is not much being done each time. Since the coats are so thin, they also dry quickly, allowing for faster recoats, and there is no sanding between coats because they are so thin. After around 3 or 4 coats, the wood will really start to look pretty. Around 10 coats, it will look almost perfect. Around the 12th coat, the wood will be gorgeous and protected by a waterproof finish!

While varnish may not be touted as a waterproof finish, it will become so with enough thin coats. I have finished a piece of red oak (a very thirsty wood that should never be placed near water) in my shower, where it has received a daily dousing of hot water for the past 4 years and it has never formed any stains from getting wet, even though it is right next to the shower head and gets soaked each time I shower.

This finish will go wearing down over the years, and it would behoove you to reapply new coats if it ever gets looking a bit thin.

That's all it takes to varnish a piece of wood! A dozen "bone-dry-barely-there" coats.

Varnish Brushes

At any store that sells varnish and its brushes, you will see a huge range of brush prices. There will be the disposable chip brushes that will cost around a dollar, all the way up to the fancy animal hair brushes that can cost over $30 a brush! Is the money worth it? Should you really spend all that much money on a brush?

The choice is up to you about spending that kind of money on a brush, but the truth is, you can make do just fine with a disposable chip brush for under a dollar.

The big advantage that the expensive brushes tout is that they will not drop bristles in your finish. Chip brushes are famous for shedding like a dog on a hot day! If you use a cheap brush, your finished product will be riddled with bristles that are trapped in the paint or varnish.

This may sound like a perfect reason to pay for the fancy brush, it will prevent this catastrophe! The truth is, a cheap brush will only drop the loose bristles. If you can get these bristles out before you start, it will work just the same as an expensive brush; providing you with a bristle free end result! To get the bristles out, all you need to do is tug on the fibers and knock the brush around a bit. I typically brush my pant leg or hand hard, bending the bristles over fiercely as the brush passes by. This will dislodge any loose fibers and pull them out. Then I quickly and harshly brush my palm, knocking off any bristles that are at the brink of coming out. Lastly, I grab all the bristles by the end of the brush and give them a slight tug. This will pull out any stragglers that might have still been deciding if they were going to fall out or not.

After this ritual, which only takes about 10 seconds to complete, I can paint on my coatings without any fear of a stray bristle in my finished coat.

The best part about using really cheap brushes is I don't feel bad about throwing them out when I'm done. I don't have to worry about residue from one project contaminating my next, or the fear that the brush will get damaged if I don't clean it instantly. Instead, I can focus on what I'm doing and chuck the brush when I'm done!