Tangier, Morocco

At the very beginning of our voyage, we sailed to Tangier Island in the Chesapeake Bay. This island was named by John Smith because the landscape reminded him of Tangier in Morocco. I personally think he was running out of names for things because the next island over in the Chesapeake Bay he named Smith Island. Did that island’s landscape remind him of himself?

Years later, we finally made our way to Morocco and got to sail into the port of Tangier without the use of a diesel engine (only using our electric engine to dock inside the marina).

Bronze vs. Stainless Steel, The Solution!

Bronze is just as strong and a little softer than stainless steel. This means that components can be manufactured to the same specifications in either material which also means that they are interchangeable on the same boat. Their working loads and breaking loads for the same size of component will be close enough that they are still interchangeable from a structural standpoint as well. What’s the difference? Softness.

Isn’t softness kind of a downside? While bronze isn’t soft enough to cushion the blow when you stub your toe on a component on your deck, it is soft enough to avoid cracking when overloaded. Under normal loads, both materials operate on your yacht in an identical fashion. The difference only emerges when the two materials are pushed to their breaking point.

Stainless Steel is harder than Bronze, and this means that it will hold its shape all the way until the end when it cracks. Once the metal has cracked, it looses all of its strength and the component will fail in a catastrophic manner! Bronze on the other hand is softer than Stainless Steel and as a result will not crack and fail all at once. Instead, it will deform, bend, or stretch a little. It is now weaker but it is still functioning at a reduced capacity. This means that when a bronze component is pushed to its breaking point, it will not fail in a catastrophic manner, but instead will deform and wait to be replaced while still performing its duties as a necessary component of the yacht.

If bronze is so great, why do new yachts all use Stainless Steel? Well, that is more of an aesthetic choice. Since the components are interchangeable on a yacht, there is no real difference in having a yacht finished with Stainless Steel components compared to one finished with Bronze components. This means that when a yacht is new, either material works just the same. Does the term “Brightwork” ring a bell? Well it should because that is where the difference comes into play.

Brightwork on a yacht are all the components that shine and are pretty, but as the name implies, it also takes work. Lots of work! Brightwork refers to wood that is then oiled and varnished, and it also refers to all the shiny bits of metal on the yacht. Wood can be left natural, where it will dry and turn grey which is infinitely less work to maintain than the same piece of wood maintained “bright” by someone who has to constantly oil and varnish that piece of wood. Let’s be honest, it looks pretty but it’s so much work to maintain! Bronze, if left natural, will develop a patina on its surface. It will not corrode and this patina causes no structural damage to the metal, but it is dull and dark looking. By contrast, you could spend the rest of your days polishing all the bronze on your yacht to keep it bright! As you can see, brightwork is a lot of work!

8129208264_30513d94d5_b.jpg

Now to the business side of things. When someone is selling a yacht, the person offering to pay a lot of hard earned money for this yacht is literally handing over a lot of money for “something” in exchange. That “something” is going to be a lot of work (and there is no way around this part, boats are work!) and the more brightwork on the boat, the more that new owner is going to have to work to maintain its level of beauty! An astute owner knows what they are getting into and is prepared for that level of dedication to keep brightwork bright, but an uninformed buyer just knows that “it’s a lot of work” and might get frightened away by the unknown amount of work ahead of them!

Yacht manufacturers have adapted to make selling a new yacht easier. Just as bow and stern thrusters allow yacht brokers to say “it’s so easy, just like parking a car” which then allows them to sell an even bigger boat (that is way more expensive) to someone with no experience at all. By reducing the amount of brightwork on a yacht, they can then reduce the amount of apprehension about maintaining all of that brightwork from potential buyers! This is why all the wood trim has been removed and yacht decks are completely covered in slick gelcoat!

132860_0_070320092107_0.jpg

But there is one problem with removing all the brightwork; people like shiny things! If you take all the brightwork away, there won’t be anything shiny on the boat and you won’t catch the eye of potential buyers. So, the metal bits have remained on the boat, but instead of being labor intensive bronze components, they have been replaced by polished or electroplated stainless steel components. Why? Maintenance Free*!

Why the “*”? Because nothing is Maintenance Free on a boat. How often do you see pitted stainless steel components or rust streaks on the boat from a part that was supposed to be shiny? Stainless Steel is “Stain-Less” not “Rust-Proof” and if neglected in a salt water environment, it will corrode! But the important part is it happens slowly and over many years, allowing the owner to blame time and not lack of work for the deterioration of the boat.

So stainless steel replaced bronze on yachts simply because it looks prettier longer and that makes it easier to sell the boat in the first place! So many aspects of yachts have switched from reliability to showmanship because the manufacturers are more concerned with selling the boat instead of the boat performing as a sailboat. Think about what else has changed on a yacht:

  • Cockpits got larger to allow more comfort while “hosting a party in the cockpit” while a true seaworthy cockpit is small to keep you safe and minimize the amount of water weight it will hold when the boat is swamped by a boarding wave.

  • Salons now have huge “windows” to let it a lot of natural light while a large portlight is a dangerous feature on a bluewater yacht. Imagine if the “window” breaks, now you have a massive hole in your boat where waves can pour through to sink your yacht.

  • All the interior joinery is crisp and sharp, like something from an IKEA catalog while in a seaway, such sharp edges pose a serious risk to your health. Imagine the boat being tossed around in a large sea way. As the yacht is picked up and tossed into the next wave, you are picked up and tossed right onto that sharp edge! Yacht interiors need to have rounded edges on all surfaces. Anything sharp or pointy can seriously injure you if you fall on it, while having a blunted edge makes it hurt a lot less (you will still get covered in bruises, it happens). The problem is rounded edges are not the modern design aesthetic in fancy house magazines, and fancy house magazine interiors is what they want in their fancy new yacht.

As always, when the mass market craves something, astute business people will find a way to provide it to them! Since everyone wants stainless steel for every part of their yacht, stainless steel is all you will find for sale everywhere you look. When you know better, you will become very frustrated because finding quality parts in bronze becomes an almost impossible journey to embark on.

Until now! 8 years after I bought my boat and resorting so far as to cast my own bronze components, I finally found a supplier who sells everything you can readily find in stainless steel, but in bronze! They offer components in both Silicon Bronze and Manganese Bronze, and in every size imaginable! The only catch is they are literally on the other side of the world if you live in North America or Europe.

Classic Boat Supplies is located in Australia, but they do ship internationally. This means that you will still have to wait to receive your bronze components. You can’t just drive over to West Marine and pick it up like you can anything made out of Stainless Steel! While shipping and waiting times are an issue, the important part is that you can actually get your bronze components and you don’t have to go on a wild goose chase with no end in sight!

Looking at Wire Rigging

I know I focus a lot on Synthetic Standing Rigging on this blog, but there is one important point to make about all rigging: They work until they fail.

Replacing steel standing rigging to synthetic standing rigging is a waste of money. Rigging is expensive and while synthetic standing rigging is cheaper than steel standing rigging, the cheapest standing rigging is the one you already have!

This is why I feel it is important to know how to look at your steel standing rigging to better determine when it needs replacing. Once your rigging needs replacing, that is when deciding what material to go with makes monetary sense!

IMG_8655.jpeg

This is what your standard 1x19 Stainless Steel wire (304, 316, or 316L) should look like. All the strands are pretty, polished, and clean. There are no signs of corrosion or other problems with the wire. Dirt is a fact of life and should not be a cause for alarm. Some boat owners go above and beyond to keep dirt out of every surface of their yachts; and while this is a positive trait in someone selling you a boat, it is also not practical or realistic to keep every inch of wire on a sailboat clean and free of dirt or debris!

IMG_8657.jpeg

Now we start to see problems develop. This wire is still in adequate condition for now, but its end is approaching. This is when you should begin saving up for the cost of replacing your rigging and deciding what material you wish to replace your standing rigging with!

Are you going to replace your rigging yourself or are you going to pay a rigger to do it? If you are going to pay someone, will they come to your boat or do you need to take your boat to the yard where they work? This would also be a good time to start collecting estimates from different riggers that way you know where you will be going when the end of the line finally comes.

When your rigging looks like this, you can still sail on it, but you need to keep a close eye on your rigging because it is dying. It is not dead yet, but it will be getting there!

IMG_8654.jpeg
IMG_8656.jpeg

This is what wire looks like when it is on its last leg. You can see many spots where rust is occurring. The strands have lost their luster and appear dull and tarnished. Rust spots are less the rare occurrence and more the norm, as almost each visible strand has multiple rust spots on it.

It is important to note the strict difference between rust staining and rusting metal. If you take perfectly fine stainless steel and rest it up against a rusting piece of metal, the iron oxide from the rusting metal will stain your perfectly fine stainless steel. This means that if you have a low quality piece of metal attached to your rigging and it begins to rust, the metal of the stay near this will develop a rust color. Rust stains polish off and the wire will go back to looking like new.

If the wire itself is rusting, there is no amount of polishing that can be done to remove all the rust and restore the original luster of the wire. When the stay itself is rusting, that is when it is at the end of its lifespan.

When the stay begins to corrode like this, it should be replaced promptly. Yes, you can still sail in light conditions with it as it has now “failed” yet, but it will soon fail and should be replaced.

Failed rigging is when it actually breaks, and while you can sail with your rigging until that occurs, the problem is that when a failure occurs during use, the repairs tend to be rather costly!

Imagine for a moment that you have your sailboat sitting in the slip and the port cap shroud begins to develop significant corrosion. At this point, your sailboat is sitting in the slip with the mast standing straight and tall. Nothing has broken or given way yet.

You make arrangements and either replace the stay yourself or hire a rigger to replace the stay for you. Then you go sailing with your new stay and nothing happens.

Now lets imagine the same situation but instead of replacing the stay when it was dying, you wait for the stay to fully die. You are sailing along on a close reach on starboard tack. The spray is coming over the bow and you are heeling well to leeward. Everything is wonderful and then you tack. Now all that load is on the corroding port cap shroud and the failing stay finally fails. The wires break and the mast becomes unsupported. The cap shroud had broken and the only think holding the mast up in the air are the lower shrouds! The force of the wind on the main and headsail pull harshly against the top of the mast which is no longer being supported by the port cap shroud and the mast begins to bend. The mast bends further and further causing the sails to become baggy and hold even more wind, and pulling even harder on the unsupported mast until it buckles at the lower spreader attachment.

Now you have a broken mast as well as a failed port cap shroud!

This is why you want to replace your stays when they are failing instead of waiting for them to fail.

Working Sails, Storm Sails, Light Air Sails

You often hear these terms but what do they refer to?
These are terms to describe sails used in different situations.

Working Sails

IMG_2650.jpeg

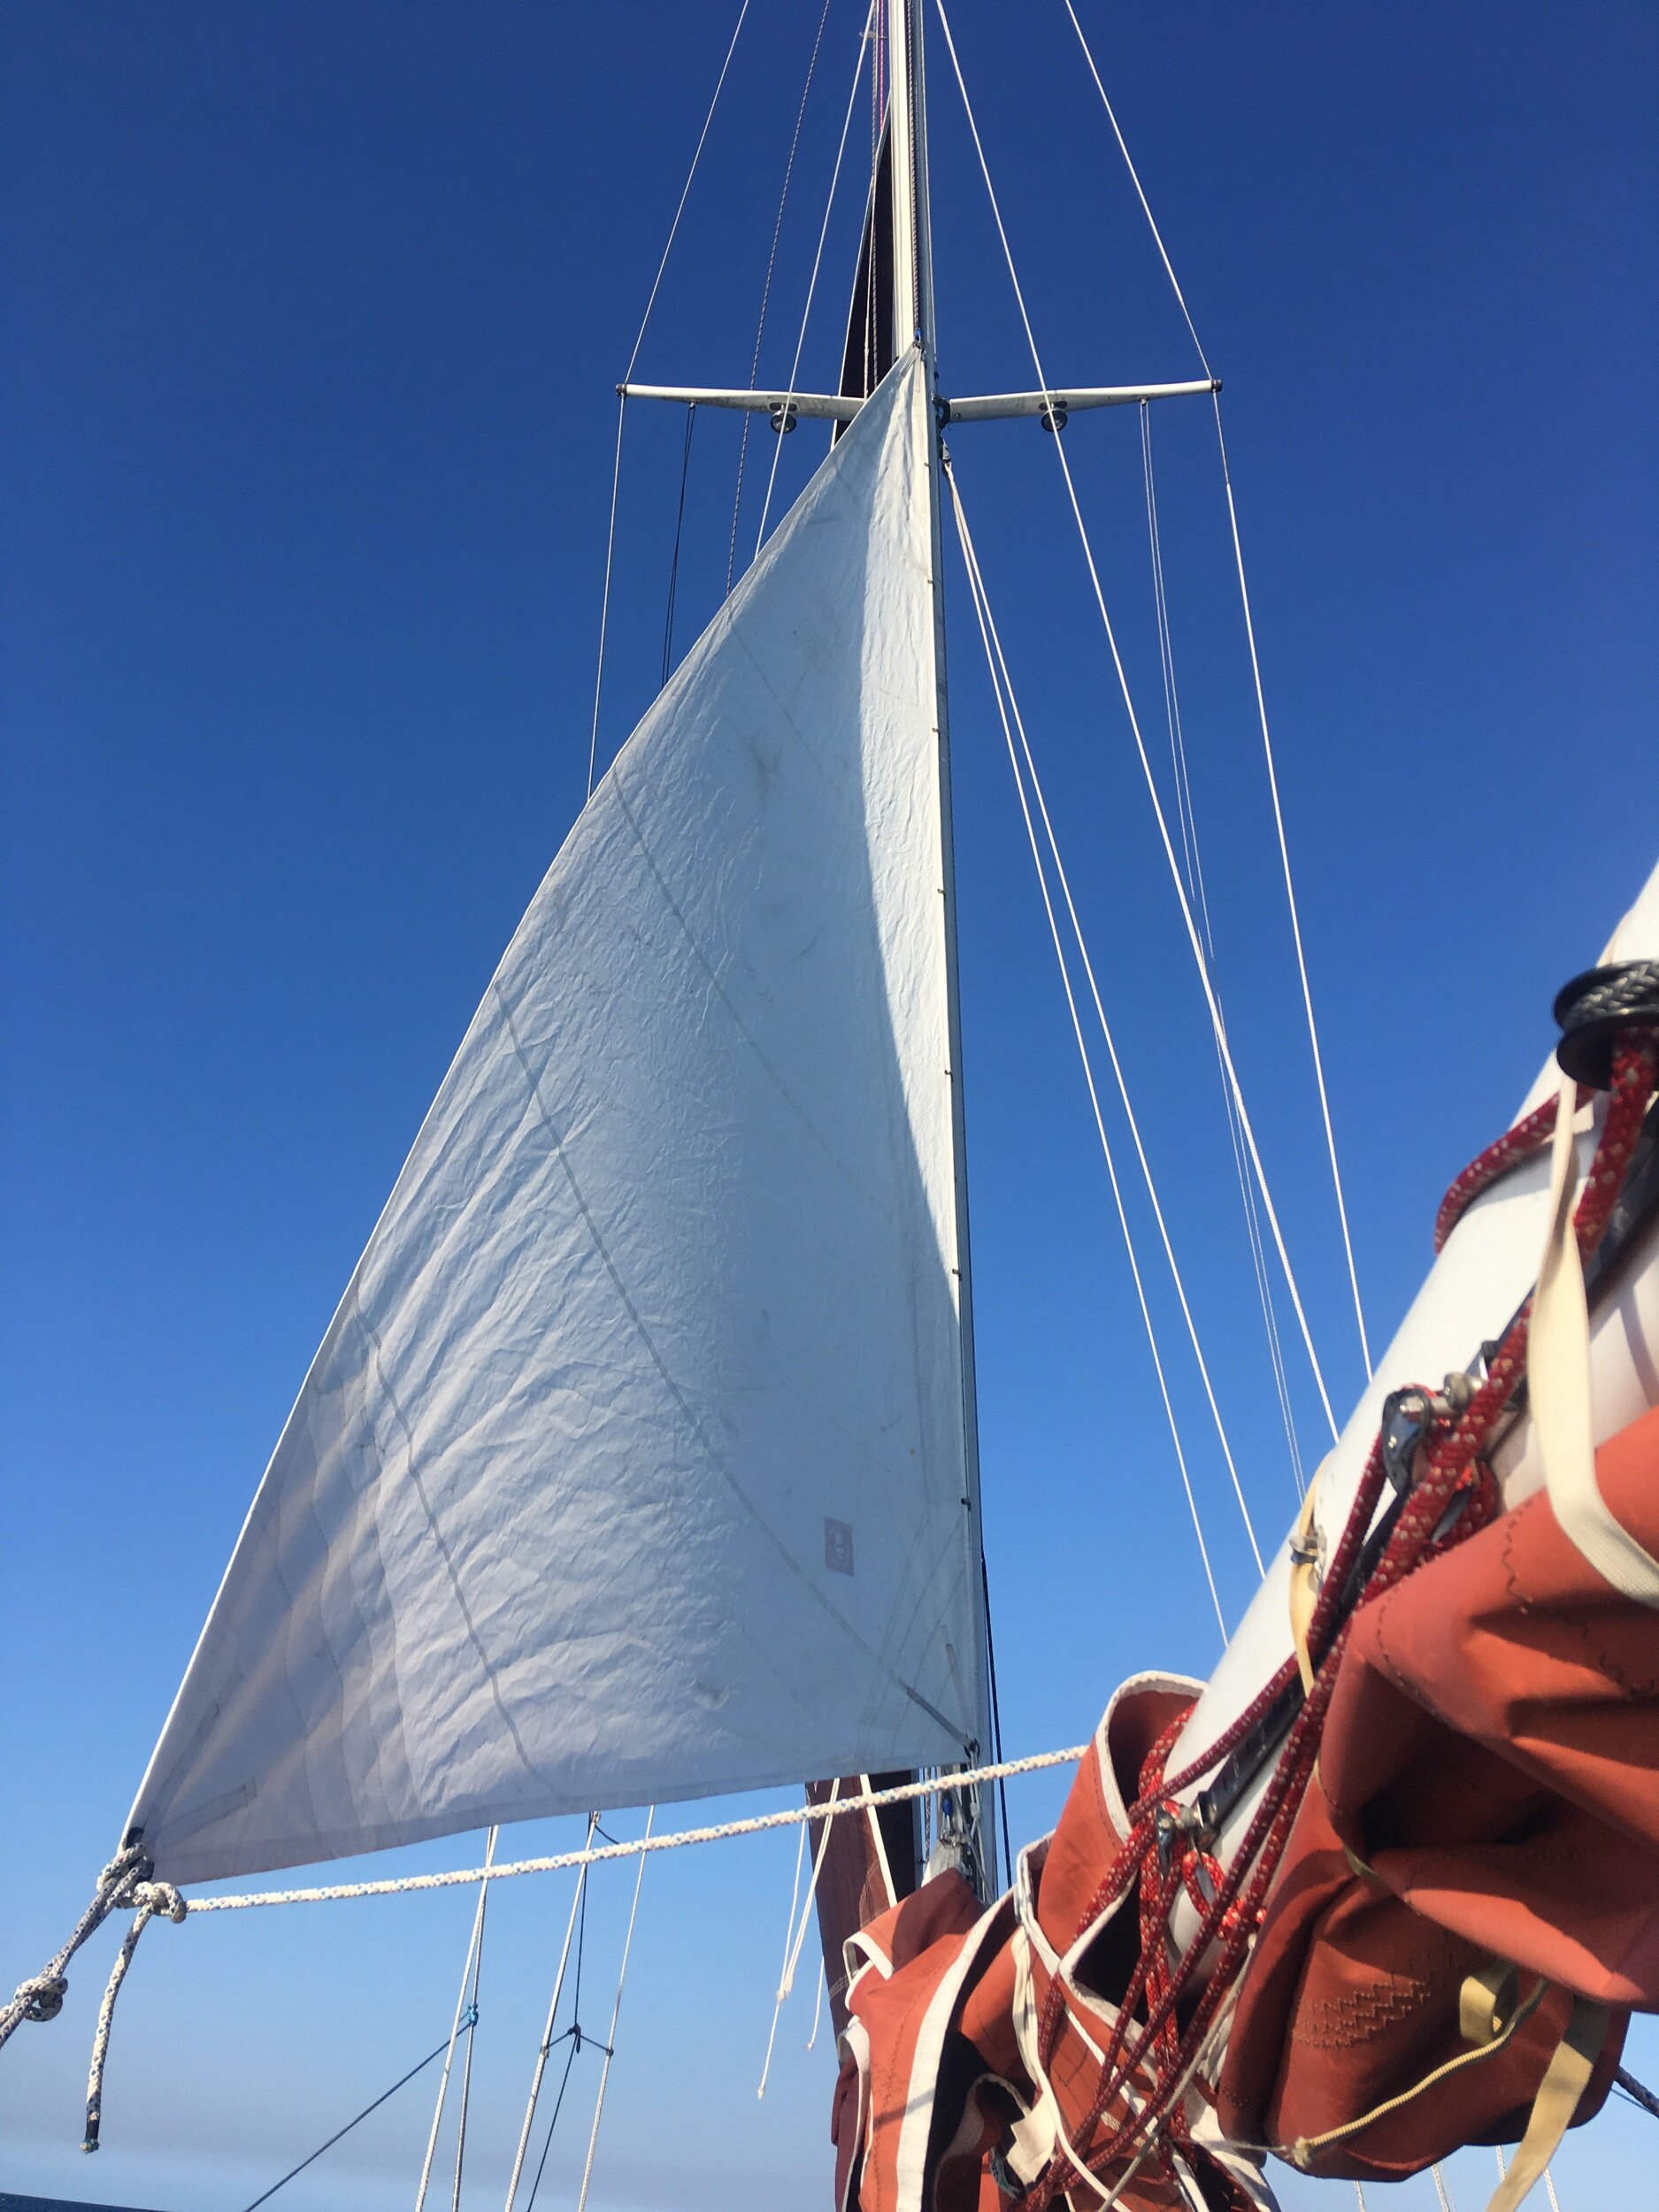
Working sails are “the normal sails”. These are your mainsail and your regular headsail. The headsail type doesn’t matter: Genoa, Jib, Staysail, Yankee, it doesn’t matter.
These sails are used when the winds are present all the way up to when the winds get strong you need to start reefing.

Storm Sails

IMG_1811.jpeg

When the wind picks up, you start to reef your working sails. Reefing makes your sails smaller but these are still your working sails (even though they are smaller). When the wind gets too strong, you then switch out your working sails for your storm sails.
These sails are your trysail and storm jib. These small sails are specially made for high winds and horrible conditions! The cloth will be incredibly heavy and the stitching will be strong and overdone.

Light Air Sails

3A9845E7-EAC5-4B91-96EC-669FED3934DA-273-00000050E62F21E2.jpeg

The polar opposite of your storm sail are your Light Air Sails. These sails are made of very light nylon that will fly in the lightest of breeze. The conditions for these sails will be from “No Wind to less than 10 knots of breeze”.
Sails that fall into this category are spinnakers, drifters, and nylon mainsails.

Hopefully this cleared up some questions you might have about sail types and the terms Working, Storm, and Light Air!

Dental Health While Traveling

As a dentist, I know how important it is to take care of your teeth, and also how easy it is!

The best thing you can do for your teeth to prevent any issues while at sea on a long voyage is to brush your teeth! When you are sailing, time drags out and you have long periods with nothing to do. This is excellent because this is when you can brush your teeth like a dentist.

Everyone knows that you should brush twice a day for two minutes each time. That’s nice but it doesn’t really work. You need to brush twice a day and you need to do it well! The average American brushes for about 7-15 seconds! Now that you are at sea, you have plenty of time to do it right.
The first thing you need to do is stop brushing your teeth and start cleaning each tooth individually.
The toothbrush is not a chore machine that you pass over your teeth, it is a tool to help you clean your teeth.
Focus on cleaning each and every tooth. Start on the bottom back right and clean the last molar, now after it’s spotless, scoot forward one tooth and clean the molar in front of that, next the premolar, and on and on. When you finally finish the bottom arch, it’s time to clean the top arch.
How do you know when your teeth are clean? This one is very easy, you just need to use a very sensitive and agile appendage to feel your teeth: Your tongue!

Rub your tongue over each tooth. If you feel anything rough or sticky or anything other than slippery smooth, brush it a little more and recheck.
You have 32 teeth if you never had your wisdom teeth removed, and if you did, then you only have 28 teeth to clean. This whole process takes me about 4-5 minutes to carry out and my teeth are spotless at the end of it all.
In all honesty, this is fine on calm days when the time drags on forever; but on days when the wind will not relinquish you from the whips of furry brushing is the last thing on your mind.
When we have found ourselves hove to in a gale for days or just in terrible seas, brushing my teeth is the last thing on my mind. If brushing occurs that day, it will be fast and sloppy because the last thing I want to do is fall over with a tooth brush in my mouth! I honestly forget to brush unless Maddie reminds me of it. Once the weather calms down and we switch out our storm sails for our working sails, I get to relaxing in the cockpit and my tongue will notice how fuzzy my teeth feel!
And so begins the ritual of brushing my teeth in calm weather.
Fun tip: if you pull up a bucket load of clean ocean salt water, use that to brush your teeth. The salt in the water will do wonders for your gums and your mouth will feel great! I honestly prefer brushing my teeth with ocean water over using regular fresh water or even rain water!

A toothbrush is a wonderful tool to clean your teeth but it won’t repair neglect or decay! Always visit with your dentist and have them take X-rays before you set out in a long voyage. If your insurance won’t cover X-rays because of frequency limitations, pay it out of pocket! Catching a problem and fixing it while on shore is so much better than having an issue flare up while at sea and far from a dentist.