Hot Showers Without Electricity

Showers are nice, and what's even better is a hot shower! When you are plugged in at a marina, the water heater makes the shower on the boat as comfortable as a shower on shore, but what about when you are anchored out and not plugged in to shore power?

Some people will crank up their generator to power the water heater, others heat their water with the diesel motors coolant. On Wisdom, we don't have either option since we never had a generator and have replaced our water cooled diesel with an air cooled electric motor. Living with an electric motor should not condemn you to a life of cold showers!

We use the power of the sun to heat our shower water in a way that uses no electricity or fancy complicated systems. 

We call it the BatShower!

We call it the BatShower!

This contraption is simply an insecticide sprayer (new and never filled with pesticide) wrapped in black tape with a kitchen sprayer hose connected to the container. 

The black tape helps collect more radiation from the sun, heating up the water inside all the faster! Black paint could also work but we worried that the paint would chip off and make a mess on the boat. The black tape has developed some scrapes and nicks over the years, but there has yet to be any flaking or mess caused by this setup.

The kitchen sprayer nozzle has been a wonderful addition to the shower. We felt weird spaying ourselves with the pesticide nozzle, and the nozzle took up a lot of space. The kitchen sink nozzle is small, compact, and works just like a regular shower nozzle. The button on the handle lets you control the flow of water as well, depress the button to flow water, release the button and the flow stops completely! Thanks to this shower nozzle, we waste almost no water during our showers.

To operate the shower, simply pump the handle a few times to build up pressure, then wet yourself, lather up, and rinse yourself off. Maddie and I can both shower with the volume of water stored in this shower, and still have some left over! Having the very limited quantity of hot water also reduces the risk of a long shower depleting our water tanks. Long showers with the sprayer are interrupted by the need to re-pump the tank! This helps keep showers short and water use to a minimum while still getting you clean and making sure you smell nice.

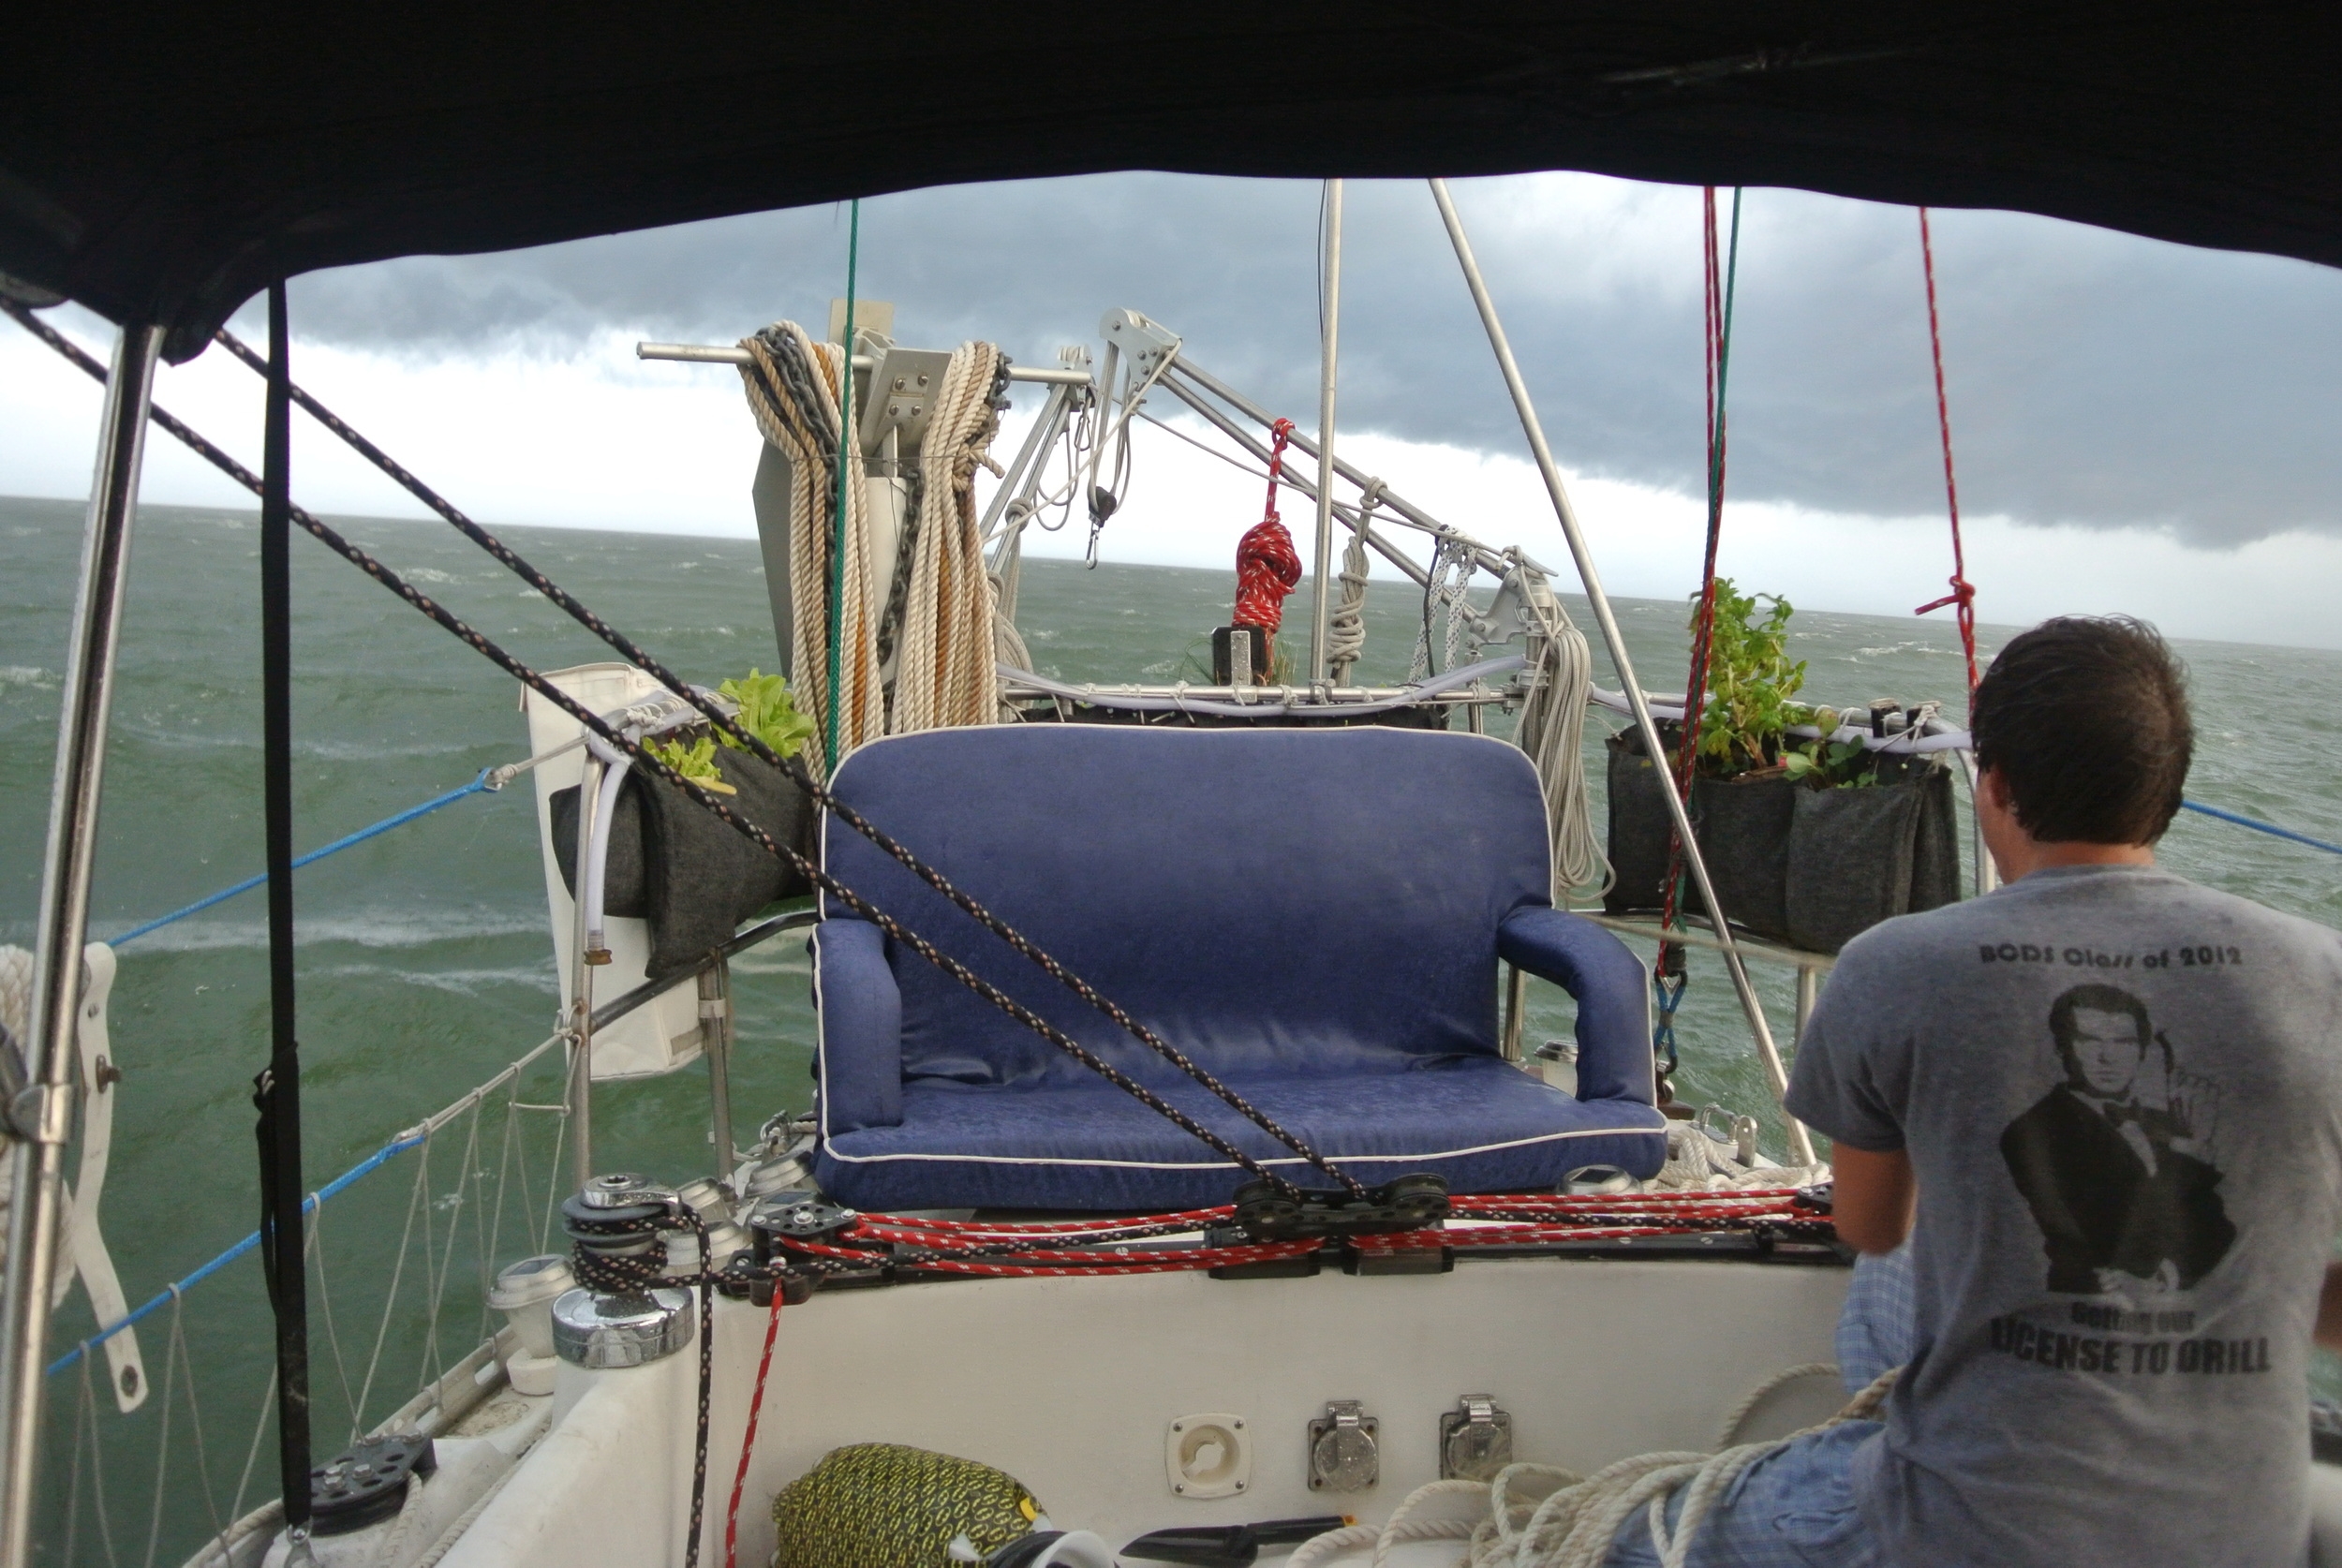
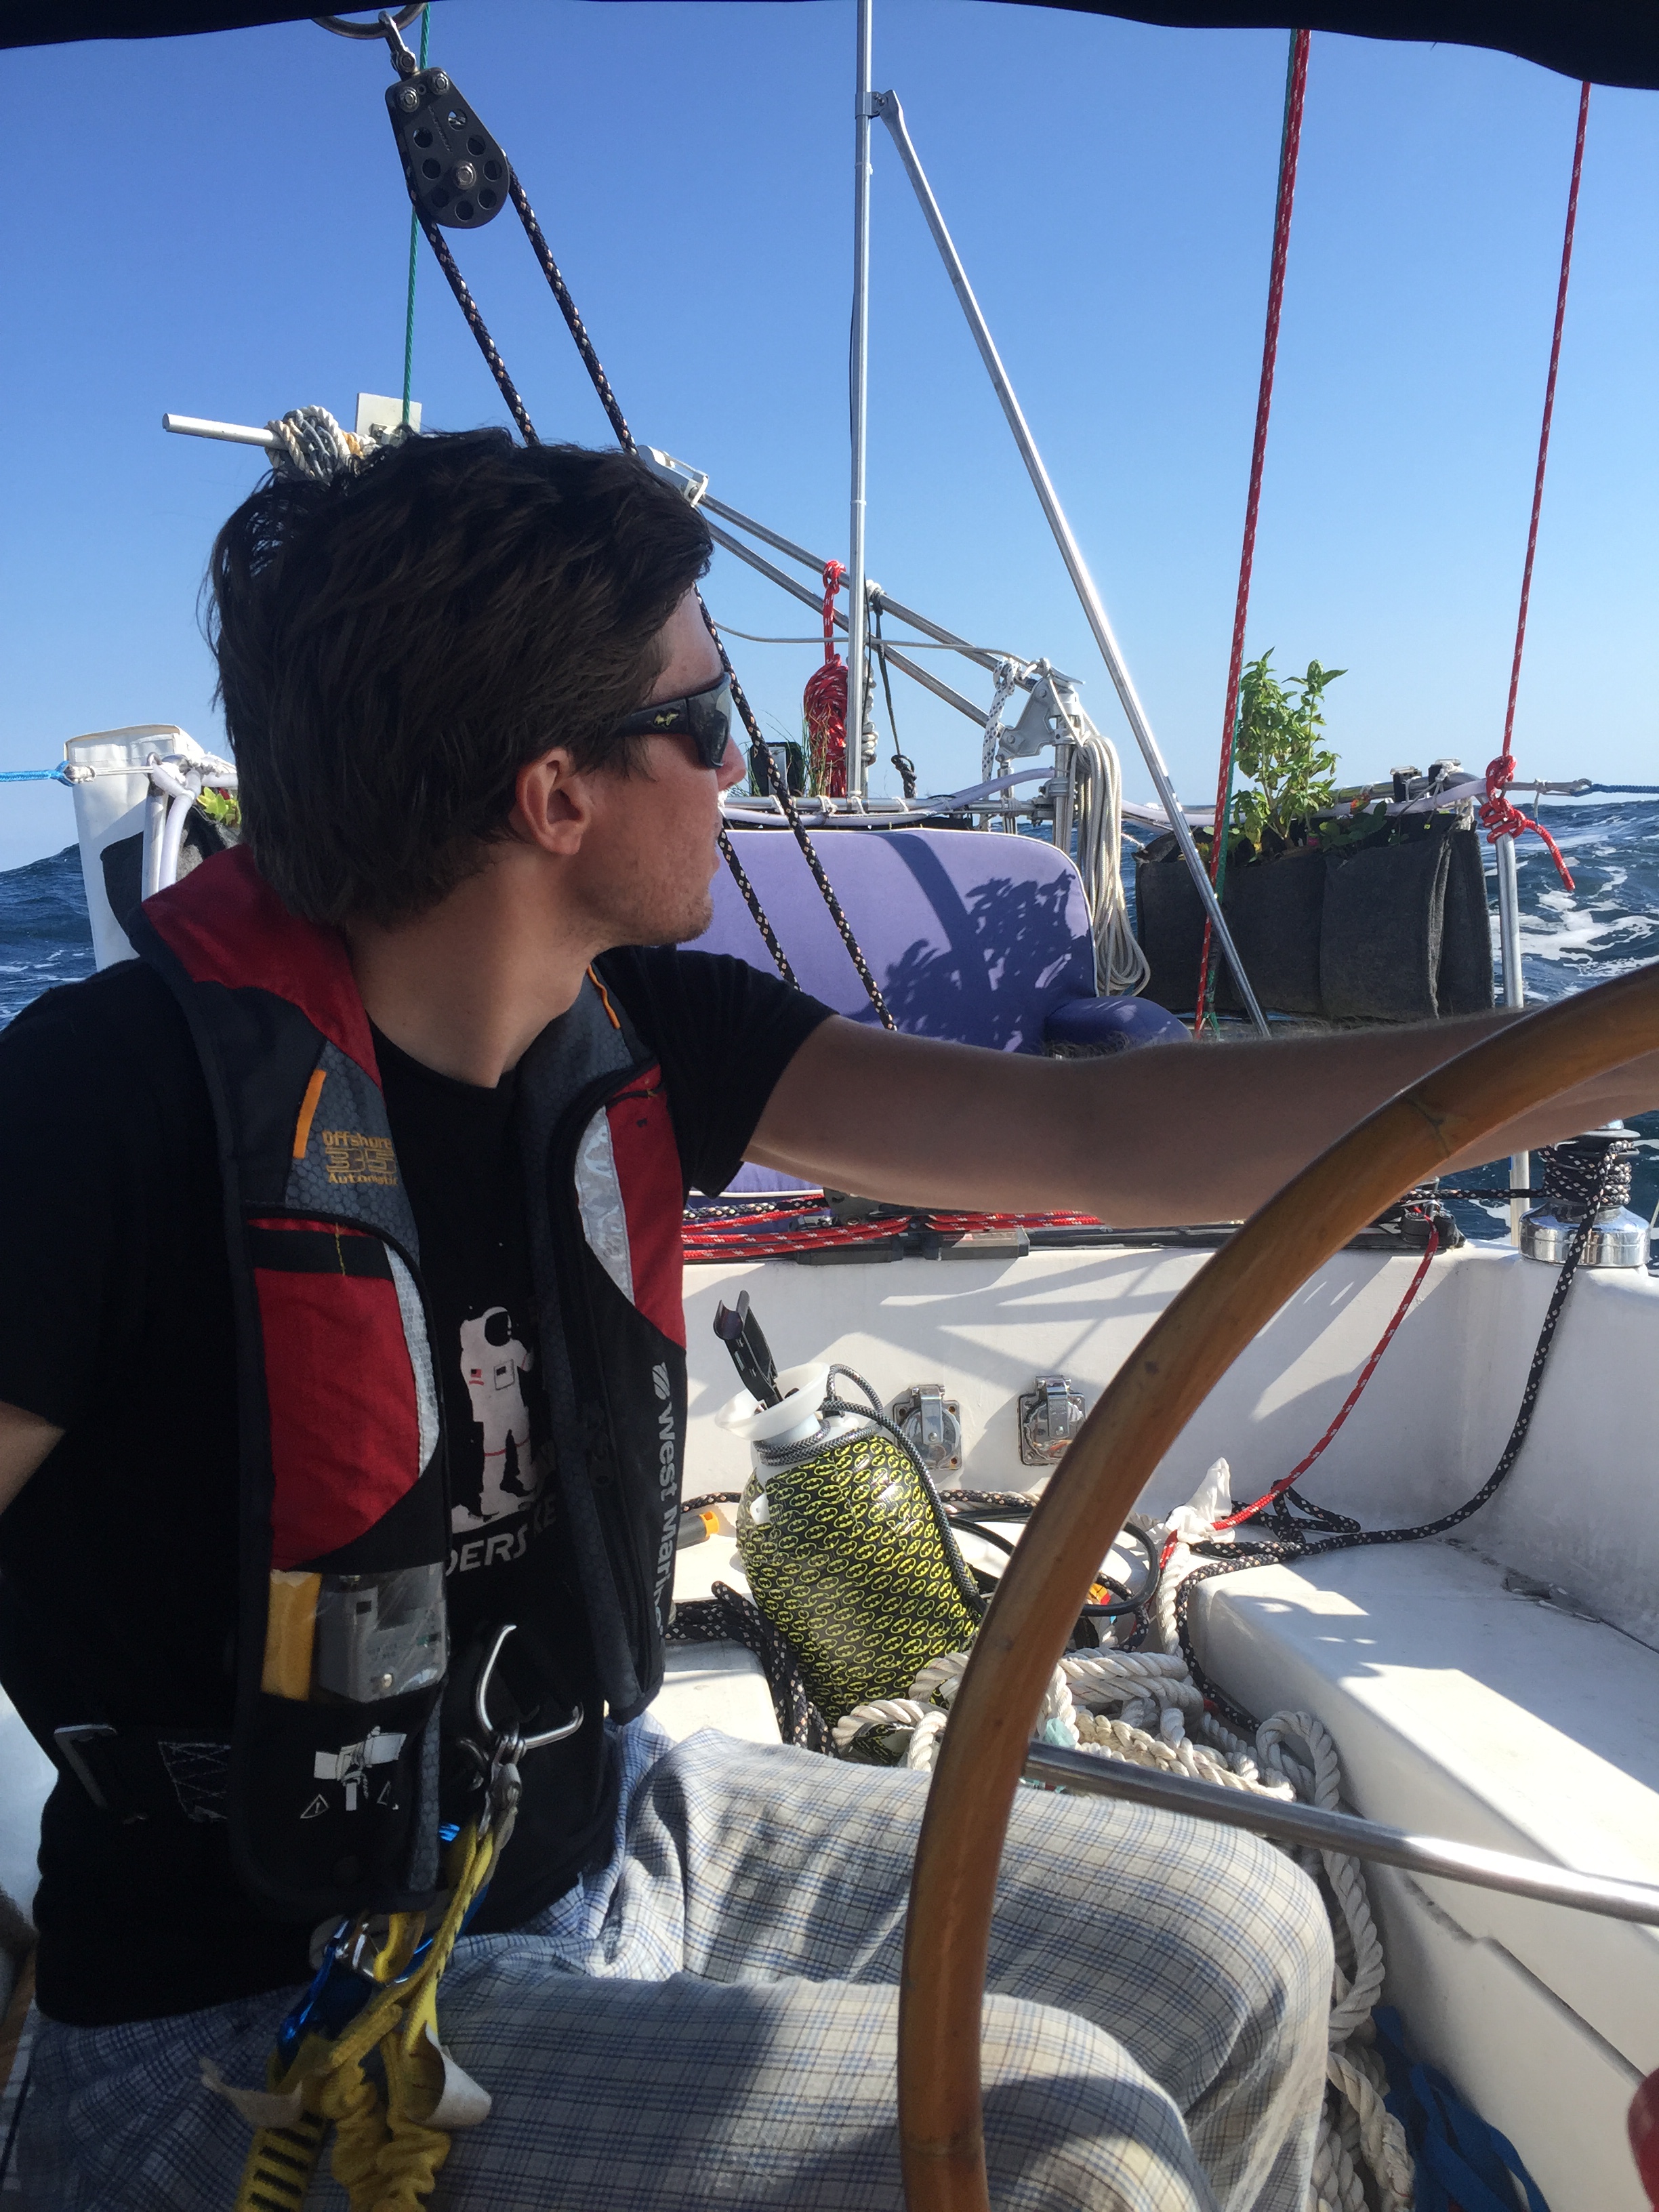
To warm the tank, we simply leave it laying in the sun all day. You can actually see it in most of the pictures, it's left resting in one area or another while we sail or at anchor; passively collecting sun and heating up our shower water.
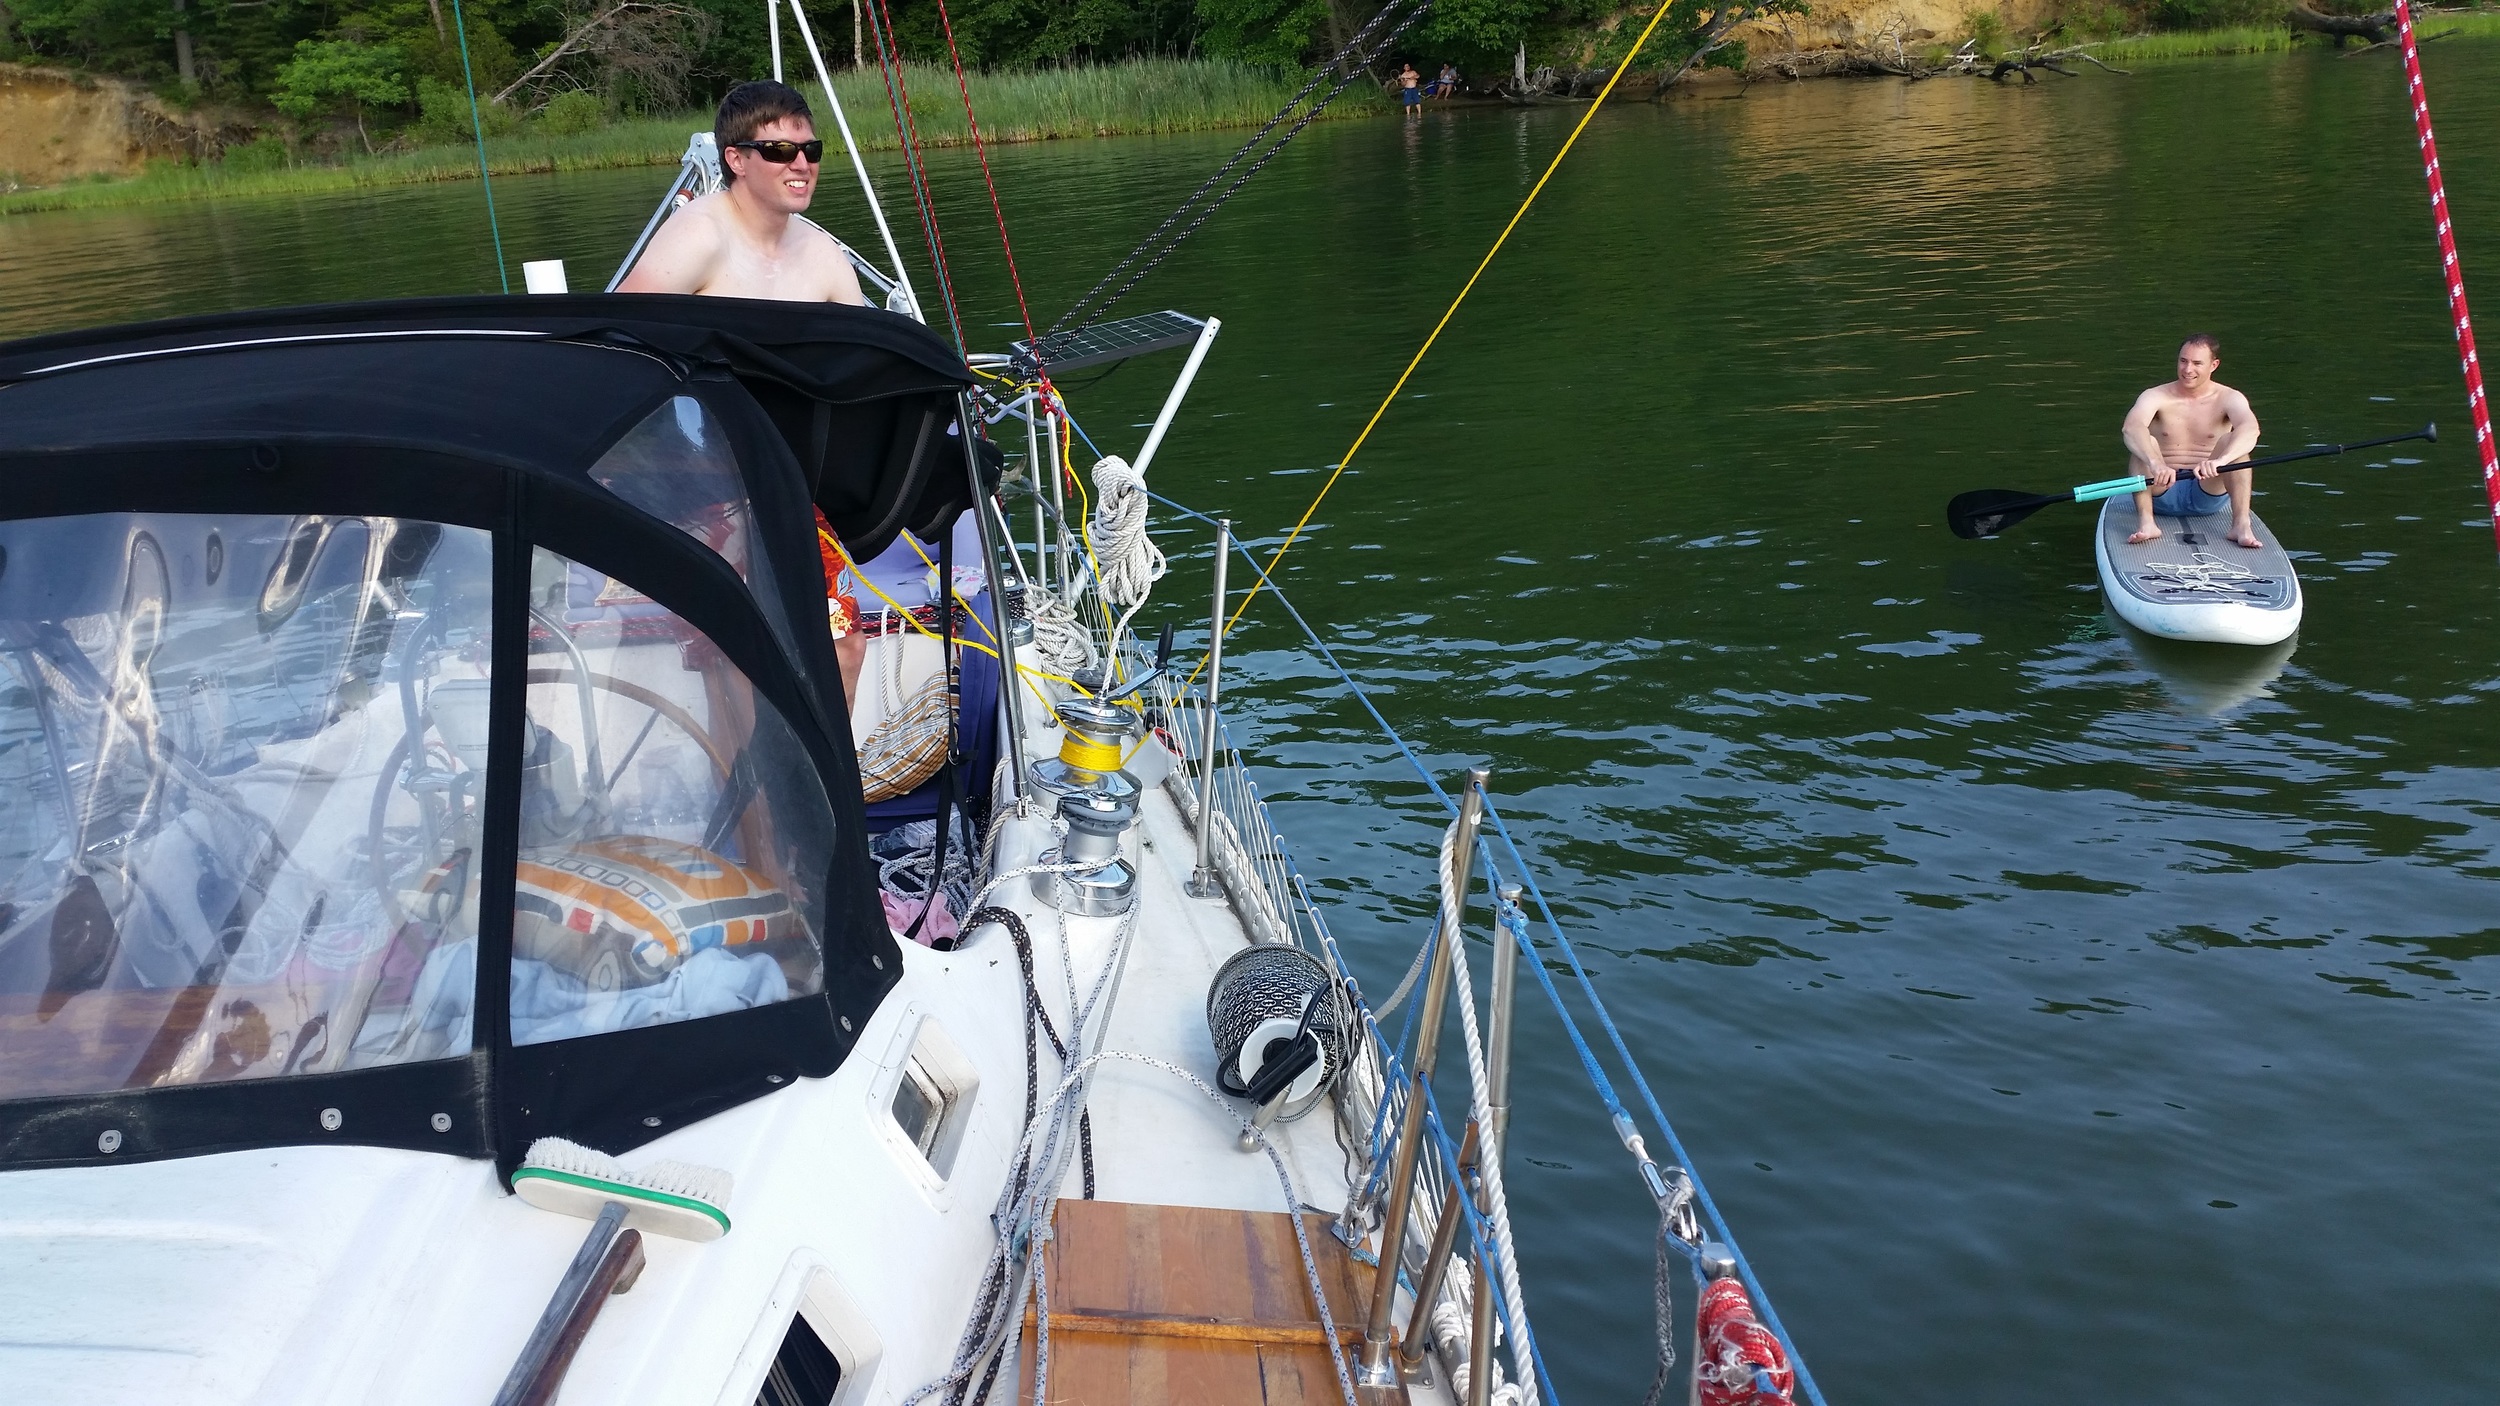
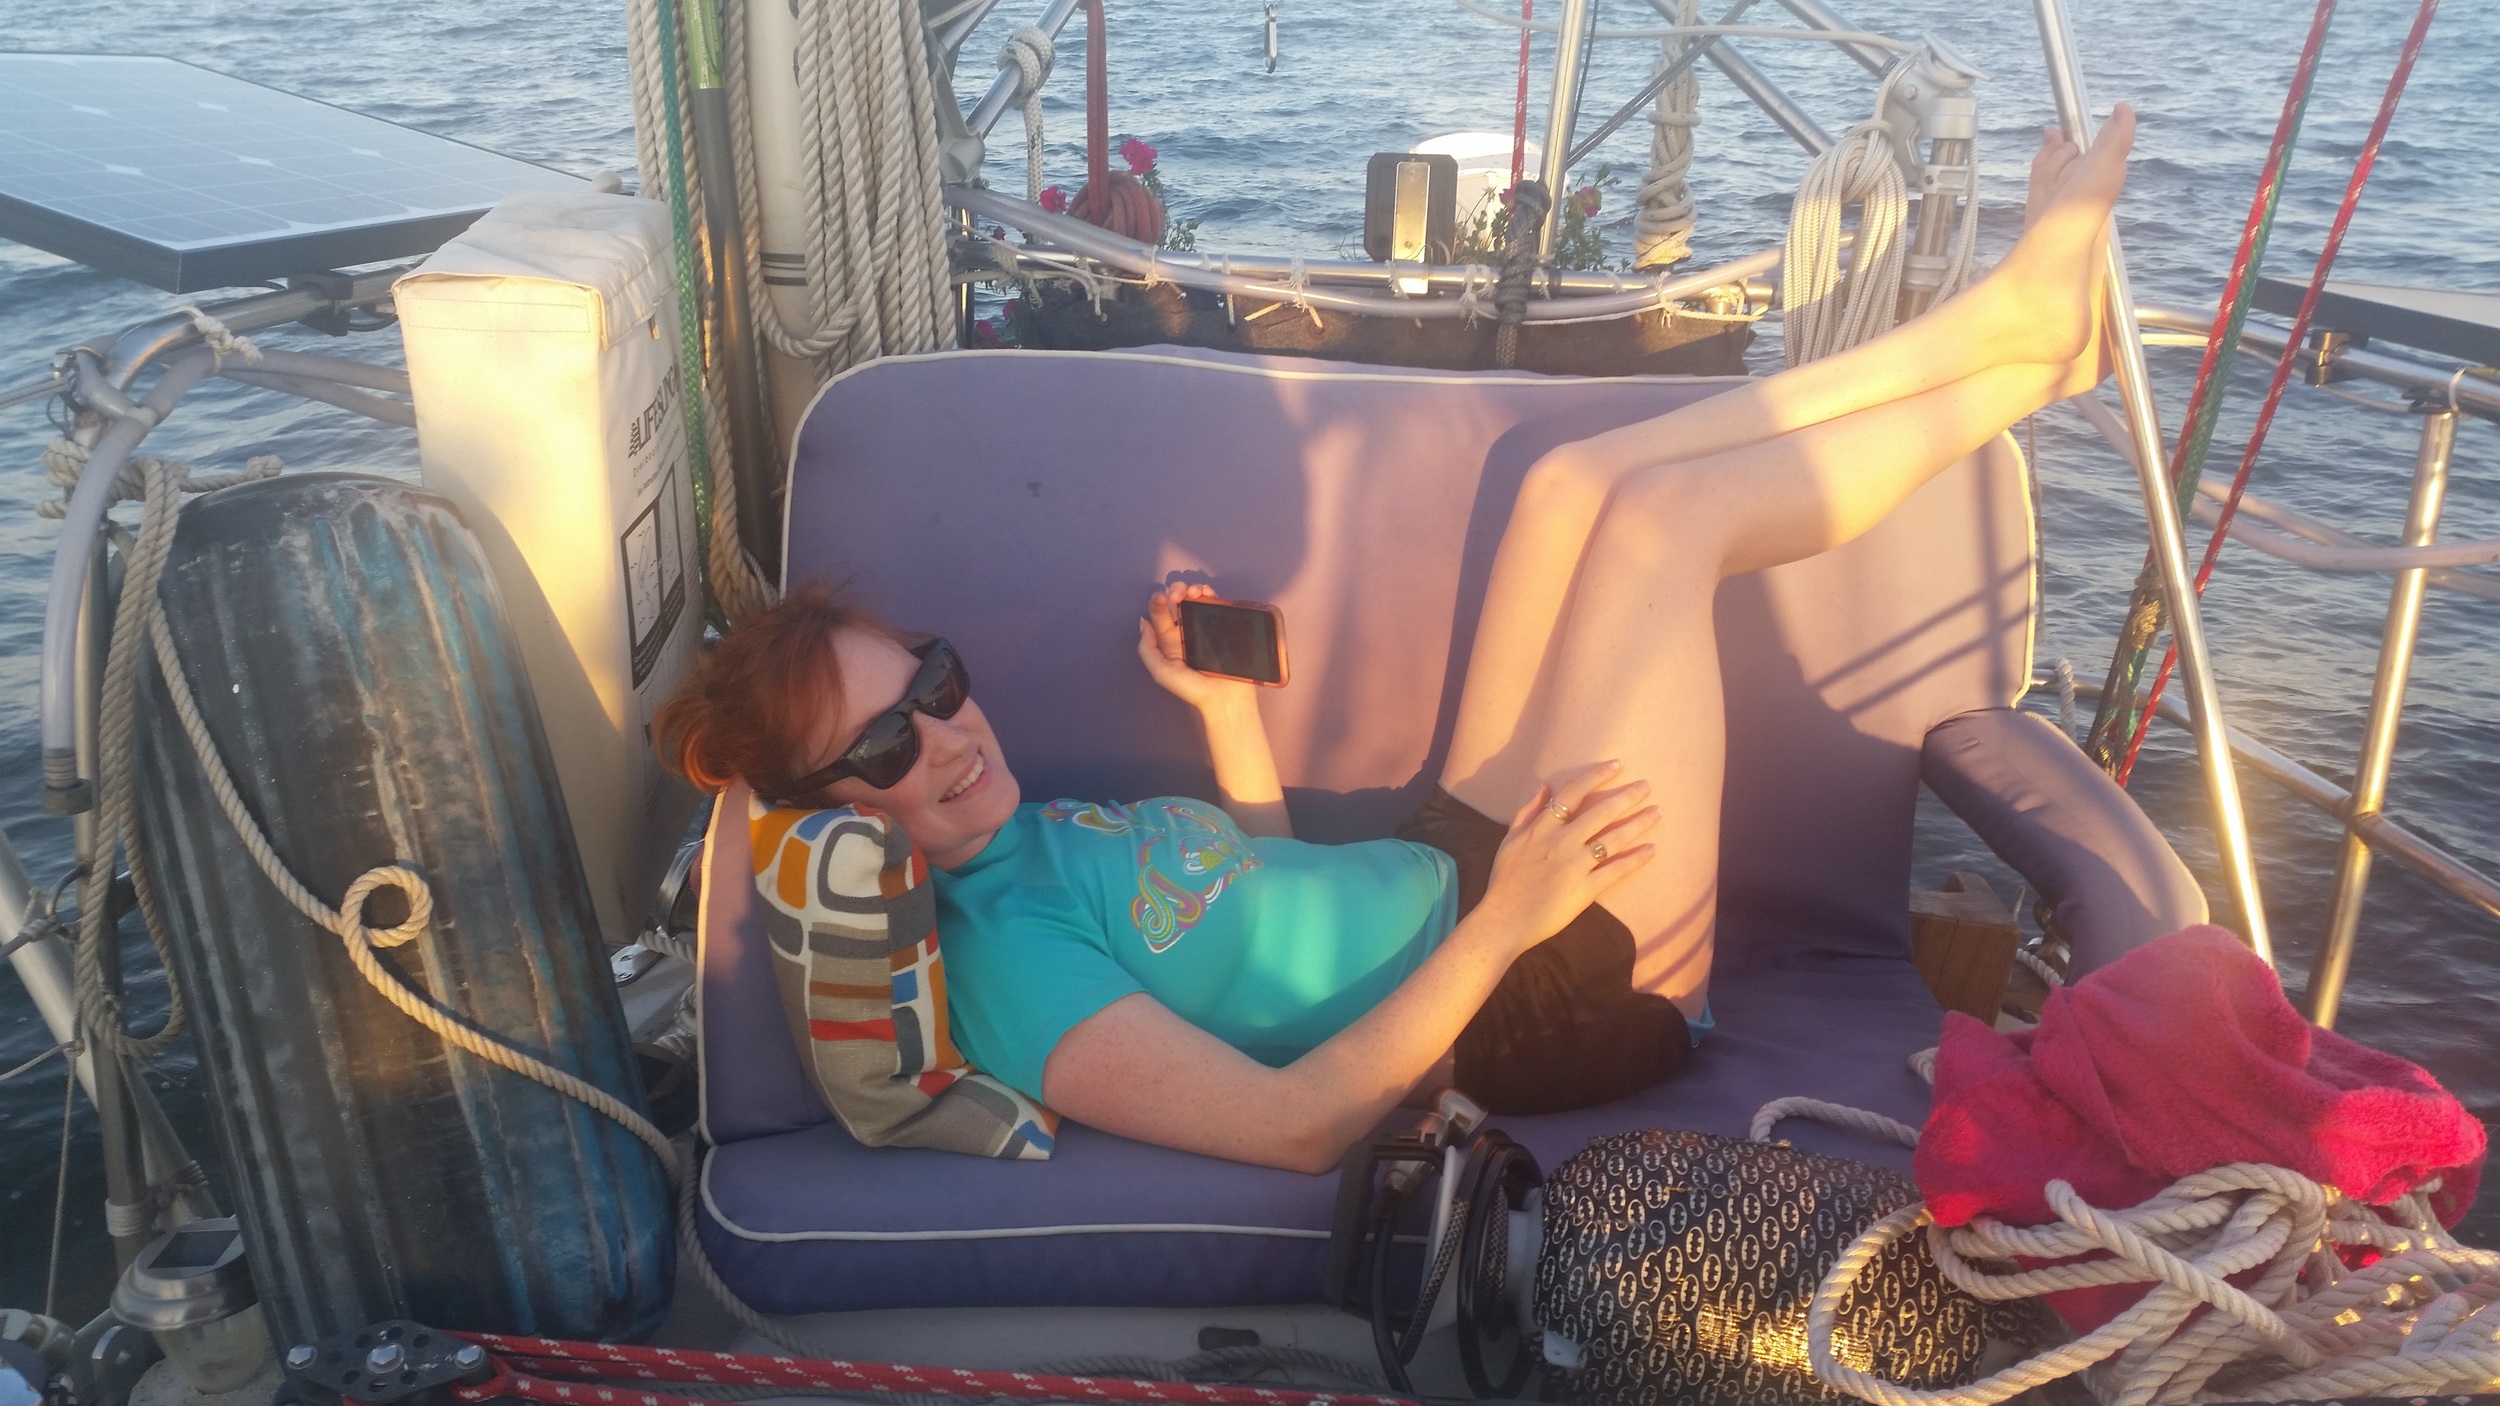
By the end of the day, when we are ready for our shower, we have plenty of hot water for us! If no one is around, we shower on the deck or in the cockpit; if we are in a crowded anchorage, we shower inside in the head by placing the shower on the composting toilet and standing in the shower stall area.

It takes up a lot less space than a regular shower, requires no plumbing, and only relies on sunlight to generate our heated shower water! If we have a cloudy or cold day and the shower is unable to warm up, we simply boil some of the water on the stove and pour it back into the container. That will give us plenty of hot water in a hurry!

Air Circulation

Air circulation is very important on a boat, it keeps the air fresh, fights mildew growth, and helps control condensation. There are many ways to achieve air flow in a boat and we will look at some of the options.

There are two main types of vents on a yacht, passive and active. Passive means that air can flow through them if it should desire but there is nothing pushing it to do so. Active air flow is achieved when a fan pushes the air through the vent. By using a combination of active and passive vents, proper circulation can be easily achieved.

Active air flow utilizes fans to push the air through. This can range from your engine room blower to solar vent fans. These systems actively push the air in our out of an area. 

Passive air flow typically utilizes dorade vents, grates, hatches, and port holes. These openings can be directed to draw air in without the use of a fan. 

Active air flow alone is not as effective as the combination of active and passive. When used alone, they will either create a change in pressure that will work against them. Imagine a sealed engine room with a blower trying to suck all the air out as quickly as possible. It won't be able to! As much as it draws, there needs to be new air to replace the extracted air. The same with a boat riddled with solar fans all drawing air into the cabin: if there is no place for the current air to go, no new air can come in.

When used in conjunction with one another, the blower can draw the engine room air out while vents feed fresh air in; turning over the engine room air and ensuring an explosion free engine start! The same goes for a vessel with a bunch of solar fans pushing air into the cabin, a few vents to let the current air out will greatly increase air flow.

While vents and fans are useful when there is little breeze, hatches and dorades shine when the wind pipes up! Hatches can be angled into or away from the wind, the same with dorades. When angled into the wind, they will draw in great volumes of fresh air. When they are angled away from the wind, they will create a low pressure behind them that will draw out the cabin air. This is why if all the vents aim into the wind and you close the companionway, the draft will stop; the air needs someplace to go.

When it's cold out, no one wants to be opening hatches to keep down moisture levels, but you still need that air turnover to combat condensation. This is where passive vents shine. They will let in and out just enough fresh air to keep the boat much drier. 

I typically keep my two dorade vents aimed in opposite directions. This way one is always drawing in air while the other is expelling air. 

Vent position is also very important. If all the vents are in the same area, the rest of the boat will suffer from still air. Vents should be laid out in such a way that air will flow through the whole boat. Placing dorade vents near midship will draw air in, and having vents for it to escape forward and aft will draw the air through the whole vessel.

Another place that is often overlooked but greatly appreciates the airflow is the bilge. Airflow helps fight wood rot. If the wood is sealed up with still air and high moisture, spores will begin to activate and eat away at your timbers. Having a grate in the floor is a minimally invasive addition that can help promote bilge airflow. Feeding a large air hose down into the bilge connected to a dorade vent will further promote airflow into the bilge. 

If you find that your boat is stuffy inside, think about adding a combination of active and passive vents to help circulate the air inside to make it just as fresh as the air outside!

Topping Lift

To most people the Topping Lift is the rope on the side of the mast that hasn't been touched the entire time they have owned the boat and is currently covered over with algae growth! That mossy green line actually serves many purposes and should be adjusted frequently.

The main purpose of the Topping Lift is to hold the boom up when the sail is not raised. Most people set this line once when the boat is new and never adjust it again. This is why the topping lift is often forgotten for the life of the boat, allowing the line to rot away on the cleat. 

The problem with "setting and forgetting" the topping lift is as the sail is raised, the topping lift will become slack and begin to bow out. The topping lift can even wrap around the backstay which can sometimes foul on a backstay adjuster. When the sail is raised, the topping lift should be adjusted to take out any slack in it while taking care to not over-tighten it.

When the mainsail is reefed, the boom will rise to meet the new clew, this will also induce a lot of slack into the topping lift. Once again, it should be adjusted, taking out the slack line.

Lastly, the topping lift can be used to delay reefing by tensioning it a bit to raise the boom. This will induce a twist into the sail, causing the top of the sail to spill air and reduce its efficiency. Releasing the mainsheet will also induce a twist in the main, spilling air, but only when the boom is eased out. Using the topping lift to induce a twist will allow you to spill air while close hauled with the main sheeted in tight.

One last reason the topping lift shouldn't be ignored is this line can serve as a spare halyard for the main. The topping lift doesn't really undergo much stress, and could be rigged with a very small and weak line. If something were to happen to the main halyard, it would be awfully nice to simply hook the topping lift to the head of the mainsail and raise the sail up to continue sailing onward. For this reason, the topping lift should be greatly oversized and made to the same specifications of the main halyard.

Next time you look at your rigging, dust off the topping lift and inspect it with the same scrutiny that you give your other halyards. 

Sailing in a Storm

During storm conditions, you set and fly storm sails; this sounds logical, but which storm sails should you set and why?

Most people think of the storm trysail as the storm sail. When heavy weather approaches, sailors will lower all their sails and set only the trysail. Then these boats find it incredibly difficult to continue sailing during the storm, attributing it to the storm and not to the fact that they have their sails set incorrectly.

When sailing on a brisk day, would you raise only your mainsail, leaving your jib furled up or on the deck? Never! Sailing bald headed will make the boat horribly unbalanced and hard to control. You need some sail forward of the mast to move the center of effort closer to the center of lateral resistance. This will balance the helm and allow the boat to sail under more control and more comfortably through the water.

The same holds true during a storm, raising only a small scrap of sail, also known as a trysail will set the center of effort well aft of the center of lateral resistance. This small sail will provide some control during the storm, but not very much. As irrational as it may seem, you actually want more sail during the storm to balance out the sailplan and afford you more control during the storm. This additional sail is known as a storm jib.

The storm jib works in synchronous with the storm trysail to balance out the sailplan and allow you to continue sailing under control and comfort during wicked blows. Storm jibs come in a variety of styles, due to the varied nature of headsails. The most common styles of storm jibs are those for:

  • Sloops with roller furling headsails
  • Sloops with hank on headsails
  • Cutters

Sloops with roller furling headsails are not able to take their headsail off during a blow and raise the small storm jib. Instead these storm jibs hook over the rolled up headsail. This offers an easy way to set a storm jib while also insuring against the headsail un-furling during the storm. The downside to this system is the headsail can chafe on the UV cover of the furled headsail. 

Sloops with hank on headsails simply lower their headsail and raise a dedicated storm jib. This is the cleanest way to set a storm jib as there is minimal resistance from the bare stay as compared to the massive wind resistance of a furled headsail

Source: https://en.wikipedia.org/wiki/Trysail#/media/File:Sturmbesegelung_2010.JPG

Source: https://en.wikipedia.org/wiki/Trysail#/media/File:Sturmbesegelung_2010.JPG

While both of these options provide a suitable headsail for storm conditions to balance out the storm trysail, they are not in the best of locations. Setting a storm jib on the headstay means that the center of effort has been moved very far forward. This will make control and comfort less than ideal, but still better than flying only a storm trysail.

Cutters have the advantage of having an inner forestay. This stay usually flies a staysail, which looks like a small jib. The ideal is to remove the staysail and a storm jib set on the inner forestay. This would place a small storm jib ahead of the storm trysail to balance the boat, but still keeping the sails low and centered to the hull, improving control and comfort during the storm. With a balanced sailplan during the storm, you will be able to sail in extremely high winds in a similar fashion to when you are sailing in lesser conditions.

While the staysail is small, it is usually too large to function as a storm jib when paired with a storm trysail. Our staysail produces too much lee helm and overpowers the trysail, making it impossible for us to sail to windward during strong storms. For this reason, we had our staysail made out of very heavy sailcloth, allowing it to serve as our storm jib when we tuck in a reef. 


Not the prettiest of reefs, but the storm was approaching and I had other matters to attend to.

Not the prettiest of reefs, but the storm was approaching and I had other matters to attend to.

A reefed staysail made out of very heavy sailcloth (storm sail grade) will serve as an easy to set storm jib that will balance the storm sailplan and without needing to take the staysail off the stay, bag it, pull out the storm jib, and hank it on. A mousing was tied on the snap shackle to avoid accidental openings during the storm. 

With this sailplan, we were able to claw our way off a lee shore during sustained 40 knot winds. Once further from the shore with enough water to drift through, we lowered the reefed staysail and hove to under the trysail alone.

With the staysail raised, we were able to sail comfortably, but had some difficulty heaving to. With the staysail lowered, our forward motion slowed and we hove to easily; the boat drifted sideways through the water and kept the bow towards the weather. This made weathering the rest of the storm very easy for us!

The difference between the storm jib and trysail, vs trysail alone was dramatic! If you plan to make headway off a lee shore under only a trysail, you will find yourself facing an impossible task. You will need the balance and drive provided by the storm jib and trysail to work your way to windward in an emergency.

Trysail Setup

The trysail is a very small sail set in place of the main for storm conditions. It is considered one of the two sails that are never used on a sailboat, the other being the spinnaker. This is probably because people like to turn into powerboats during a storm by dropping all the sails and cranking up the engine.

The problem with this is the extreme motion of the boat during a storm is sediment in the fuel tank can become suspended in the fuel and clog the fuel filter. This is why you always hear of sailors complaining that their engine died at the worst time possible during a storm. If you were relying on your engine, then now you are adrift! Laying a hull under bare poles has been proven a horrible storm tactic, leading the boat to lay beam to the seas and usually capsizing or rolling over completely. When your engine dies in the peak of the storm is not the ideal time to raise your trysail, but at that point, you might be willing to "try" anything, even that "sail".

Being how we don't have the luxury of motoring during a storm (our electric motor doesn't have enough charge to power us through a long storm), we rely on our sails and have actually used the trysail a few times! As soon as we see a severe storm on the horizon heading our way, we rig our trysail. This lets us get everything ready and rigged in calm weather so we are ready for the storm as soon as it hits. 

The trysail runs up its own mast track next to the mains track. This allows the trysail to be raised without removing the mainsail. 

The sheets of the trysail are run to a turning block aft, and then forward to a large sheet winch. A simple bowline tied to the clew will hold very well during the harshest of blows. 

It is important to make sure the lazy sheet is run over the boom and not under it. When it is led over the boom, the sail is able to switch to the other side without issue. If the sheet is led under the boom, the boom will interfere with the sails ability to be on the opposite tack.

The trysail has fallen out of favor by most sailors who state that they could more easily tuck in a third or fourth reef into their mainsail than to rig up a trysail. This is a true statement, trysails take some time to rig in fair weather (before the storm) and could be nearly impossible to rig during a strong blow! 

Trysails do have their place though, as they are made out of much heavier sail cloth and are purpose built to weather out a storm. This means that your mainsail is not subjected to all the wear and tear of a storm. If your deeply reefed main were to tear or rip during the storm, you would have no mainsail once the storm has passed. If you tear or rip your trysail during a storm, your main is still untouched and ready to hoist once conditions improve!

The other advantage of a trysail in a heavy blow is it takes the boom out of the equation. Jibing the main can be an eventful occurrence in heavy wind. The boat will heel over greatly and the boom will slam to the other side as it falls past the midship point! Accidental jibes due to wind shifts or purely accident are risky and dangerous during high wind situations. The trysail takes the boom out of the equation and lets you jibe it as easily as you jibe your jib! Simply turn the boat, loosen the windward sheet and tension the leeward sheet; it takes all the fear and noise out of storm sailing. 

On a final note, the storm trysail has less going on than a reefed main, which translated into less to break during the storm. The sheet is tied to the clew, run to a turning block and set on a strong winch. Any snags or problems are easy to identify and straightforward to correct.