Sculling Oar: Part 7

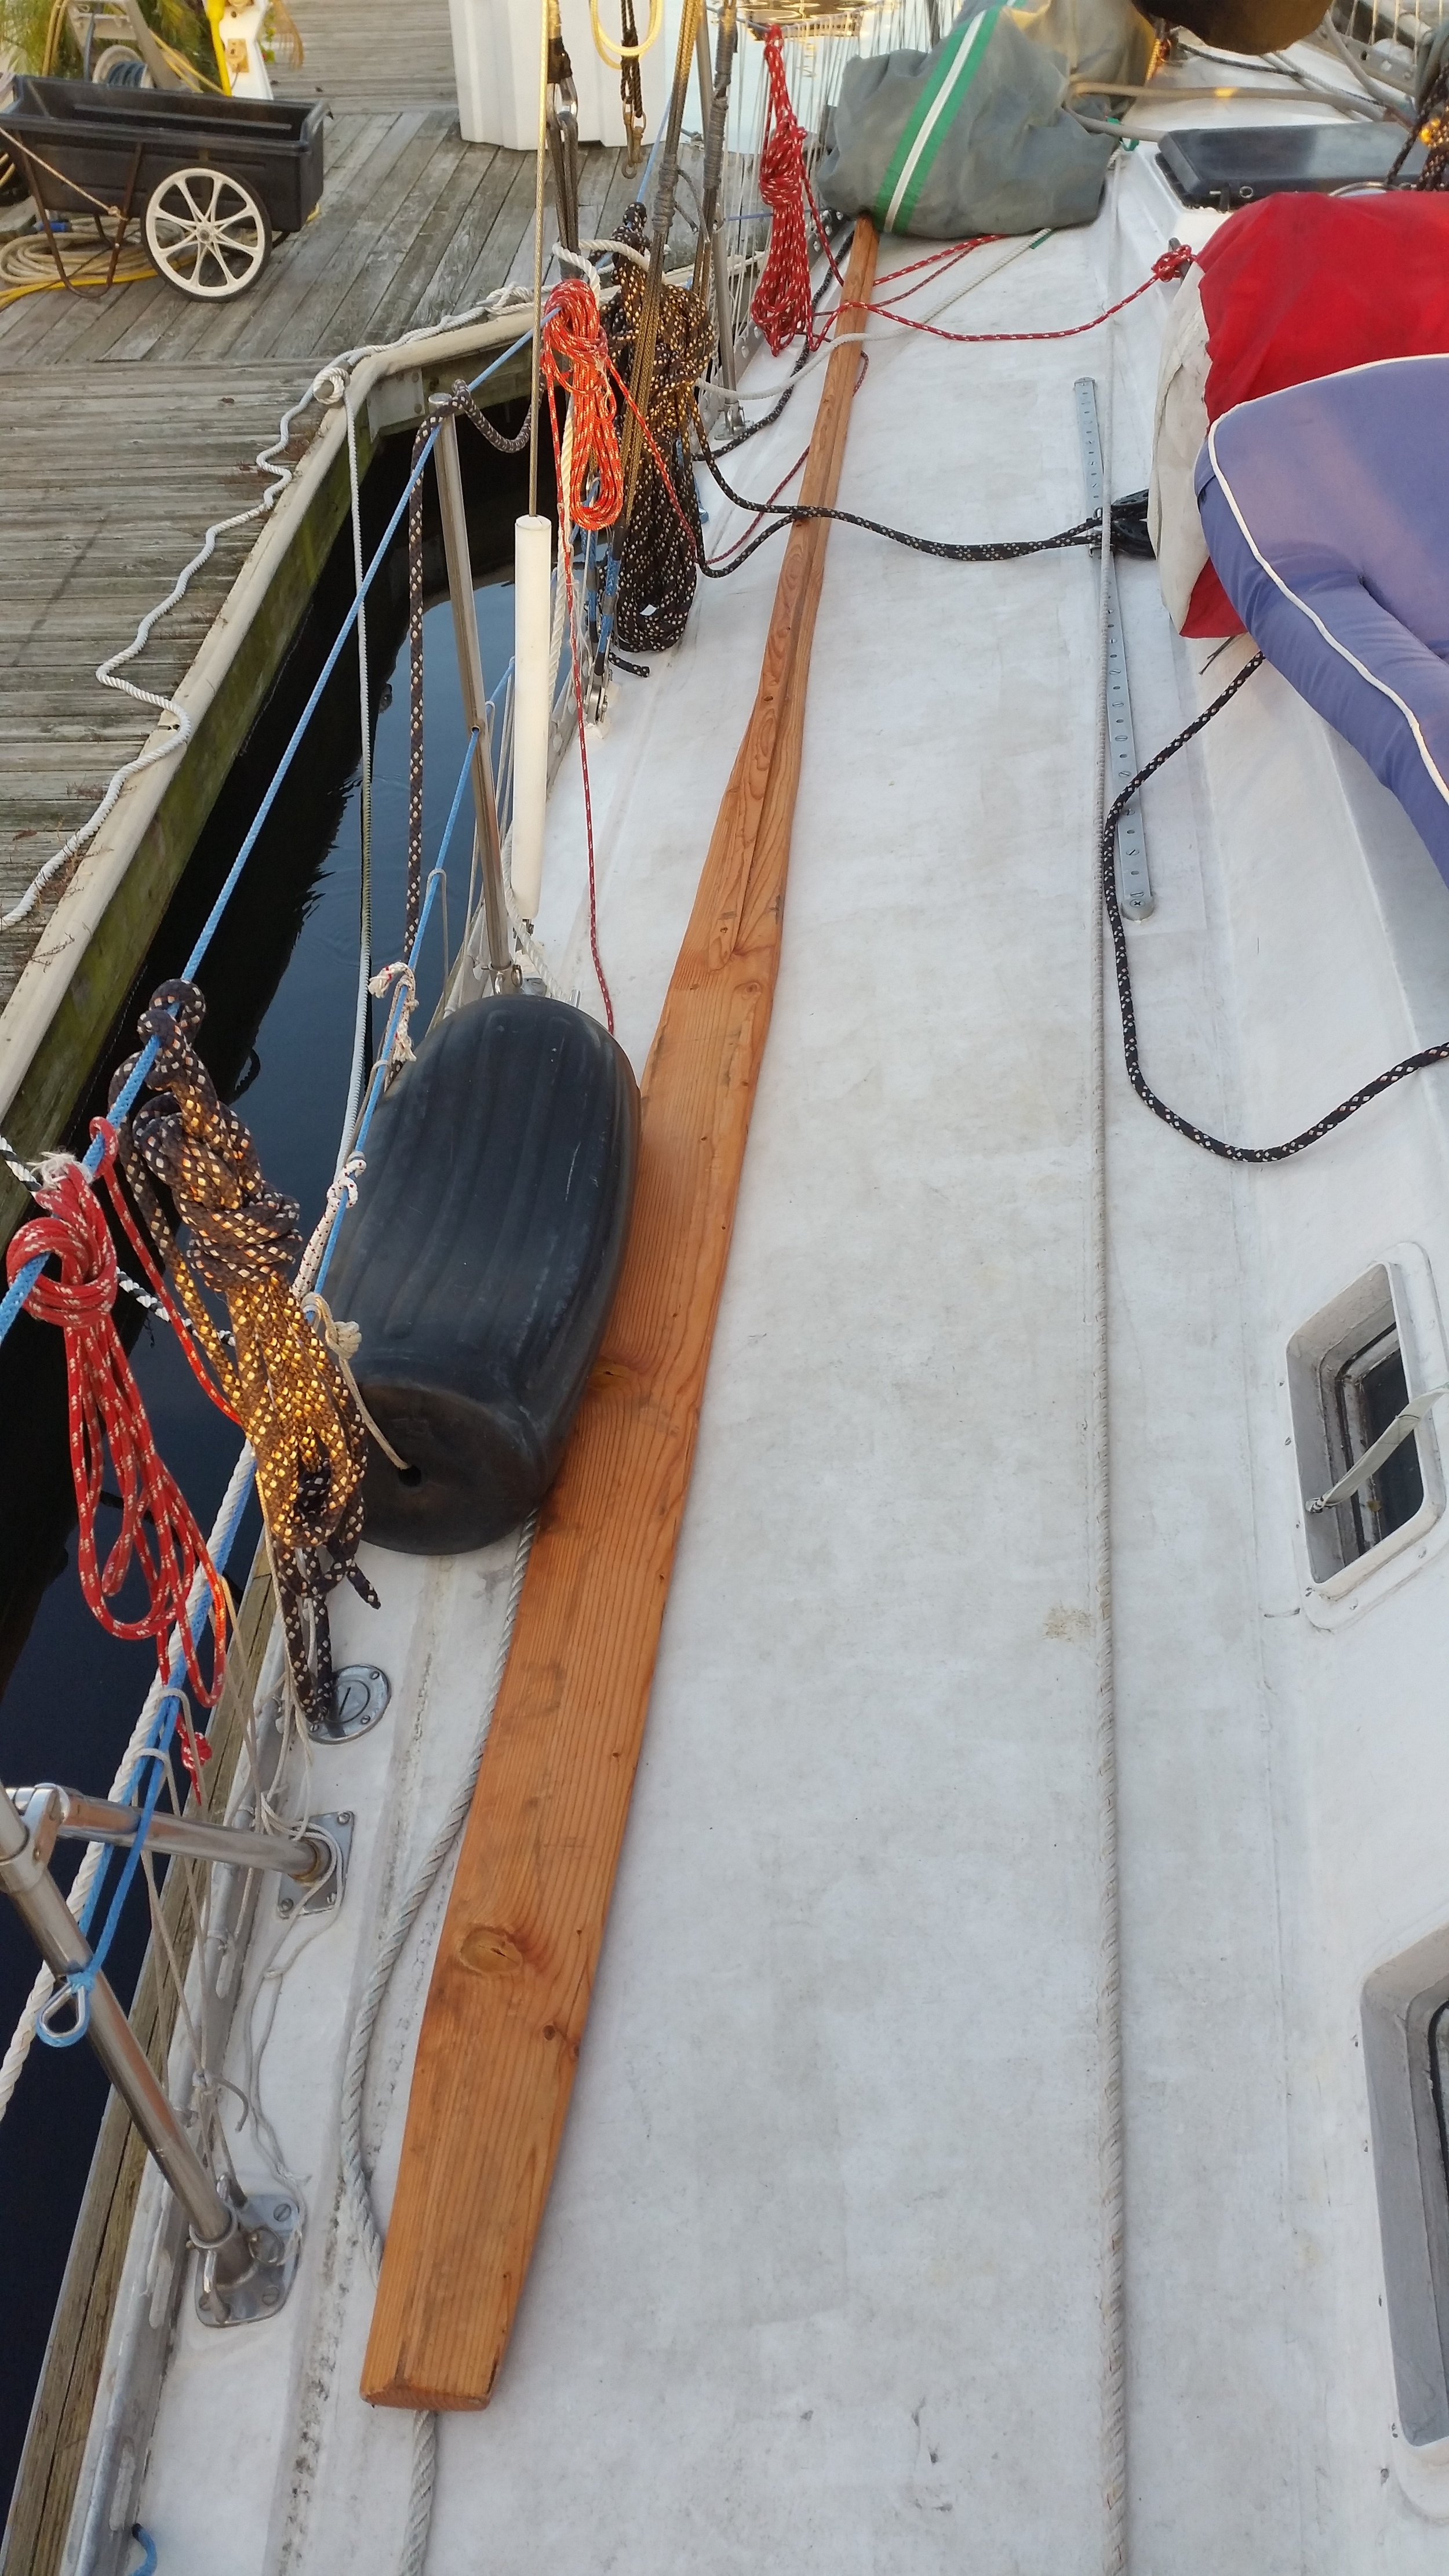
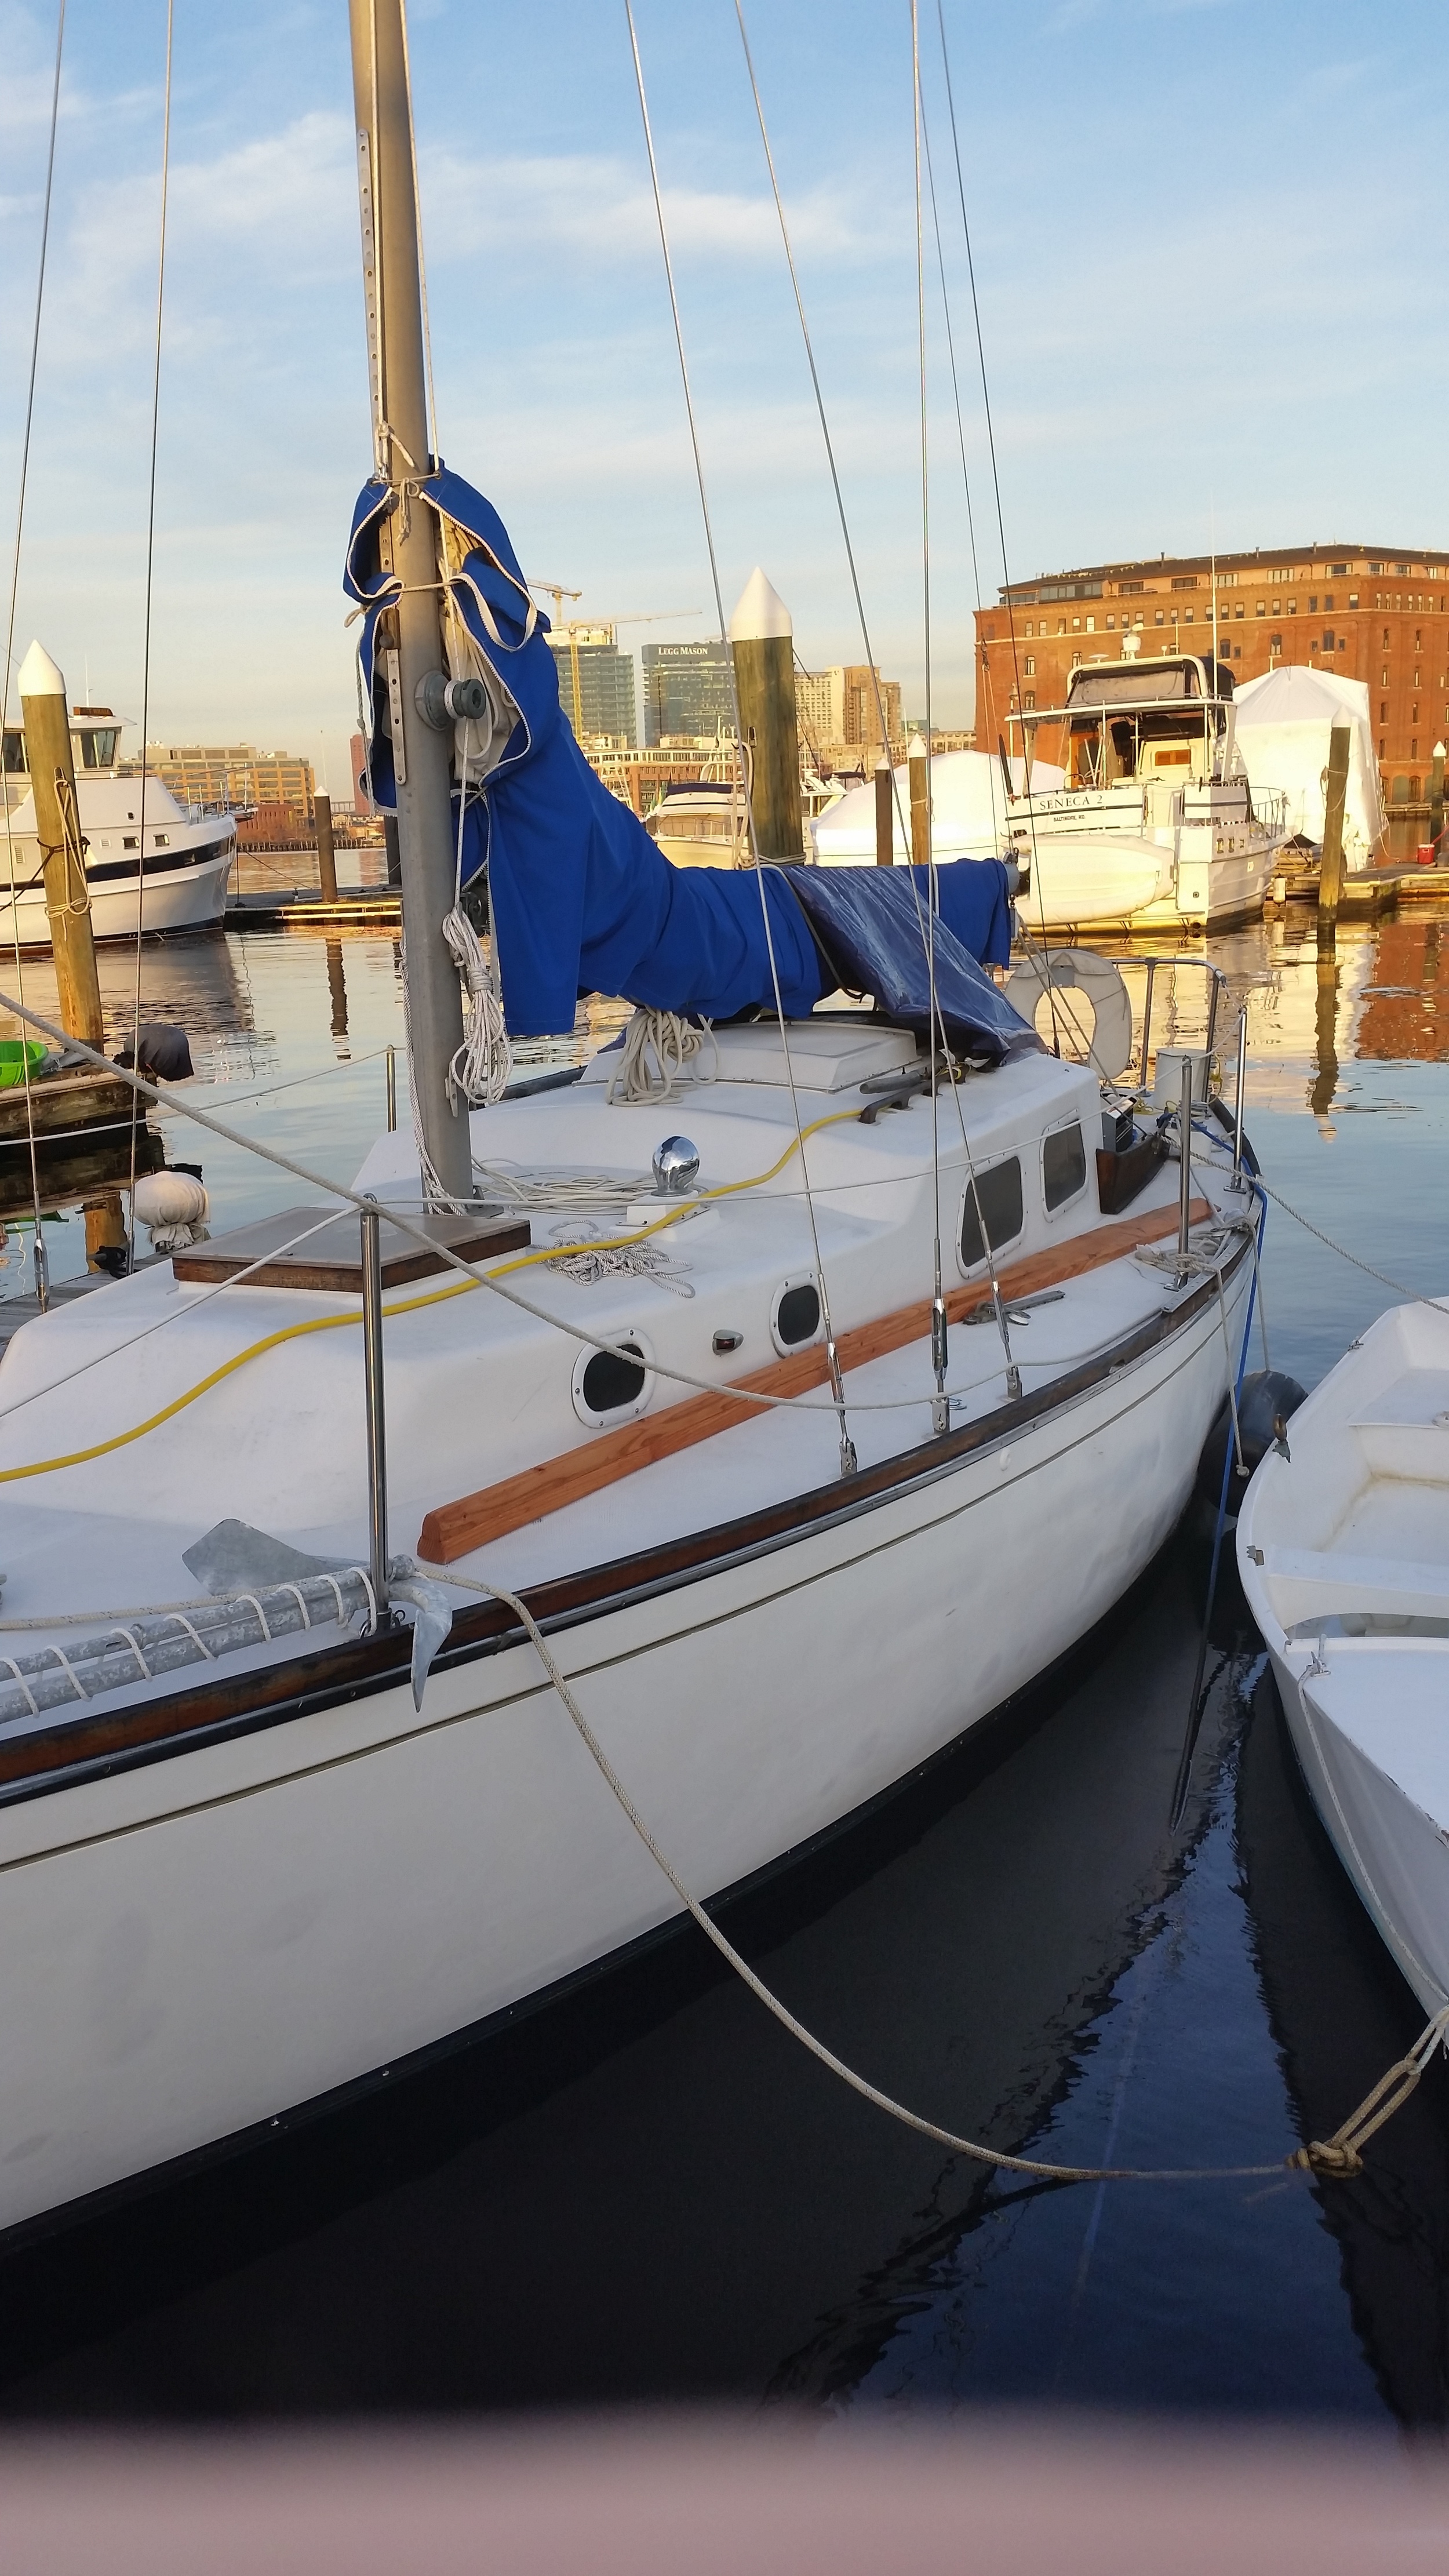
The sculling oars are finished and ready to be fitted to the boats. My dad gave me a large block of wood that he had laying around to use as the oarlock. The oar on Wisdom (1968 Morgan 45) is 16 feet long, while the oar on Windpuff (1966 Alberg 30) is 14 feet long. 

The oarlock needs to accomplish various tasks:

Needs to hold the sculling oar in place
Needs to allow free movement of the sculling oar
Needs to raise the sculling oar enough so that it doesn't hit the traffrail.

Windpuff has no traffrail (a future project) so there is less in the way of the oar. The future traffrail can be made to clear the sculling oar, so it is not a concern for placement right now.

Wisdom on the other hand has a rather wide traffrail, so I need to be certain that the sculling oar will not damage the teak. For this reason, the oarlock will be made much higher on wisdom.

I oriented the grain so that the oar will rest closer to the heartwood and the cleats that will hold the lashings will be placed on the sides where the grain is closer to 45 degrees so the screws would have good holding.

The corners will be bullnosed and the heart section dished out to help restrain the sculling oar. The base will be bedded and lag bolted to the deck from underneath. 

You can see how the oarlock needs to gain enough height to clear all the stern fittings. While the top will be dished a bit, it will still provide enough height to clear the edge of the traffrail.

By looking at the grain of the wood, I believe it is longleaf pine. This wood used to be used to build boats in the early 1900s and has moderate rot resistance. The most important part of keeping this wooden piece healthy will be to maintain the coating and keep it oiled. This will keep moisture out which will prevent rot and mold from setting in. Exposure to salt will also help pickle it and keep the wood hydrated. I plan to design the oarlock so that it will shed water and keep itself dry. Standing water will lead to rot, so keeping up on the maintenance will be crucial to the longevity of the wood on board. 

The next issue is storage of the long oars. I plan to keep them tied to the lifelines, away from the sheets and out of the way. For now, they are laying on the decks until their homes can be found

Sculling Oars: Part 6

The oars are finally constructed and fastened together, it's time to apply their protective coatings. I chose to use tung oil instead of varnish or paint. 

As you can see, the tung oil brings out the grain and protects the wood, making it repel water and it oils the wood to keep it from drying out too quickly and checking. The other advantage is that you can see the wood to visually inspect it for signs of decay and rot.

Varnish also protects the wood and offers many of the same qualities as tung oil, but when it comes time to reapply, the old coating can begin to flake off and needs to be removed via sanding or heating. This can be a time consuming process. Tung oil does not need to be sanded off, in fact, with time it will disappear much like teak oil does. The wood will slowly return to its natural uncoated appearance, signalling that it is time to recoat the wood. 

Paint offers the wood protection from the elements, but it does not offer ease of inspection. It covers everything, so overlooked rot will only show up when it is far more advanced. While Tung oil brings out the richness in the grain, it does darken over time; so don't expect a pale wood to stay pale and don't speed the process up by using stain either. The look of old wood will come as the wood becomes old. 

Be sure to give the endgrain extra coats of tung oil because. This oar has 4 coats on the top of the blade and 8 coats on the endgrain. 

Sculling Oars: Part 5

After the shaping process of the oars was competed, the laminates were fastened using silicone bronze screws. The screws were countersunk to hide them from the surface and allow the screw to have more bite into the bottom piece. 

The holes were drilled using a hand drill. First hole for the threaded portion of the screw, the second hole for the shank of the screw, and the third hole to countersink the head.

A trick when driving screws with a blade screw driver is to attach a small box wrench to the shank of the screw driver. This will increase the leverage you can use to drive stubborn screws into the wood. This was really helpful when driving a 1 3/4" screw all the way home.

When using blade fasteners, it is nice to make sure that all the slots line up in the same direction. It doesn't matter which way you choose, just that it is all consistent. It just shows that the craftman who made the piece took the time to do everything, even line up the screw heads.

Now the construction of the oars is finally completed and they are ready for their protective coatings.

New Gangplank: Part 5

The gangplank is now complete! 

The stanchions are secured in their bases and provide a very secure hand hold since they are through bolted and the lifelines are tight to give a nice feeling of security. The plank itself is much stronger and does not sag under your feet, keeping the lifelines tight!

My grandfathers brother was able to comfortably walk up the gangplank while using his cane to come aboard and visit! 

The old gangplank served it's purpose but this new one serves the purpose in luxury! 

If you would like me to make a gangplank for you as well, please contact me to set up an estimate.

New Gangplank: Part 4

Now that the gangplank has dried, it's time to install all the fittings.

The stanchion bases were bedded with 3M 4200 to allow difficult removal should the need arise. The opposite side was properly supported by the backing plate along with 1in washers and locking nuts. The through bolts were tightened down and the excess was exuded. 

The excess was then cleaned up with acetone, and left to cure for a few days.