How to sight the mast

Sighting the mast is very easy. What you are doing is making sure that it is straight and centered over the boat. A straight mast that hangs off to port is not very good! You need to make sure everything is lined up. 

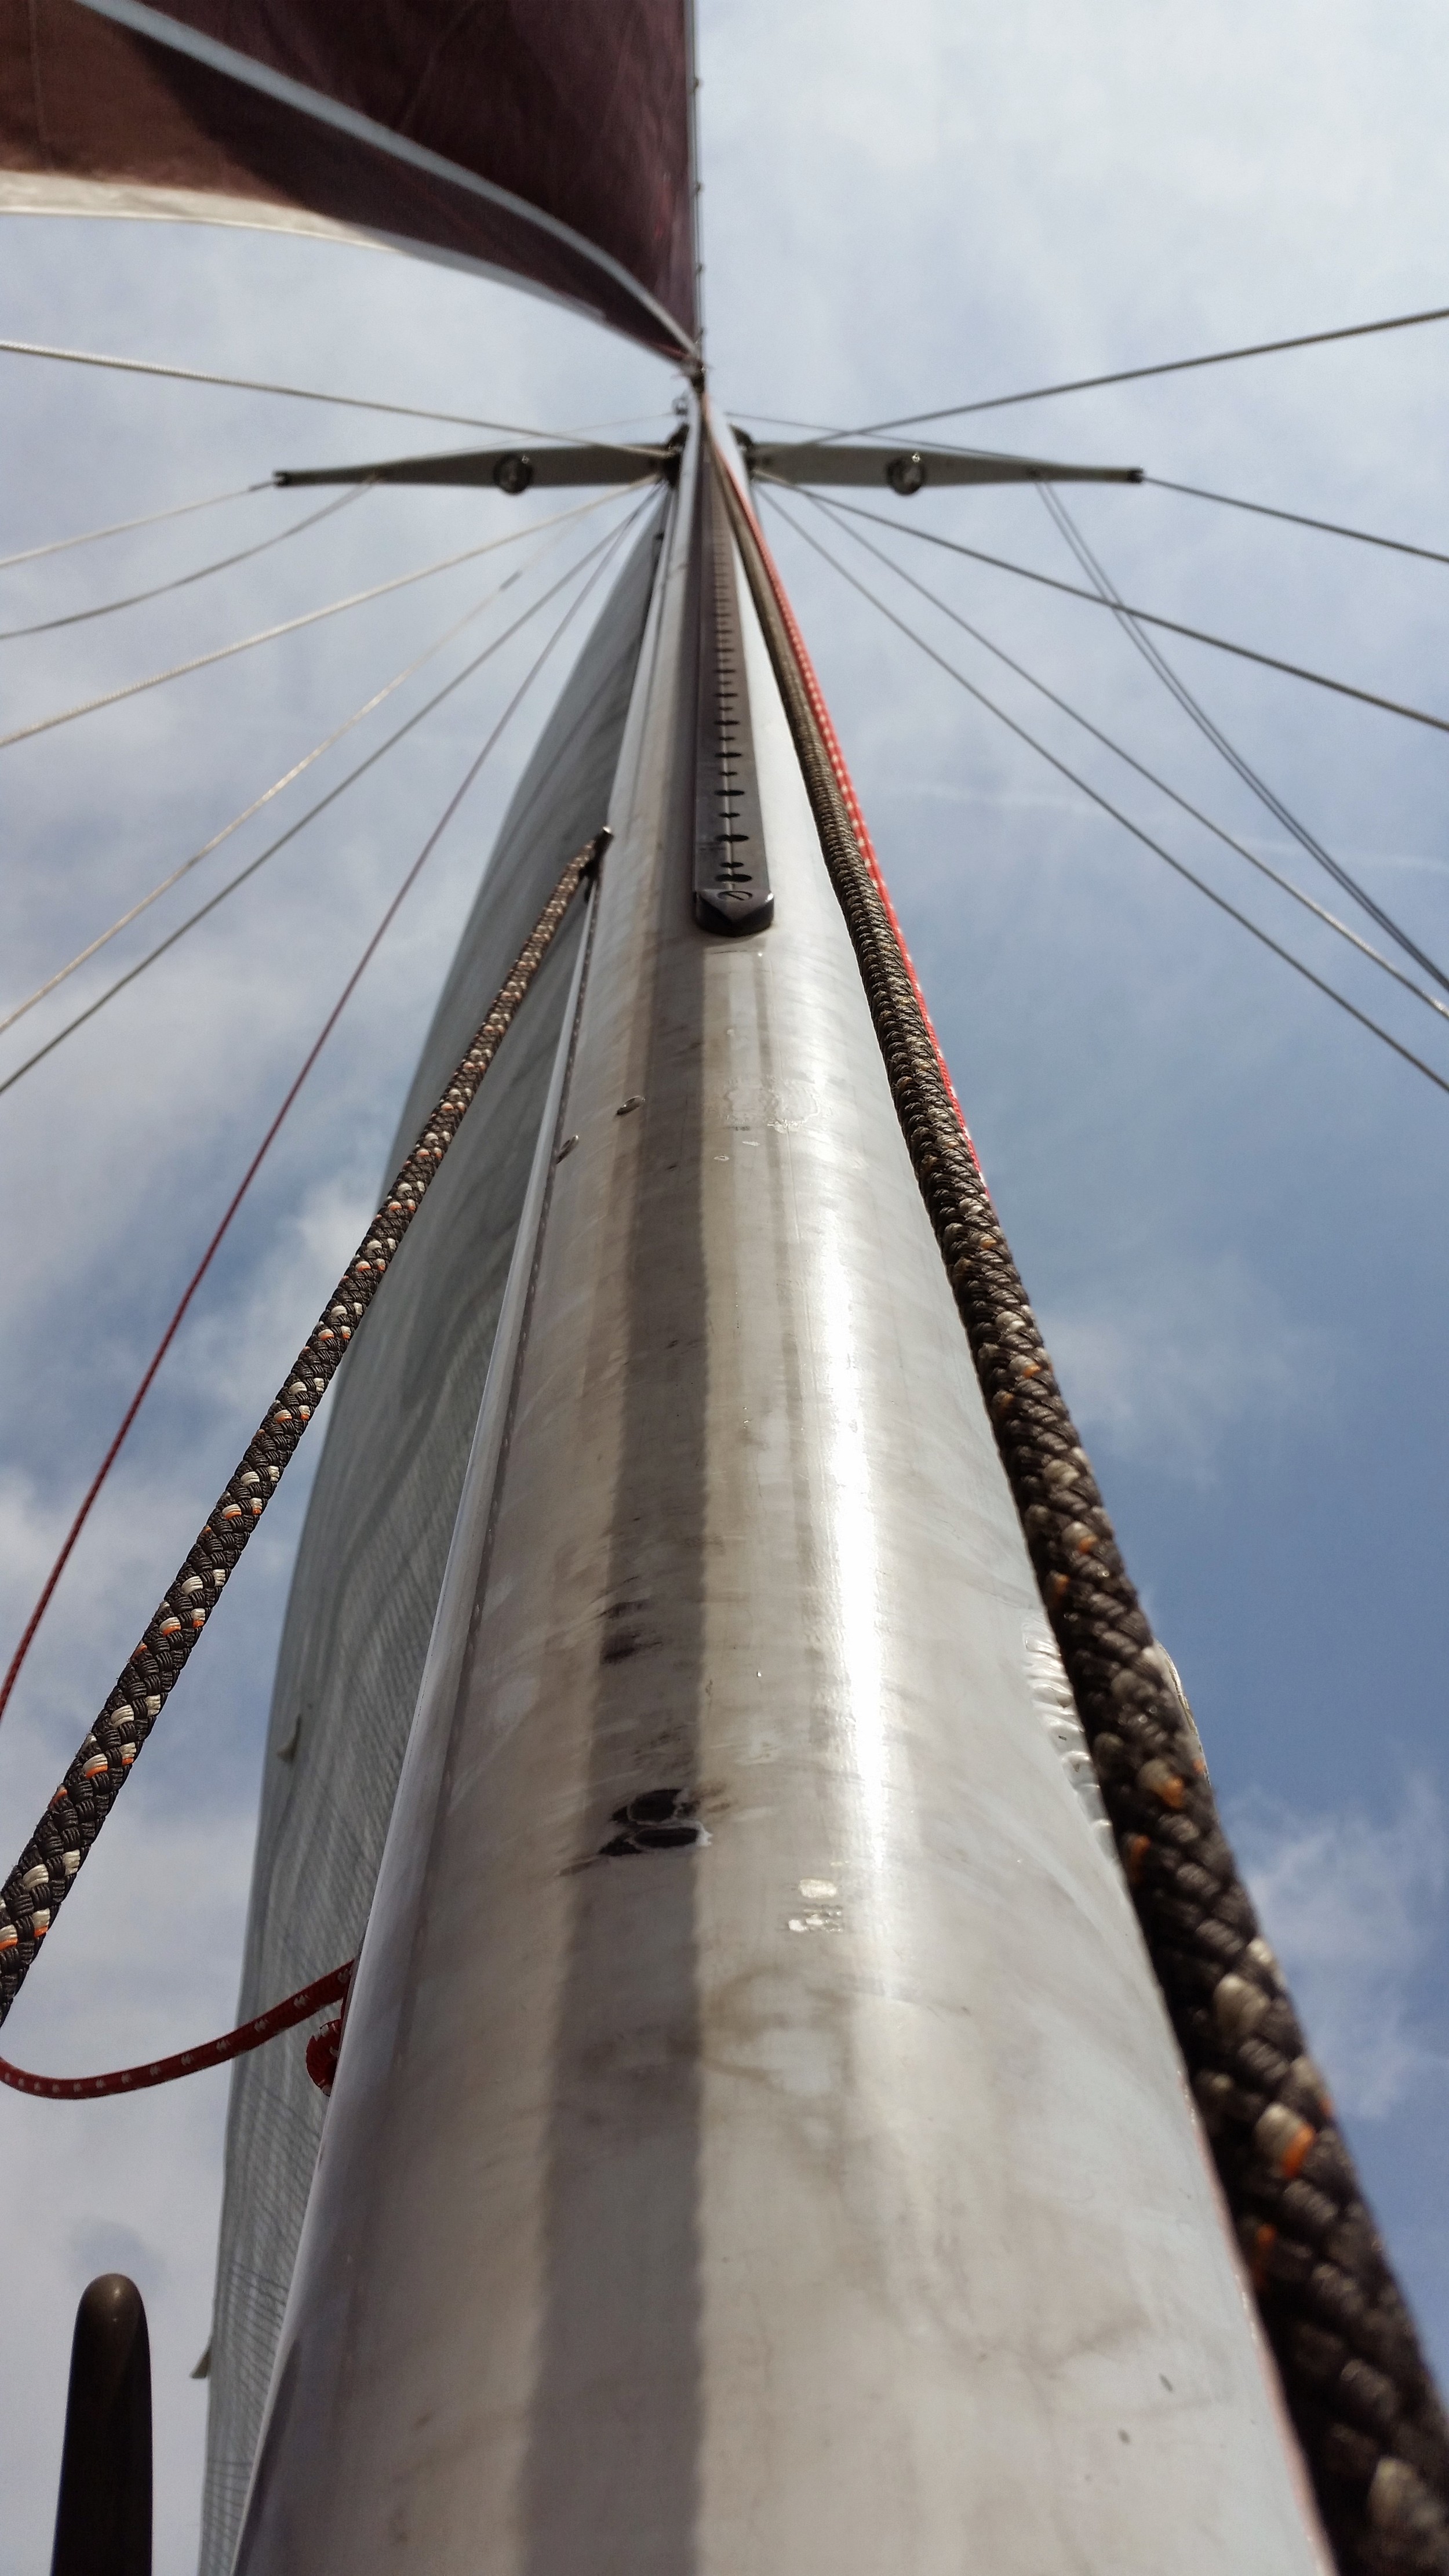
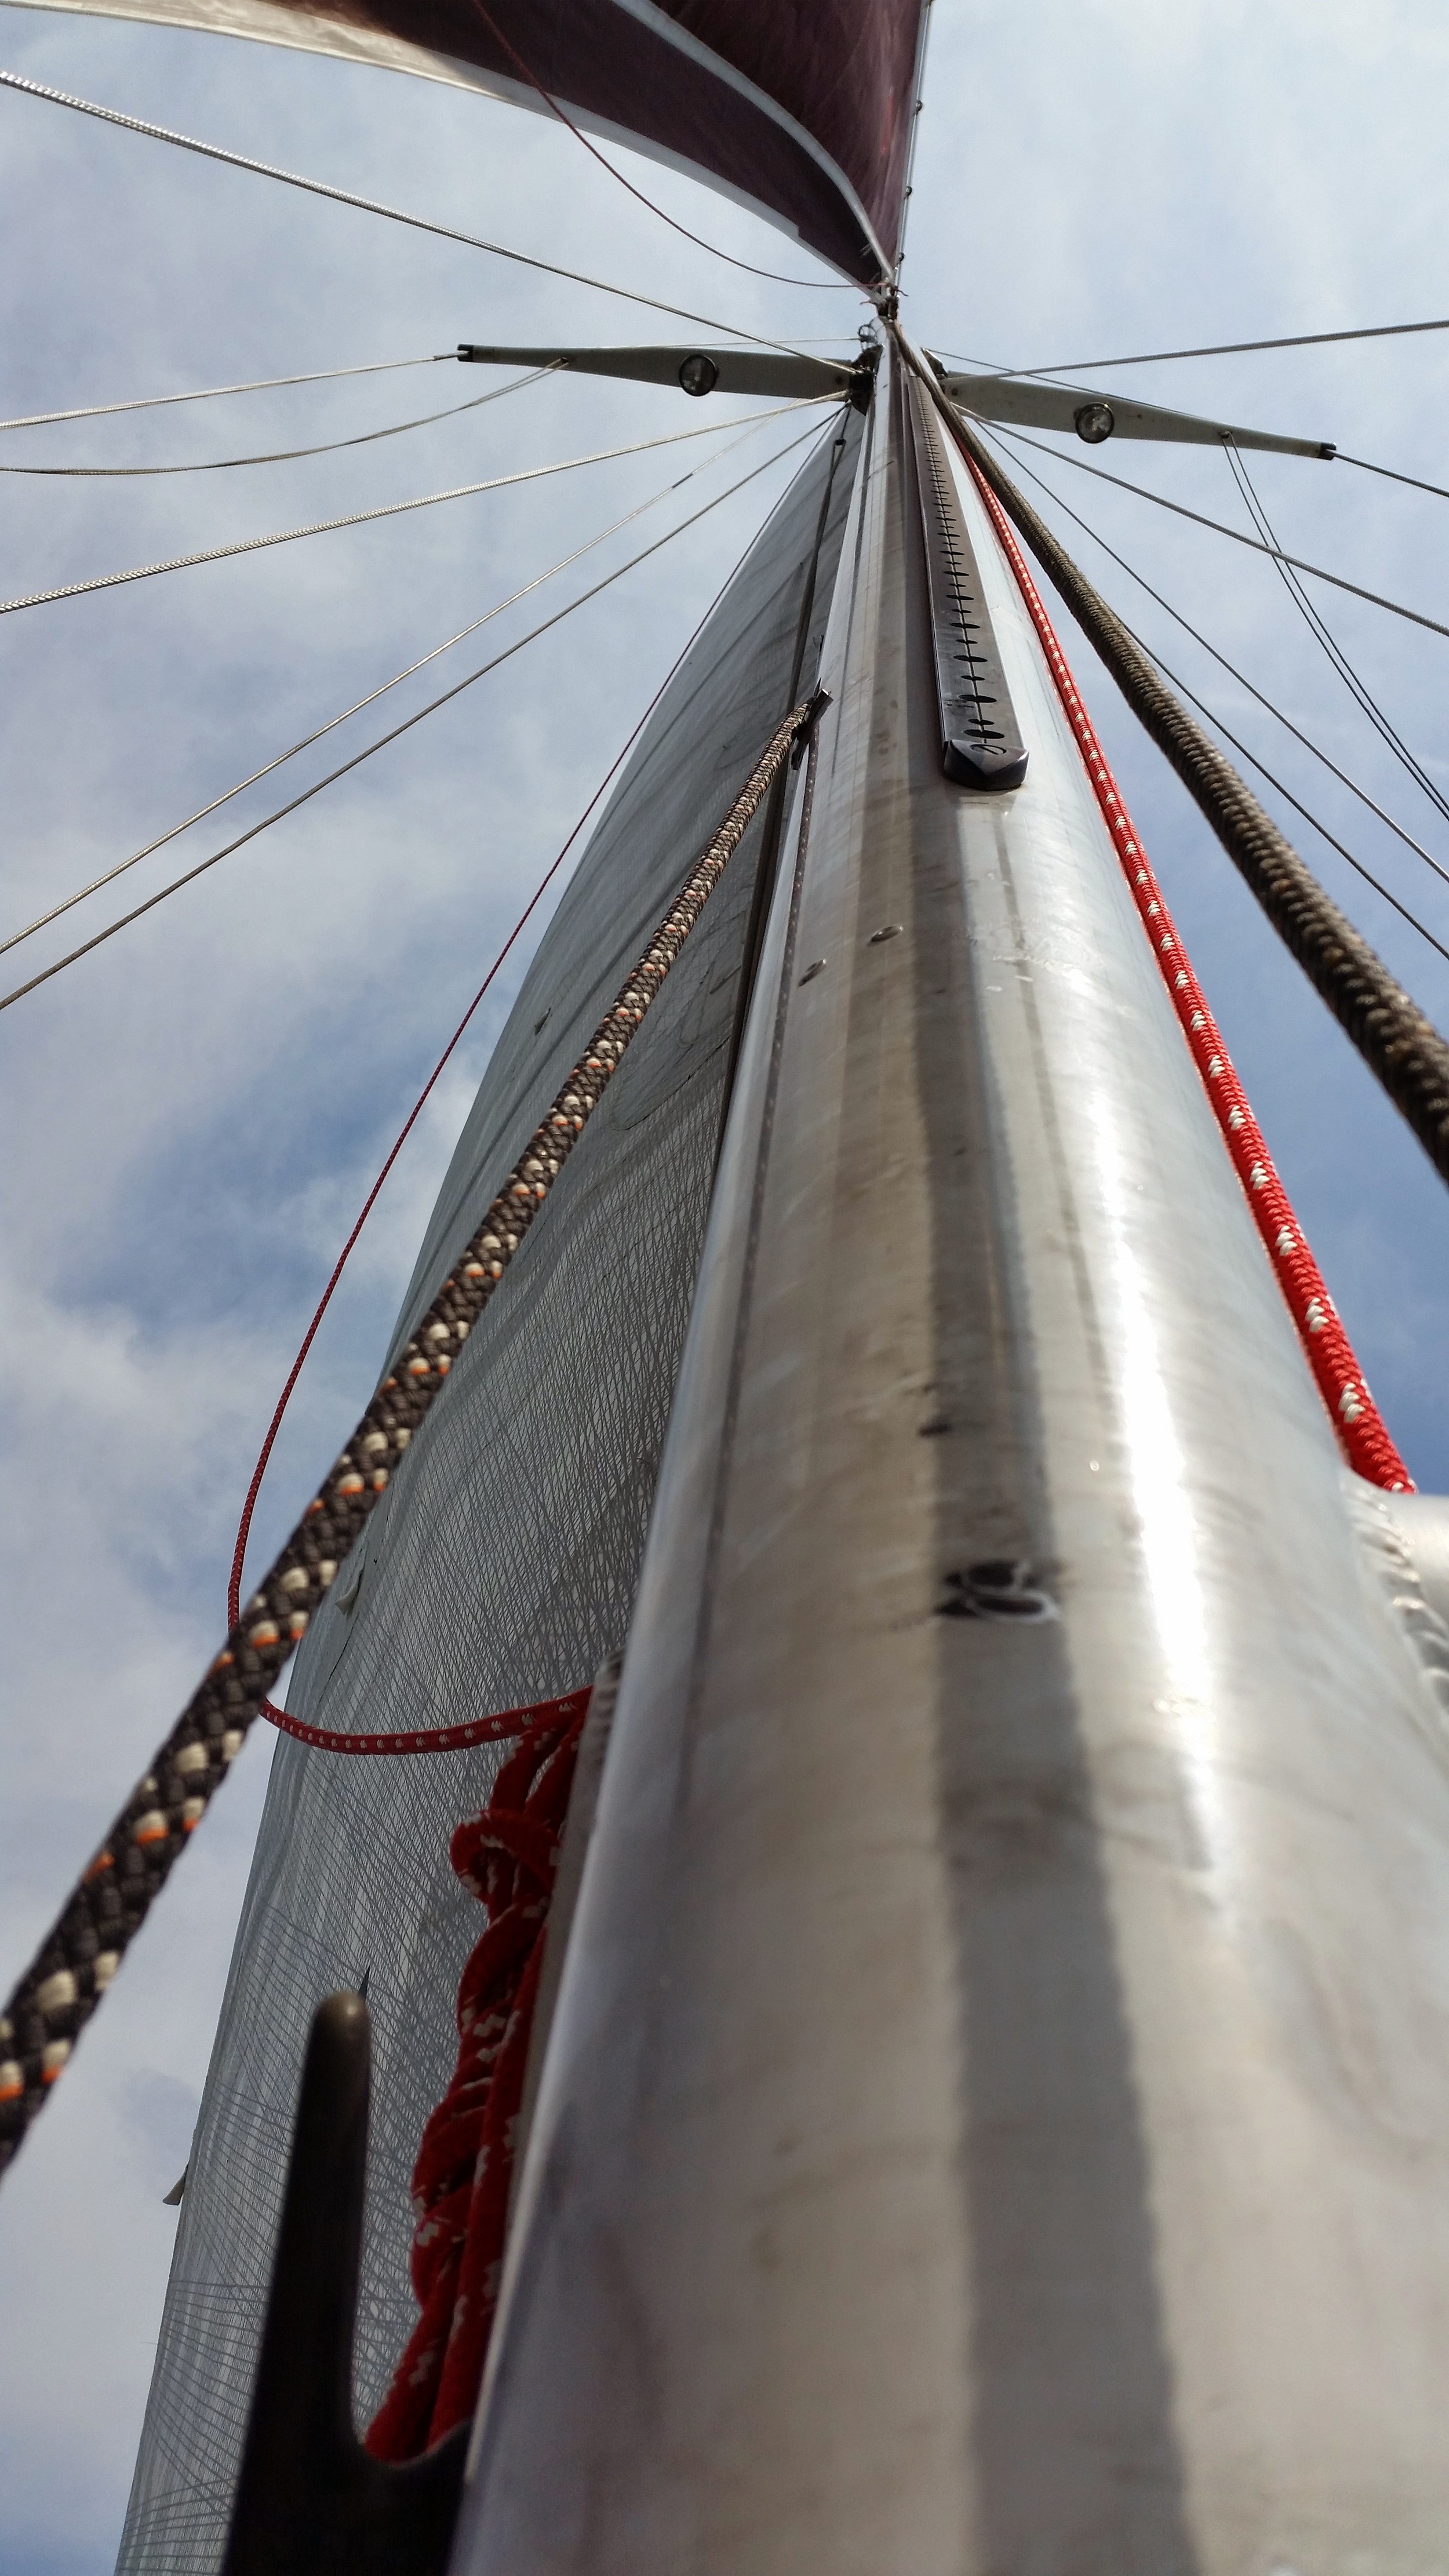
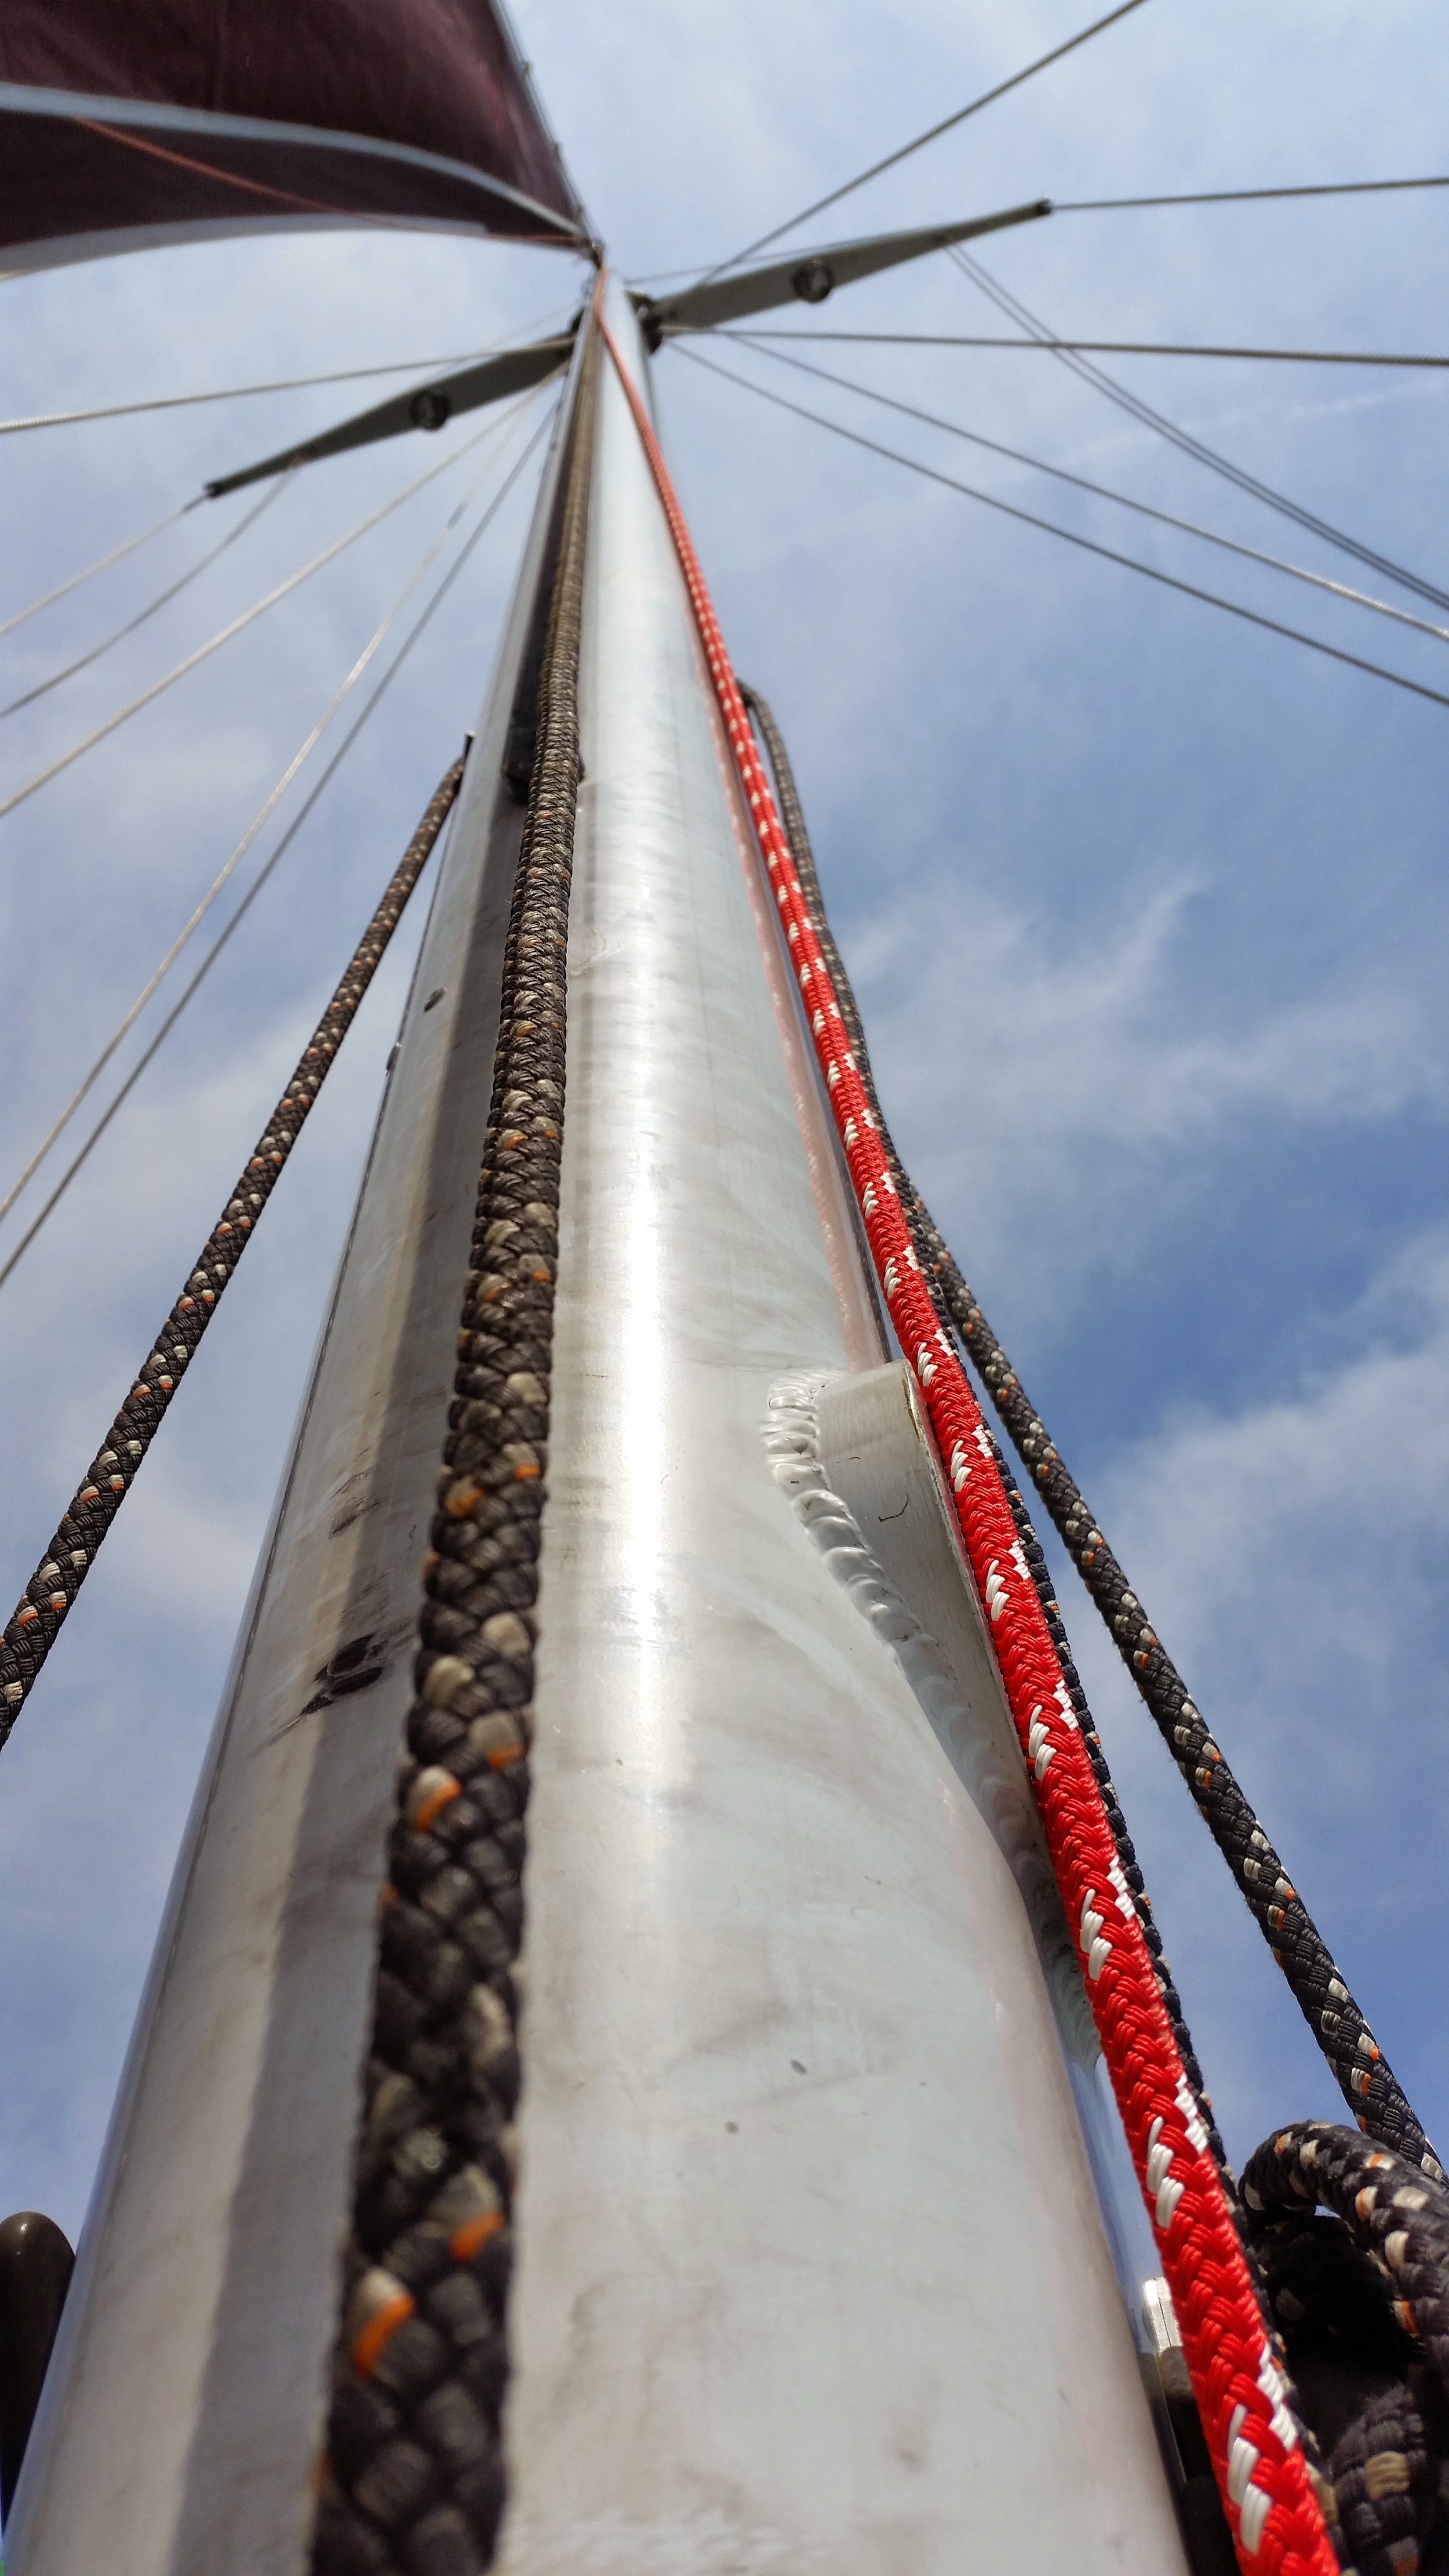
To make sure the mast is straight, you will stand in front of the mast and put your eye right next to the forward part of the mast looking up. You are looking for any deviation left or right. Next, you will lay down on deck in front of the mast and look up again. Does it still look straight?

If you have any question about it leaning, stand next to the port side and put your eye up to the mast and look up. Does it look like it curves toward you or bends away? Next stand on the starboard side and do the same. Does it look the same as the port side? If it's straight, both sides will look the same. 

This might be difficult to get the knack of at first, being a dentist it came naturally. I need to be able to judge angles down to the 0.5° when doing crowns and fillings. Just look at it hard and see what there is to see, that's all it takes to sight the mast for straightness.  

To make sure the mast is centered port-starboard, use a jug of water tied to a halyard that comes out of the center shiv and make sure it lays to the port toe rail at the same point that it lays to the starboard toe rail. 

To check for rake, walk away from the boat and from a distance look at the boat dead on from the side. Rake will now be very obvious. Too much rake will lead to weather helm, while too little will lead to lee helm. 

Another way to check rake on board is to look up the aft side of the mast and make sure you see it falling towards you while the forward side looks like it's falling away from you.  

Now that you have sighted the mast to make sure it's straight and with proper rake, it is time for the final check.  

Walk far away from the boat, to a neighboring pier and look at it dead on from the bow or stern. Does the mast look straight? Is there a side bend or an S bend? 

Lastly, do the spreaders look right? They are supposed to bisected the shrouds. This means that the angle above the spreader and the shroud is the same as the angle below the spreader and the shroud. They always tend to have a slight up flow from the mast. If they come out horizontal to the horizon, they are probably drooping down and need to be raised. This tends to happen when the cap shrouds are tightened, it will pull the spreader tips down.  

If you have trouble looking at the mast and figuring out if it is straight and if the spreaders are right, just take a picture and double check on your computer screen.  

On the computer, you can draw a straight line and lay it over the mast. It should mostly lay in line over the mast from head to deck. If the mast sways out from the line, you will need to adjust it.

For the spreaders draw a triangle shape that fits on top of the spreader where the points are middle top of spreader, spreader tip /shroud junction, a point on the shroud. Now mirror the shape and make sure it can fit on the underside of the spreader. A little deviation is normal, but you want to avoid extremes. Too much up sweep and the spreaders could fold up under load and that would probably lead to the mast folding over. Too much droop and the spreader can fold down, resulting in the same. It needs to hold the shroud out so that the force is straight towards the mast and nothing else, not up, not down, just balanced. 

Lastly, with this photo, draw a horizontal line from port to starboard across the deck and make sure the mast is perpendicular to this line. If the boat lists in the water, the mast will look tipped to one side. This is fine as long as it is perpendicular to the deck.

If anything appears wonky, it is always a simple adjustment away from being fixed. Remember that stays only pull, they never push. If the mast is bent to starboard, loosen the starboard stay in that area and tighten the port stay in that area. It is much like truing a bike wheel, where the spokes function exactly like stays do. 


Recap on Tuning of your Standing Rigging

Now that we have gone through how to adjust each stay, we will go over the whole thing so you can see how it all plays together.

You start by setting the length needed for the headstay and setting the mast rake.
Then you tension the backstay to tighten both the headstay and backstay at the same time
Now you make sure the mast rake is correct and the tensions are sufficient.

With that you are mostly done with the fore-aft adjustment. On to the side to side adjustment!

You start at the top and work your way down.

For single spreader rigs:

Cap Shrouds
Forward Lowers
Aft Lowers

Cap Shrouds make the mast head centered over the boat and keep it there while sailing. This stay is the tightest of the shrouds.

Forward Lowers are the following in the sequence and are tightened to induce a forward bend in the mast. They also adjust the side to side bend of the mast. They are looser than the cap shrouds but tighter than the aft lowers.

Aft lowers are the last to be adjusted and are set to straighten out any little curve that might be present in the lower section of the mast.

The shrouds in order from most tight to least tight are cap shrouds, forward lowers, aft lowers.  


Now that you have finished this, it is time to go out sailing during light airs to make sure everything is fine, then again in stronger winds to test it out fully and make sure the mast stays in column while sailing.

If something is not set right, the mast will bend and you should fix it immediately. For this reason, I strongly suggest you test in light airs first, as they will not cause damage as easily as strong airs.

Imagine winds where you need to reef because a properly tuned rig is being stressed.
Now imagine that scenario where the rig is not properly tuned and starts to bend excessively! If the mast bends too far, it can kink and collapse! For this reason, always start off in light airs and move to stronger airs as a final check to make sure everything is perfect.

Tuning the Aft Lowers

The aft lowers are the easiest stay to set. They are the loosest stay on the rig compared to the others and take the least load. They attach just below the spreader and come down to the deck. Their purpose is to keep the mast in column as the boat heels over when the heads of the sails pull on the top of the mast.

If they are too loose, the mast will bend to leeward when sailing. This is part of the rigging is adjusted during the test sail.

For the dockside rig tune, you will tighten the stays until they are a bit looser than the forward lowers while making sure the mast stays in column. If there is any slight bow or bend in the mast, you will simply adjust that out using these stays.

If the mast bends to port, tighten the starboard aft lower a bit more.
If the mast bends to starboard, tighten the port aft lower a bit more.

That's all there is to that stay! It's not as complicated as it looks!

Tuning the Forward Lowers

Now that you have tuned your headstay, backstay, and cap shrouds, it is time to move on to the Forward Lowers.

These stays are not found on all boats, so if you don't have them, you can skip this section and move onto tuning the aft lowers (which in your case would be the "Lowers"). The purpose they serve is to help induce bend into the mast. They pull the middle of the mast forward while the backstay pulls the top of the mast back. This causes the mast to bend slightly, which is a good thing!

The sailmaker will want this bend, as it is important and calculated into the design of the mainsail. If the mast were straight, the sail would not fly as well. 

The tension on these stays will be less than the Cap Shrouds but more than your lowers. It is important to tension both sides at the same time and by the same amount to ensure that you don't pull the mast to one side or another.

If you are using turnbuckles, this will go very quickly and easily. If you are using dead eyes, then you will need to set up the tensioning line system.

As you go tightening, you want to sight up the mast to make sure it remains in column (which means straight). There are different ways to sight the mast, which we will go over at a later point as well. You will continue to tighten the stays while watching for the forward bend to happen and making sure that it doesn't begin to bow to the sides. This is why you want to do them at the same time.

For turnbuckles, you will start off

2 turns on port, 2 turns on starboard, sight the mast,
2 turns on port, 2 turns on starboard, sight the mast, ...

Once they begin to have some resistance, you will switch to

1 turn on port, 1 turn on starboard, sight the mast.
Proceed as needed until it is perfect

For deadeyes, crank the

port winch 1 full turn on high speed, starboard winch 1 full turn on high speed,
port winch 1 full turn on high speed, starboard winch 1 full turn on high speed, ...

Until the slack has been removed from the system. Then

port winch 1/2 turn on low speed, starboard winch 1/2 turn on low speed, sight the mast.
Proceed as needed until it is perfect

If the mast bows to one side, either tighten the side it bows from a bit more and sight the mast to make sure it corrected, or loosen the side it bows to a bit and sight the mast again to make sure it corrected.

If the forward lowers are tighter than the cap shrouds, you want to stop and reassess the situation. This is usually caused by a loose backstay. Since the mast is tipped too far forward, you need to crank down on the forward lowers to achieve proper mast bend. If this happens to you: 

Release the forward lowers
Tighten the backstay and possibly loosen the headstay to move the masthead aft.
Moving the masthead aft can make the cap shrouds slightly looser, so they will need to be readdressed. 
Then tighten the forward lowers again.

At this point, the forward lowers should be able to achieve the proper mast bend without becoming tighter than the cap shrouds. 

The next stay to set are the aft lowers

Tuning the Backstay

When setting up the backstay, you are actually setting the headstay at the same time. As you tighten the backstay, you are simply pulling the mast head aft. This counters the effect of the headstay pulling the mast head forward.

As you tighten the backstay, you want to go forward and check the headstay tension. If you tighten down the backstay too much, it can add un-necessary stress to the headstay and all of the fittings involved.

Tensioning the backstay splits into two categories: Fixed and Adjustable 

Fixed

Fixed backstays must be set up as tight as possible, as there is no way to tension them more while underway.

Adjustable

Adjustable backstays are wonderful because they allow you to fine tune the rigging while you are sailing to achieve the most out of the wind you are in.

There are two types of backstay adjusters, the very expensive hydraulic systems and the very inexpensive pulley type that work well with synthetic rigging. I'm going to discuss the pulley type here.

When you have a split backstay, you simply set up a grommet set up over low friction rings with a line to raise the system (release tension) and a line to lower the system (tighten the system). 

As you lower the system, the grommet pinches the two backstays together which then tightens the backstay and also tightens the headstay.

With steel rigging, you will need a large purchase system due to the frictions involved, but with synthetics, friction is practically removed and you don't need the mechanical advantage of a pulley system.

Whichever system you decide to go with, just keep in mind that the more you tension the backstay, the tighter the headstay will be. 

Also, the backstay pulls the mast back which induces aft rake to the mast. This will add weather helm where as forward rake will induce lee helm.

On some boats, the backstay is always being adjusted because this is a wonderful device to tune the whole rig while out sailing. The controls are in the cockpit where they are easy to manipulate. Don't be afraid to do a little trial and error testing to find out exactly how you like your backstay set.