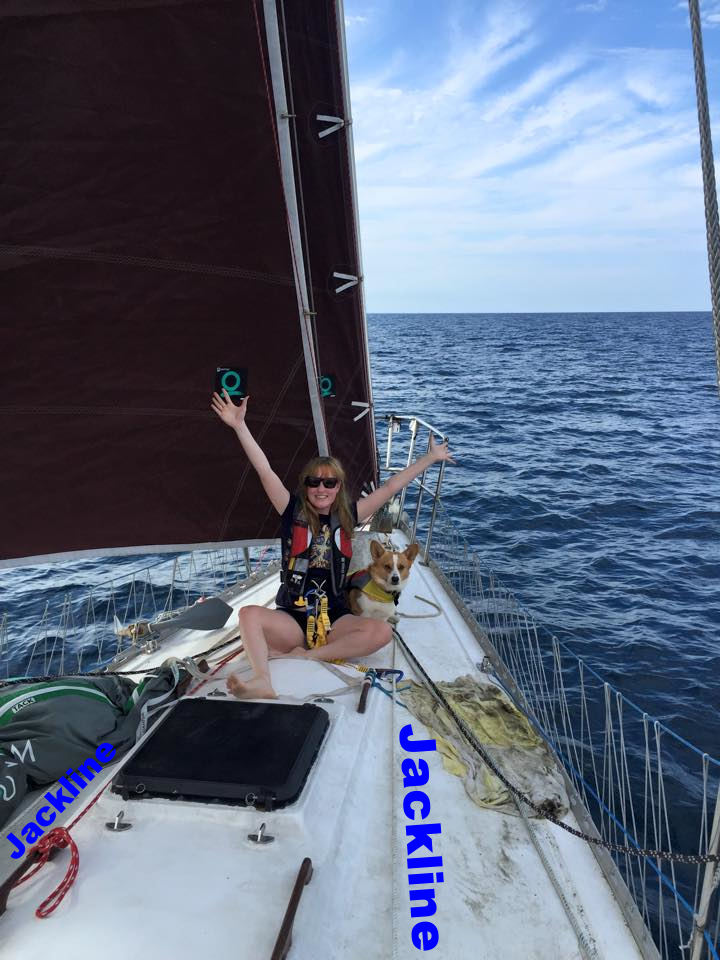
Alternative Lifestyle — Rigging Doctor

New Episode Every Sunday!

Jacklines

While there are many methods to recover a person after a "Man Overboard", the best measure is to avoid them!

While having good handholds, nonskid decks, and secure lifelines are all critical measures; I feel that clipping into Jacklines is a wonderful method to keep you attached to the boat at all times.

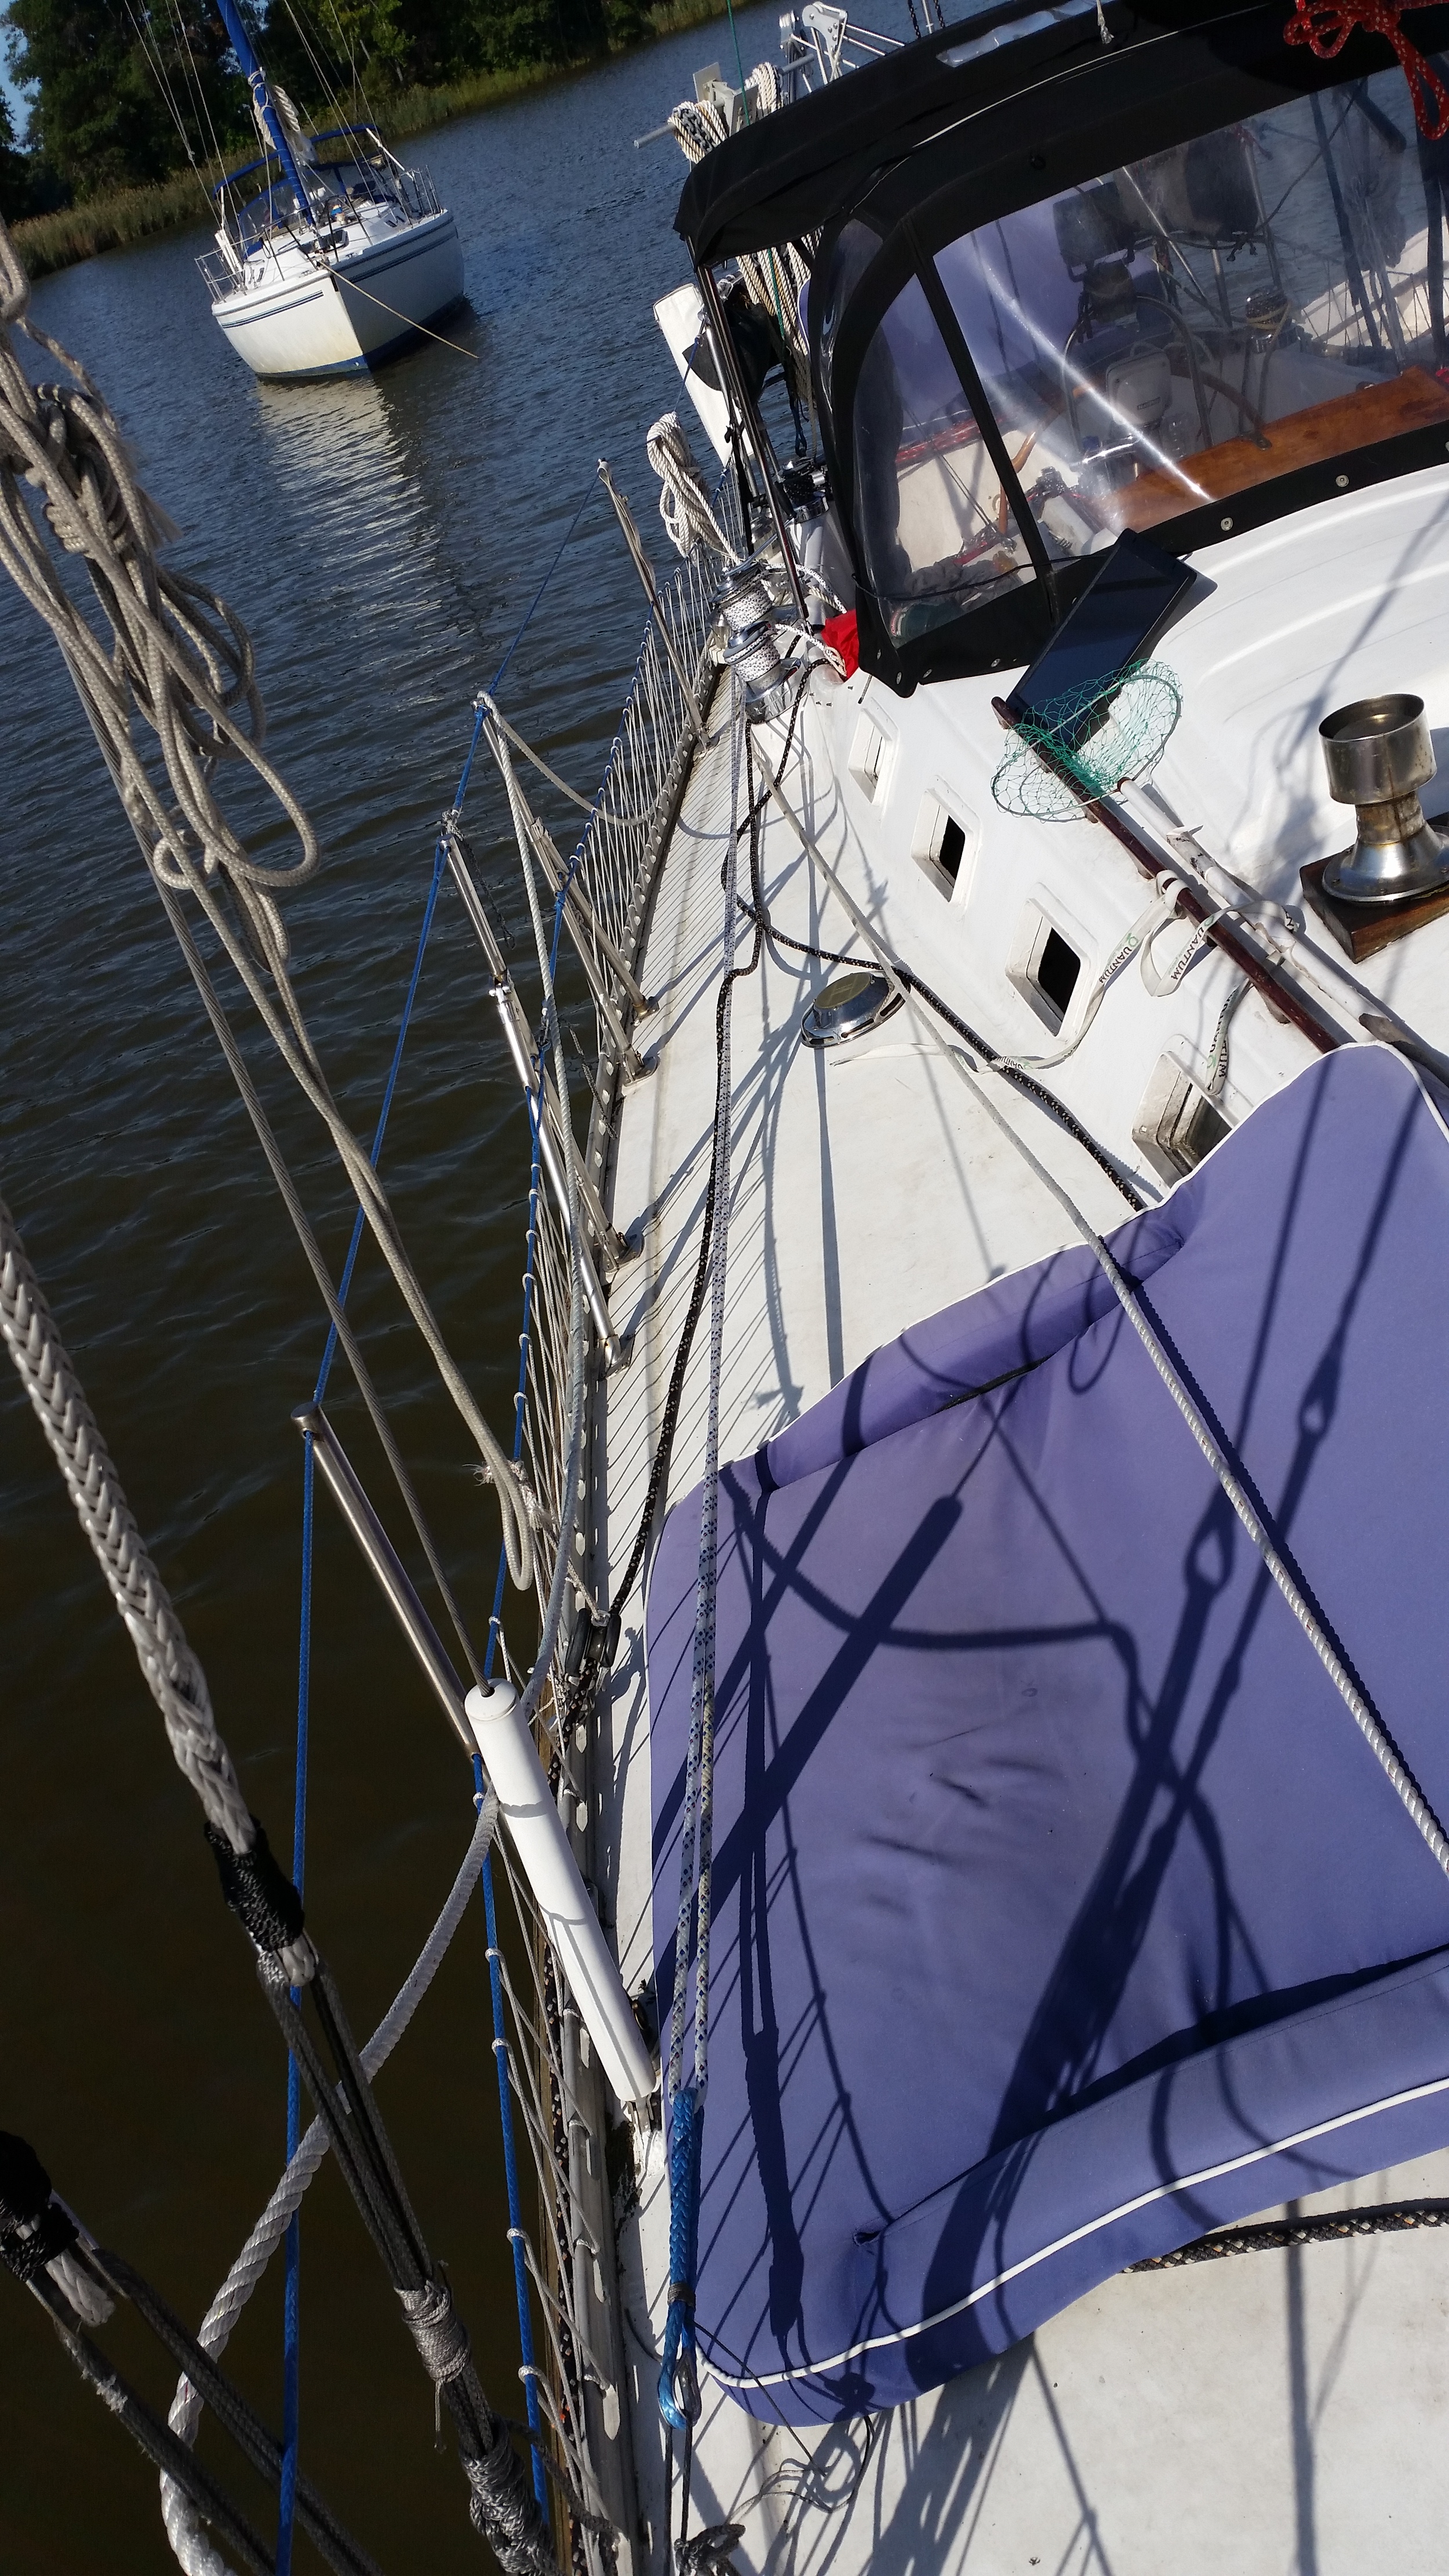
Jacklines are a line that runs uninterrupted from bow to stern. The idea is you can clip in and walk from bow to stern without having to unclip. This way, if you fall over, you will be attached to the boat. Instead of trying to recover a person in the water, you simply have to pull them back on deck. 

Most recommend using nylon webbing because it lays flat on the deck and won't roll underfoot. This is true, but I have found that they will slide underfoot and cause the same loss of balance. 

They also will suffer from UV degradation at an alarming rate. For this reason, they recommend only setting them up when conditions merit, to limit their sun exposure. When conditions merit is when you want to clip in, not when you want to rig them!

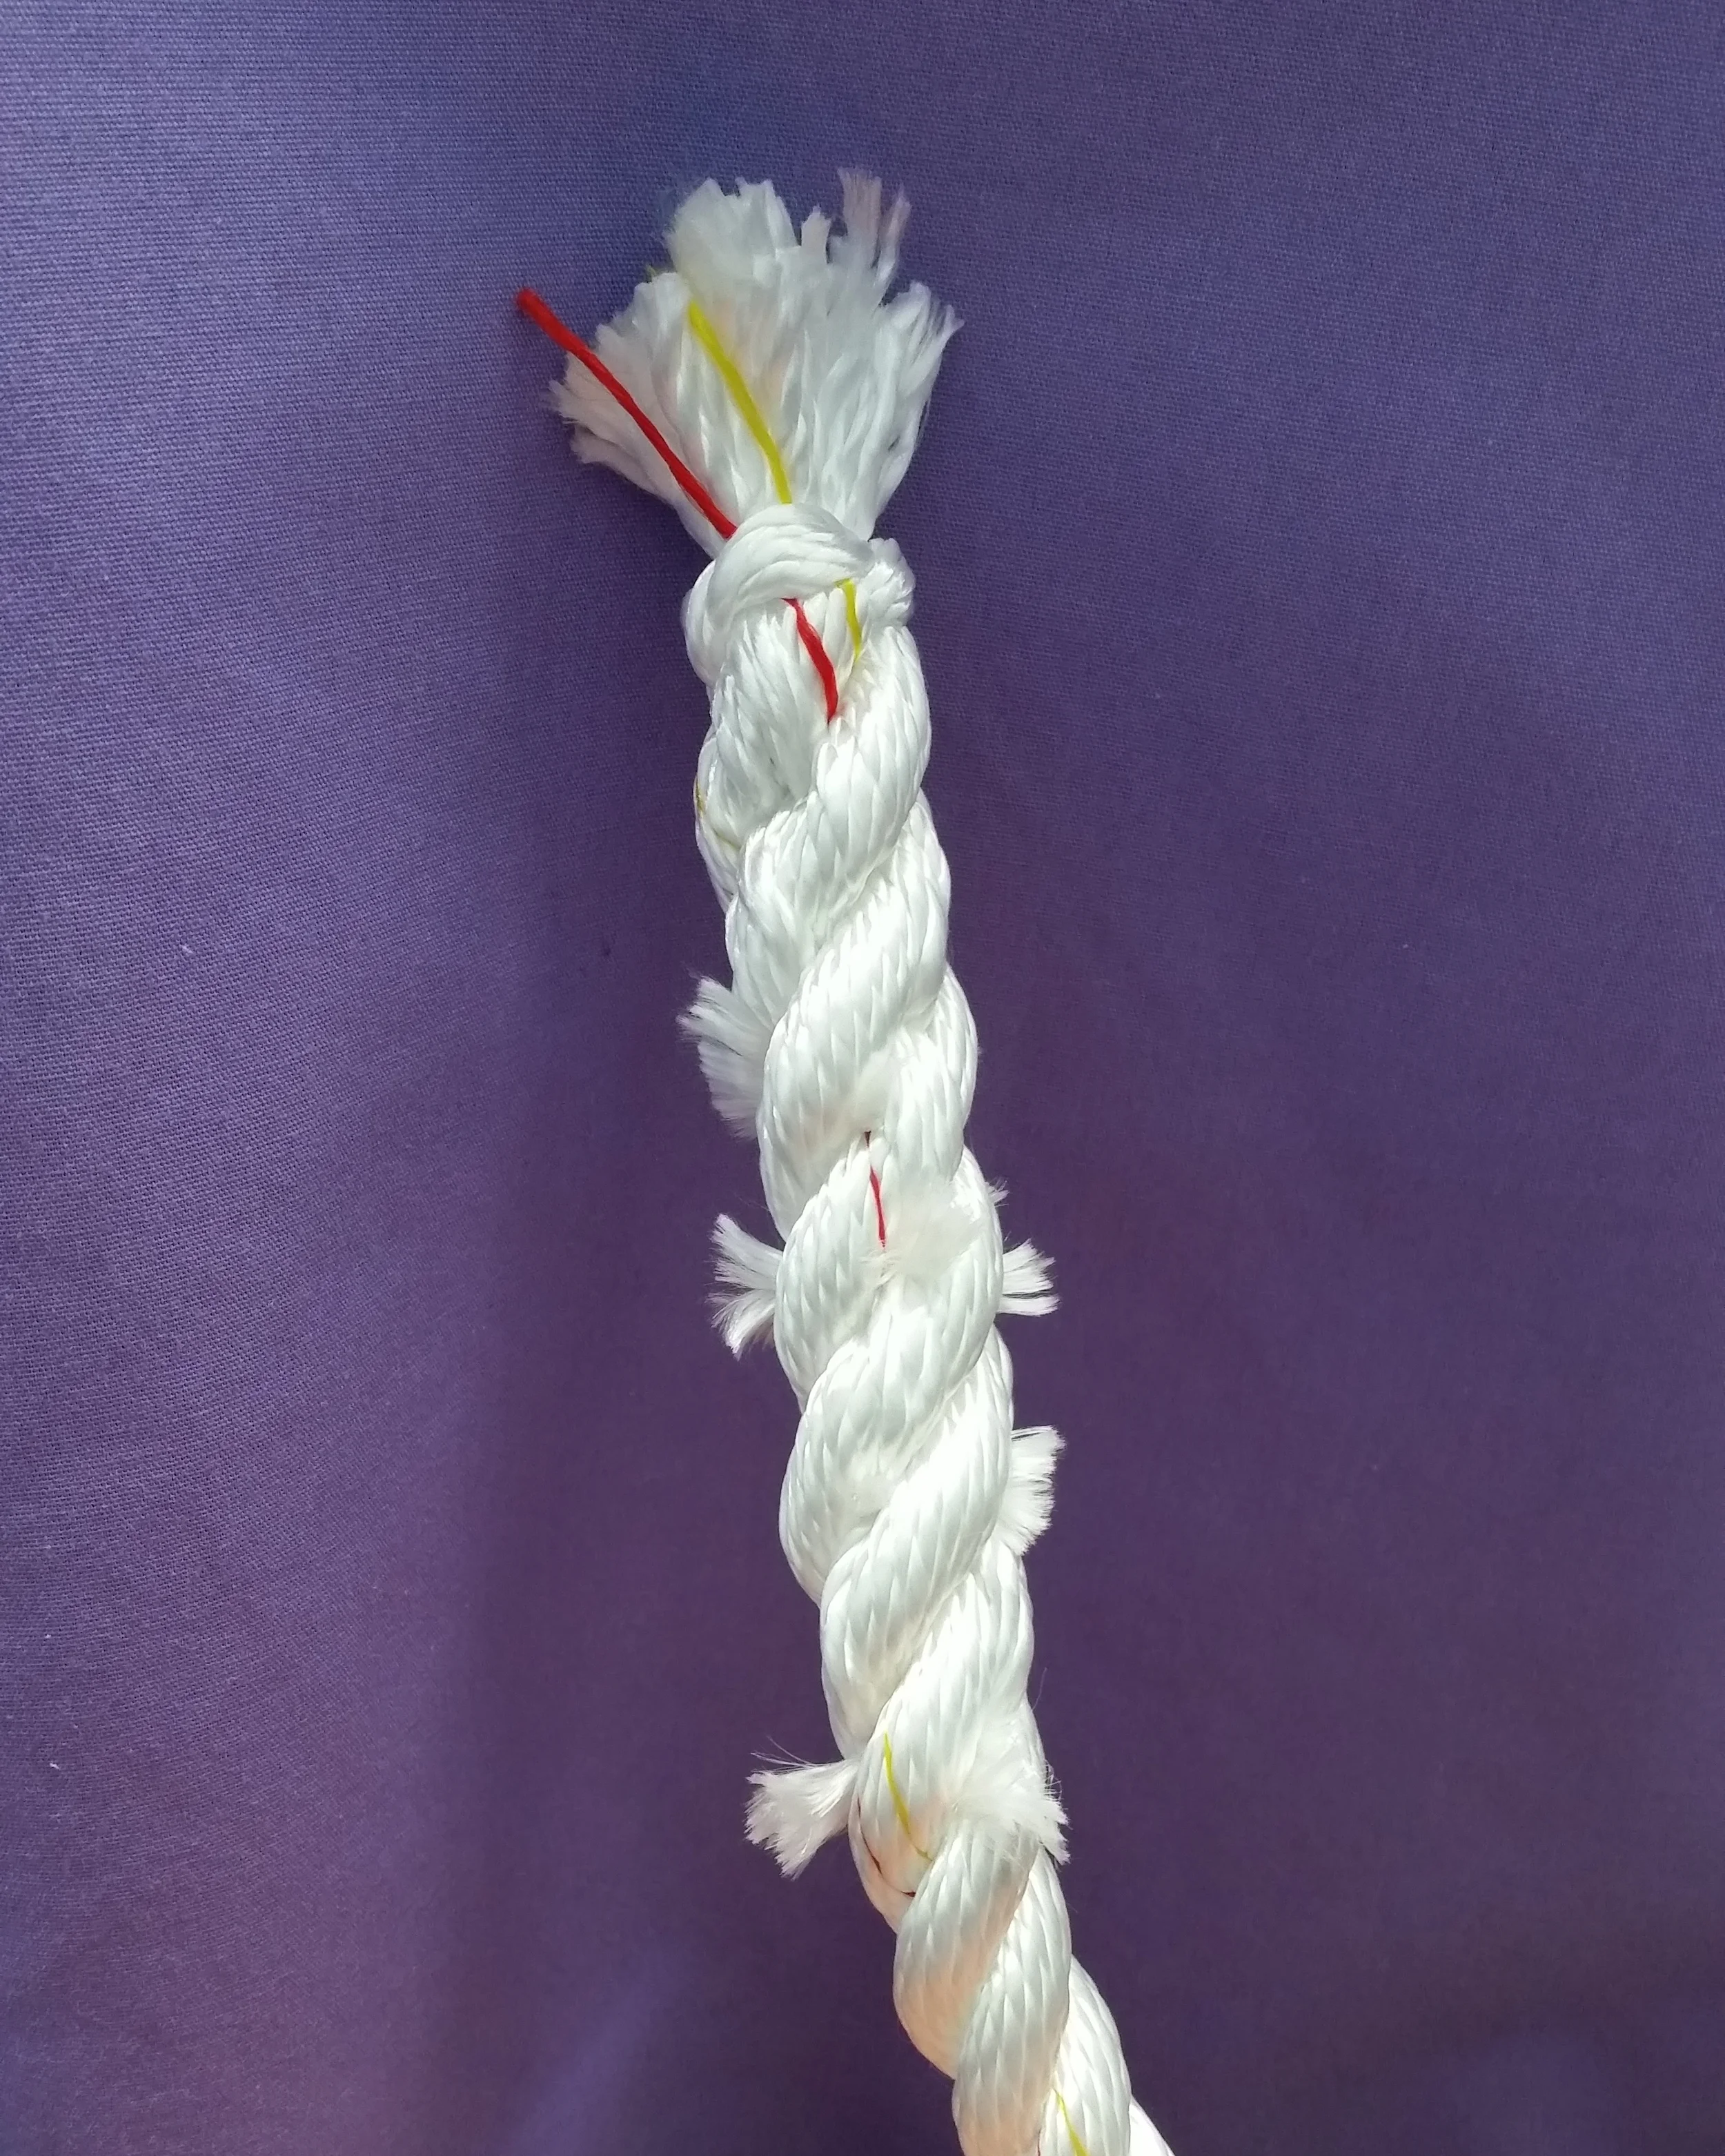
I use 1/2" 3 lay nylon rope for my jacklines. They are attached at the bow and stern cleats and run uninterrupted on the deck. They are the same material as dock lines and anchor rode, so I feel better about leaving them in the sun permanently rigged. The moment we feel the need to use them, we have them!

1/2" 3 lay will roll underfoot, so we simply don't step on it, just like we don't step on sheets or jib tracks or slippery painted parts. You will learn your deck and be able to navigate it in the dark!

Our rule is if we go on deck and we are not tied to a pier or anchored to the bottom, we are clipped in! Even on light air days, it would be really annoying to have to jibe the drifter around to pick someone up. If we are clipped in, then we are never disconnected.

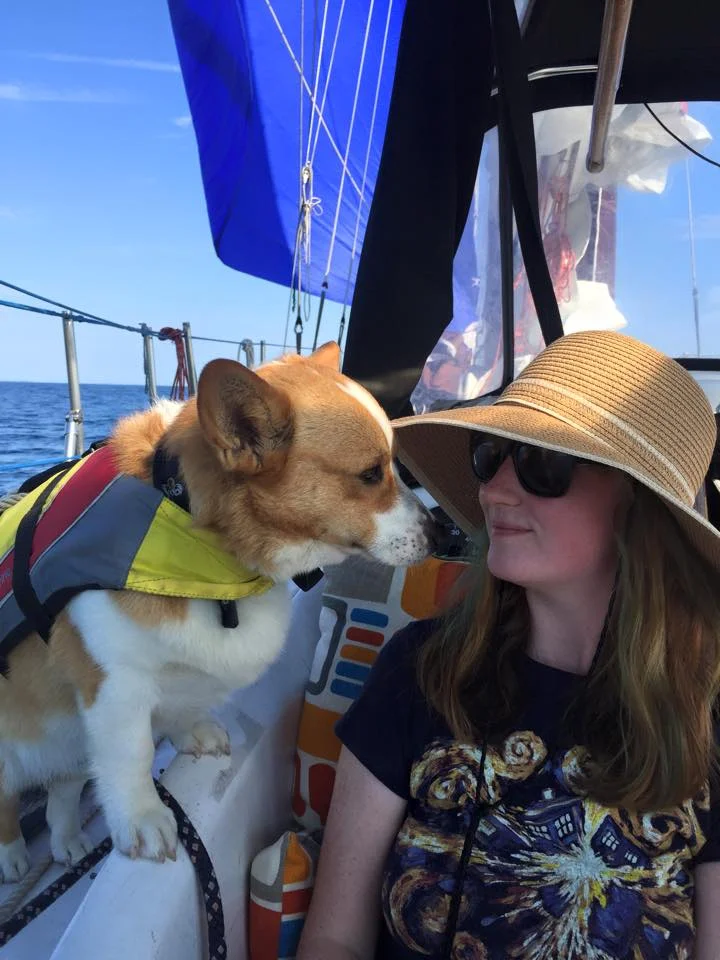
There are occasions when we don't follow our own rules, but we both have to OK the decision. Maddie doesn't like to wear her life jacket and harness because it is hot and heavy. When conditions are very light and she is just going to sit on the deck, she will go without wearing it or being clipped in. The important part is we are all in accord on the decisions to keep each other safe while sailing.

Boat Dog!

Morty is our boat dog! Short legs for a low center of gravity and no tail to get caught in a winch!

He is a terrible swimmer, which is why we try so hard to keep him on board. 

He always wears a life jacket to help him float while he would wait for his recovery, if he were to fall over.

To avoid a "Dog Overboard" situation, we keep him tied to the jacklines that run the length of the deck, allowing him to walk around. I also wove a net on the bottom half of the lifelines to help keep him on board. 

11040602_10204600274426681_8463966938245648712_n.jpg

The best way to keep him on the boat is to make sure that he is happy on the boat. Being how I raised him from a puppy on board Wisdom, this is his home and he doesn't try to escape (unless we leave without him, then he will jump off and chase after us).


Fuzzy Ends

When you buy rope, they always offer to sear and melt the end of the line to keep it from fraying. While melting the end will help keep the line together longer, it actually does more harm than good.

A seared end will be hard and may have sharp edges that can scrape the topsides or chafe on other parts of the line. The end of this supple line will turn into a rock hard scraper that will tear into everything around it. If you coil the line up on the deck and then pile other things on the line, that seared end will be under a good amount of pressure. Rather than flattening out, it will simply dig into the topsides. As the boat moves around, that hard edge will scrape and scratch everything under it.

The solution is very simple: Don't melt the ends!

Either whip the end of the line, backsplice the end of the line, or if you are in a real rush: tie a stop knot in the end of the line. 

Whipping the end is a bit time consuming, and you need to have whipping twine handy. I personally keep a few spools and needles in my splice kit on board, but I do this professionally. Most people don't keep these sorts of things.

Backsplices are the alternative when no whipping twine is available. It simply takes the end of the line and ties it back to itself. 

Knotting the end is the least desirable solution. It is bulky and clunky, but also insanely quick! If you need to cut a rope in a hurry and put it to use, simply tie a knot in the end and that will stop the whole rope from fraying. Try to place the knot as close to the end as possible, because everything after the end can fray.

Back to the fuzzy ends! When you finish a splice or whipping, don't sear the ends of the lays. This will simply make more of those hard spots that will cause problems. Simply fuzz the ends of the lines and lays!

Fuzzy ends prevent chafe because when a load is applied to the side of the line, the line can deform and flatten out. When something rubs up against the end, it will be pushing against a very large area (compared to the point of a seared end) that is very soft and forgiving. This is why the chafe protectors (Baggy Wrinkles) on tall ships are fuzzy. Fuzzy ends are something that should be desired instead of melting them out of existence!

Fuzzy ends also weather over time, just like natural teak. As time goes by, the fuzzy parts begin to look more and more weathered as they age. While the line won't be new and shiny anymore, it does begin to look very seasoned as the miles and years pass by.

20150911_191529.jpg
20150915_185218.jpg

The ends get worked and the line stays together. Fuzzing the ends of the line can make a sweeter situation out of a bitter end.

Figure 8 or Fishermans

The most common knot that I come across used as a stopper knot is the Figure Eight. It is fast to tie and does the job. The only time the Figure Eight doesn't serve its duty is when the line is much smaller than its fairlead hole. In times like this, a Figure Eight will pull through because it wasn't bulky enough. This is when the Fisherman's Knot reigns supreme!

The Double Fisherman's knot is very easy to tie, and can be untied after being loaded (with some effort). I personally like the Triple Fisherman's Knot over the Double Fisherman's Knot simply because of aesthetic reasons. It looks like a barrel on the line rather than a square. 

The other advantage of a Fisherman's Knot is they lay straight in the line. A Figure Eight will make a bend in the line after the knot has been loaded, which will make a kink in the line when flaking or coiling. The Fisherman's Knots simply lay quietly in line as they serve their purpose.

You can see in this comparison I tied, the Figure Eight looks sufficient from some angles but flat and insignificant in other views. The Fisherman's Knot always has considerable bulk and won't pull through a block or sheave. The Fisherman's Knot also lays flat along the line whereas the Figure Eight has a bit of a kink to it.

Stopper Knots

Stopper Knots are imperative to keeping a line from slipping through all of its blocks and pulling out. The idea is to have the line pass through the blocks as it makes its way to the cockpit, and then stay in the cockpit. 

Lets take a jib sheet as an example, the sheet comes off the winch and slips out of your hand. If there is no stopper knot, the sheet will pull through the fairlead and flap wildly in the wind as the jib flogs. You can't use the engine to bring the bow into the wind since the sheets can foul the prop. This whole dilemma could have been thwarted by using a stop knot, which would have kept the bitter end of the sheet from passing through the fairlead, allowing a much easier recovery. 

While it may seem logical to place the stop knot at the very end of the sheet, this is not advisable. Think about it, the sheet pulls away because it was under tension. Now the stop knot is jammed into a block and you have nothing to grab onto to pull it out! You needed a winch before because the line was under tension, now you have no way of getting it to the winch and it's still under load.

To make matters easier, locate the stop knot ahead of the bitter end. If the sheet were to pull away, you want to have enough tail to reach the winch and allow you to place a few wraps around the winch drum.

This does equate to a rather long sheet, you factor in the length that you would have needed, and then add the distance from a stop knot to the winch. This should be the length of your sheets.