Sails

Alternative to a Tack Horn

Part of reefing is getting the tack cringle onto the tack horn, it’s how you secure the tack of the sail while reefing! How else would you do it? 

The struggle with this old method is that the horns can hook and poke holes in the luff of your sail as you raise the sail, and you have to get your tack cringle over the horn in foul weather. When you combine the situation of high winds, a flapping sail, and a pitching deck; suddenly getting a little ring over a little horn doesn’t sound like a fun idea. 

Alternatives exist, where a strap with rings on the ends will be sewn through the cringle, so that you can simply place the ring on the strap over the horn, as the strap is easier to manage than the stiff luff of the sail. 

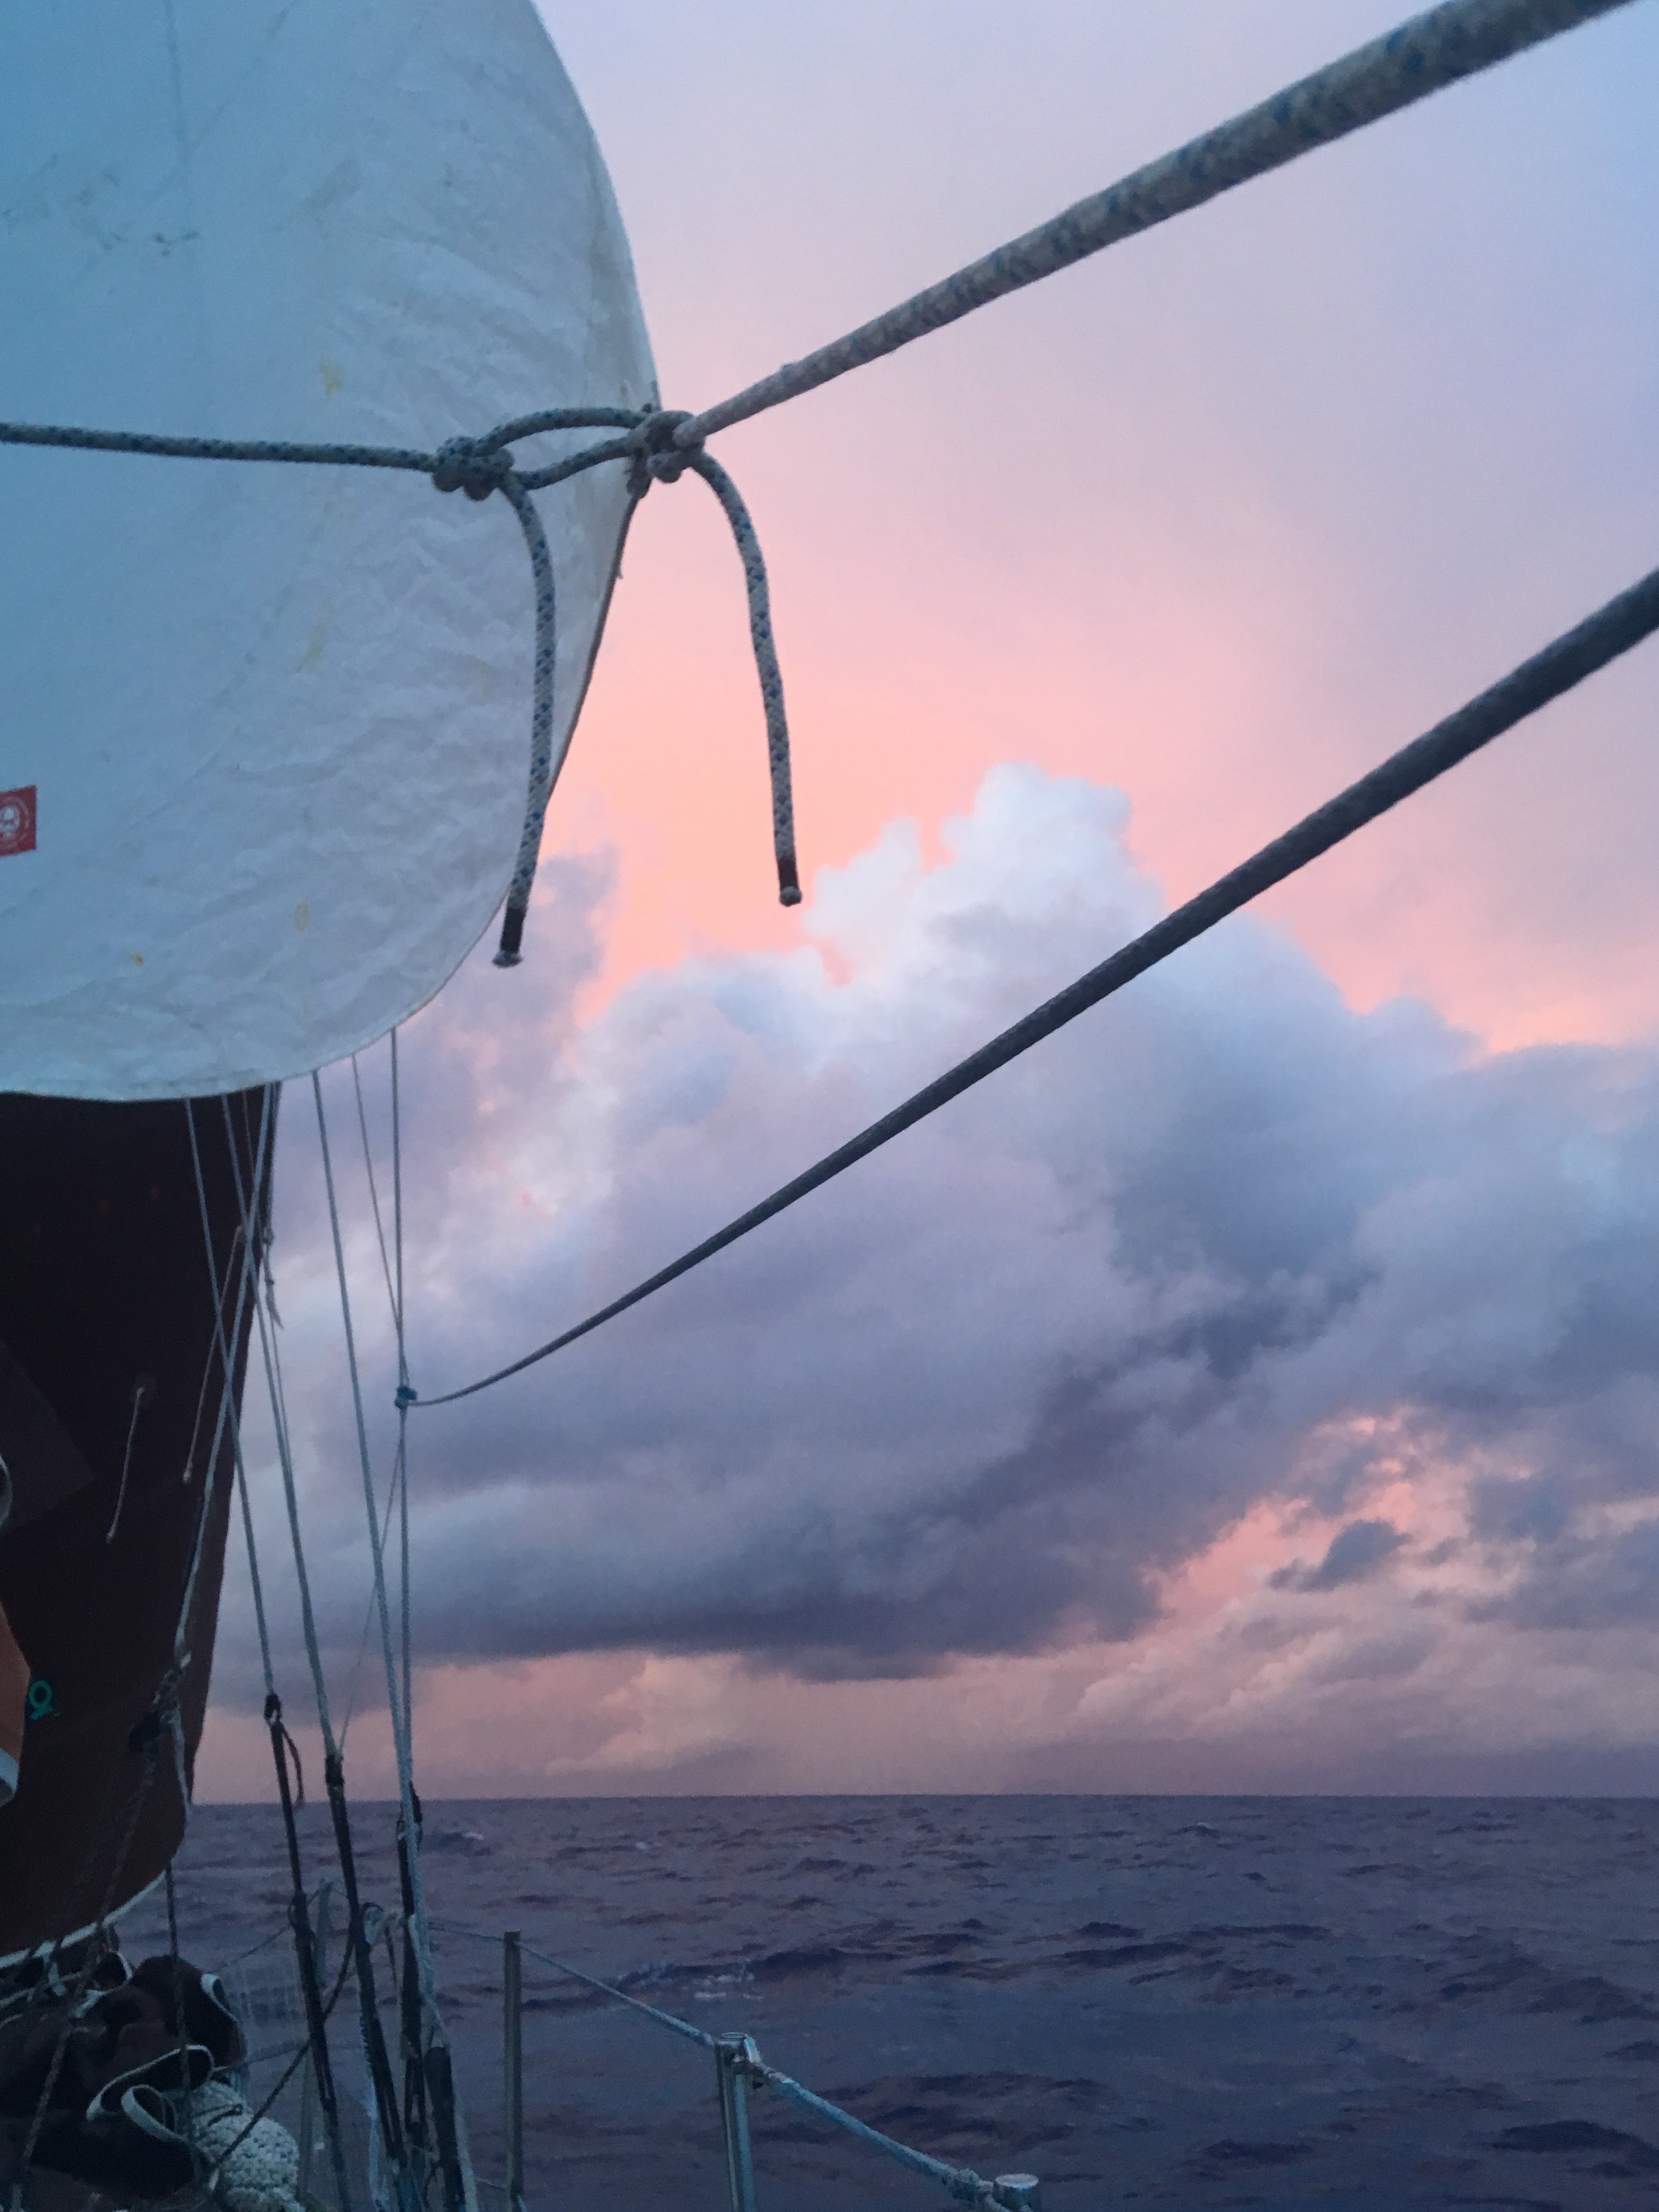
All this got me thinking about alternatives to this debacle. What about taking a very strong dyneema line and simply tying the tack in place? 

FullSizeRender.jpg

I used a 7mm length of SK-78 dyneema with an alpine butterfly hitch tied in the middle to give the tack line an appropriate purchase point. The line simply passes through the tack webbing, through the bight, back through the tack webbing and back through the bight, then through the webbing one more time to tie off just below the alpine butterfly hitch.

Having a long length of line means that I can reach the tack webbing with ease from a distance, and the purchase system lets me pull the tack down tightly.  The dyneema is very strong and able to hold the forces of the sail with ease.

It is imperative that the tack line run down and forward to keep the forces mostly vertical on the luff of the sail. If the tack line does not have a forward component to it’s pull, the luff of the sail will be pulled aft with no countering and it will rip your luff off the luff track.

What we do is tie the tack line, tension the halyard with the winch, then set the clew line for the reef. This way, the clew line is acting on an already tensioned and set tack, resulting in a stable reef setup with zero risk to the sail during sail raising. 

Weather Helm and Lee Helm

Sailboats have two rudders steering them, not just one!

IMG_2250.JPG

The first one is the one everyone thinks of when you they hear the word “rudder”. This is the appendage that hangs off the back of the yacht that is controlled by the wheel or tiller and is the primary method for controlling a yachts direction.  

IMG_2734.JPG

The second one is exclusive to sailboats, as powerboats do not have this second rudder, the sails. As wind hits the sails and gives the sailboat power to drive through the waves, it also influences the direction the yacht will go as it moves through the waves. 

If the sails are all at the back of the yacht, the wind will hit them and push the back of the yacht downwind and the bow upwind. This is known as weather helm. 

If the sails are all at the front of the yacht, the wind will hit them and push the front of the yacht downwind and the stern of the yacht upwind. This is known as lee helm. 

Having the right balance of sails, front and back, is necessary to cause the yacht to be pushed evenly and to avoid this urge to rotate. 

The urge caused by the wind can be felt in the helm, and can lead to crew fatigue if you are counting on the rudder to compensate for unbalanced sails.  When the yacht wants to turn upwind, simply turning the helm to leeward will make the yacht sail in a straight line, but you will have conflicting events happening. The sails want it to turn upwind while the rudder is dragging through the water trying to turn the yacht back to leeward. The result is these forces will cancel out and the yacht will sail straight! But the cost of these conflicting forces will be loss of speed as the rudder and sails need to cancel out their opposing forces instead of all moving forward in harmony.

Trimming each sail to optimum performance by following the tell tales will give you maximum performance out of each sail, but not optimum performance out of the entire system. If you sacrifice pure performance and instead focus on minimizing weather and lee helm, you will actually sail faster and with less drag.

Thinking of the sails as a second rudder, almost as an air rudder, will be advantageous in your seamanship abilities. Instead of setting the sails for power, and then adjusting your course with the rudder, it would behoove you to set the sails based on the winds and point of sail you wish to be on, then fine tune your heading with the rudder. Thinking of the sails as your primary steering method, more of a macro rudder, and your rudder as a fine tuning steering method, more of a micro rudder, will let you sail most efficiently and effortlessly. 

FullSizeRender.jpg

Controlling Weather Helm while on a Run

Weather helm is a phenomenon where the force on the sails wants to turn the yacht up and into the wind. This is caused by having the Center of Effort (CE) of a sail aft of the Center of Lateral Resistance (CLR) of the underwater profile. Balancing the sails is simply the act of playing around with the CE to get it to be directly in line with the CLR. ​

If the CE is ahead of the CLR, the boat will have lee helm and will want to turn downwind. If the CE is aft of the CLR, the boat will have weather helm and will want to turn upwind. Only when the CE and CLR are directly over each other will the sailboat be balanced and sail straight, not venturing upwind or downwind.​

Balancing the sails is not the same as trimming the sails for maximum performance. A lot of time, you will need to have your sail working at less than peak performance to properly balance out the whole setup. This is easy when you are sailing on a beam reach, where all the forces acting on the yacht are coming from the side, but what about on a run?​

To be on a run, you need to ease your mainsail all the way out so that it can act as a large drag to the apparent wind and be pulled along, likewise pulling your yacht along with it.​ Here is where it gets tricky.

FullSizeRender.jpg

As you ease your sail out, the CE of the sail will not only move forward, which will help give you lee helm and pull your yacht downwind, but it will also move the CE laterally and outboard. This long and very powerful lever arm, also known as your boom, will act on the mast and try to turn your yacht opposite of the direction you have eased the sail. In this case, with the boom eased to port, the force on the sail will try to turn the yacht to starboard. This may feel and act like weather helm, but it is not caused by the aft movement of the CE, instead it is caused by the leverage of the mainsail held out by the boom.

The further outboard the clew of the sail is, the longer the lever arm is that is acting on the yacht, and more leverage the sail will have to turn the yacht in the opposite direction. 

Your options here are simple, either you can move the clew further in or not ease the sail as far. Moving the clew inboard is effective at reducing this torquing. This can be achieved by either reefing the sail or simply not easing the clew past the beam of the boat. Obviously, these options seem counterintuitive as the apparent wind while on a run is less than the true wind; more sail would seem logical!

Instead of reefing, and dealing with the boom on a run, an alternative is to raise the trysail. 

IMG_2737.JPG

The trysail has no boom, so the foot will curl more easily when the sail is eased. As you ease the sail, the clew will tend to move directly forward from the sheeting point, and as such will stay inboard of the beam of the yacht. 

The sail is also smaller but when eased will fill up and provide a great amount of drive downwind. Since the sail will curl up, the majority of the sail will be right along the mast, in the middle of the rig, further keeping the CE close to the midline of the yacht. 

Being a small sail, it also won’t block the wind from reaching your headsail. This will increase the headsails effectiveness which will then aid in keeping the bow of the ship pointed downwind.  

IMG_2265.JPG

Having a trysail up on a wonderful day may not seem intuitive, but it really does help take out the weather helm while sailing downwind. This will balance your sailplan and let your yacht sail more balanced towards your downwind destination.

Dedicated Trysail Track

A trysail is a small storm sail that is flown in place of your mainsail. It usually lives deep in a sail locker stuffed into a bag. Here it typically remains for the entire life of your yacht.

The idea behind a trysail is that should the winds pick up to severe speeds, you can drop your mainsail and raise the trysail. This takes all the stress off your mainsail and puts it solely on a dedicated and purpose built sail.

The problem in this narrative is that the sail is stuffed away where it is forgotten, and therefore, seldom used. In a storm, the last thing you want to do is root through a locker, pull out a sail, remove the mainsail, attach it to the luff, and then raise it. When a storm hits, you want to make your main smaller and get back to the cockpit as quickly as you can!

Having a dedicated track for the trysail allows you to set it up before you leave port so that should the situation arise, it is ready to go.

FullSizeRender.jpg

We flake and then ball up our trysail at the foot of the mast, where it remains laying in wait for the moment we might need it. We have the starboard sheet tied to the clew, so all we need to do is attach the port sheet once the mainsail has been lowered; and its dedicated halyard already attached.

When we need the sail in a hurry, we just drop the main and raise the trysail. The starboard sheet is set, so worst case scenario where we don’t have time to attach the port sheet before raising, we can sail on port tack. The clew of the trysail is low enough that I can easily reach it to tie on the port sheet after it has been raised without reaching overboard or far off the deck (I’m tall though).

With the trysail setup like this, we find that we use it very often, which makes our blue water passages very relaxing and safe, since we can don the storm sails just as easily as we could raise our working sails.

How To Cross an Ocean: Sails and Rigging

What makes a sailboat different from a powerboat? Sails and Rigging!

A beautiful and comfortable yacht with walk in closets, air conditioning, and every last gadget under the sun with non working sails and rigging is just a floating tomb that can't get you to shore. Eventually, you will run out of resources and die! You need to be able to get back to land, and to do that you will need working sails and rigging. 

It is imperative that you fully inspect all your standing rigging, running rigging, and sails before you head out to sea. If you have any problems, you need to address them before you head out to sea.  

Now, having perfect sails and rigging when you head out to sea doesn't mean that you will make it across safely without complications. While out at sea, problems can begin to occur, and you need to be prepared to manage and repair all issues associated with your sails and rigging.

IMG_2649.JPG

Lets start with your sails.  

Your sails need to be in good condition. This doesn't mean new, it just means "good". They can be stained, they can be old, but they need to be capable of getting you across the ocean and safely to the other side.  

Sails need to be inspected closely, giving extra attention to the condition of the sail cloth, condition of the stitching, and the condition of every cringle in the sail. 

The cloth should sound "snappy" when you flex it around. If it sounds and feels like a bed sheet or cotton tee shirt, then your sail cloth is old. This doesn't mean that the sail needs to be replaced, but it should raise a red flag in your mind about the condition of the sail. Old sails will still act as giant bags that can pull you down wind and get you across an ocean, as long as the sailcloth is not so old that the cloth will blow out on you. So, your sail sounds and feels like an old bed sheet, but is it ok to cross an ocean on it? Simply take the sail in to a sailmaker and ask them to evaluate the sail. Let them know that you are about to cross an ocean and ask them if they think this sail can make it across! They know sails and can tell you how much time a sail has left just by looking at it. If your sail is in good condition according to the sailmaker, then you should feel safe going out to sea. If your sail is not in good condition according to the sailmaker, then follow their recommendations before you head out to sea!

FullSizeRender.jpg

The stitching should be in good condition. You want to check for chafe and missing stitches. Be sure to inspect any place that running rigging passes near a sail, as the rigging can chafe away the stitching on that part of the sail. If the stitching is laying flat and looks shiny, then you are fine. If the stitching is loose, fraying, or missing, it should be repaired before heading out to sea.​

The last place that you should inspect on your sails are all the cringles. Cringles are the little rings in your sails, and each cringle is a stress point and a potential point of failure. The tack, clew, head, reef points, and reefing tie points are all potential points of failure. The reefing tie points are a very weak area, since they are not reinforced to resist stresses, they are very easy to rip if you are shaking out a reef and forgot to untie one of the reefing ties. 

The cringles should be rust free, and all the stitching around the cringle is in good shape. The sailcloth around the cringle should also be in good order, ending neatly inside the cringle without any fraying around the cringle. 

FullSizeRender.jpg

Each cringle is a potential failure point, so reducing the number of cringles is a great way to reduce your exposure to problems.​

Reefing tie points are the little ropes that go through your sail that you tie to hold the bottom of your sail neatly when you are reefed. If you have lazy jacks, they will hold your sail when it is reefed. A sail tie at the end of the boom will hold the end of the sail in place without the need of tying the little ropes! If you don't tie the little ropes, you won't have the issue of ripping the sail at these points. ​

Not putting the little ropes in the sail means that you have reduced a large number of potential failure points! In our mainsail, the first reef has 4 cringles, the second reef has 3 cringles, the third reef has 3 cringles. That's 10 potential failure points that can be removed by simply not using the little ropes.​

The second area that can be improved is the tack points for reefing. Cringles in the sail are a potential fail point, while having the tack stitched onto the side of the sail with webbing will mitigate this problem by simply replacing your "hole in the sail" with a stitched on loop.​

In our mainsail with three reefs and a Cunningham, the number of cringles was reduced from ​20 to 7! The tack, Cunningham, head, clew, 1st reef clew, 2nd reef clew, and 3rd reef clew are the only "holes in our sail" that are loaded.  

Now, having good sails when you set out to sea doesn't guarantee that you will arrive on the other side of the ocean with good sails! You need to be able to check the sails yourself and you should be able to carry out any repairs along the way. ​

It would behoove you to carry spare sailcloth, sail thread, and a method to sew the sail. You can have a fancy and expensive sewing machine, or you can also have a "Speedy Stitch" hand sewing instrument. Having it is great, but be sure you also know how to use it. Reading the instructions is nice, but be real here: open the thing up and practice with it before you go out to sea! While in shore, you can pull up a YouTube How-To video to answer a question, but you can't do that out at sea when you actually need to do the procedure.​

While out at sea, you need to constantly check your sails for chafe! A common problem that will happen when sailing downwind is the mainsail chafing on the shrouds. It will reduce your speed, but simply not easing the mainsheet as far will keep your mainsail off the shrouds and reduce this point of chafe. ​

Your headsail's lazy sheet is another point of potential problems. The lazy sheet will lay limply across your deck, rising and falling as you move through the seas. This lazy sheet is just rubbing over and over again, chafing itself, as well as anything else it is touching. This may seem unnecessary to a coastal cruiser, but when crossing an ocean, you will be on the same tack for days, if not weeks! Something that is rubbing a little today will rub constantly until it saws all the way through! ​

Since you will be on the same tack for so long, it is easy to simply walk the deck and check for potential chafe points and position the lazy sheet in such a way that it doesn't rub. I like to pull enough slack on the sheet that it will lay flat and still on the deck all the way up to the clew, then raising up to reach the clew. ​

IMG_2265.JPG

​Aside from making sure your sails are in good order, it is important to carry the right kinds of sails. Having your working sails (mainsail and jib) is critical as these are the most commonly used sails for general conditions. You should also carry sails for the extremes! Storm sails and light air sails are a good idea to have with you, but not a "Need to Have" item. 

It might feel like we are berating sails and not going over rigging as much. The reason is sails​ are big and it's easy to overlook a small problem on such a large sail. The truth is rigging is smaller, but just as important to inspect.

Steel rigging rusts, corrodes, and breaks, but it is quite resistant to chafe from sails and sheets. You want to check for broken or corroded wires, paying extra attention to the ends of the stays (this means the top of the stay way up on the mast too). If you see any signs of corrosion or cracks, it is important to repair or replace the failing component. ​

Just like with sails, it is important to be able to carry out repairs at sea. With steel rigging, you need to carry the materials to fabricate and install a new replacement stay. To do this, it is wise to carry a length of wire equal to your longest stay. The problem with this plan is if you break two stays, you can only replace one of them! Steel stays are heavy, so carrying a full set of new rigging carries with it a steep weight penalty! Just like with sail repair, having the tools and parts to repair your rigging isn't enough; you need to know how to use them and with rigging, you need to know how to use them very well! Steel rigging HyMod fittings have little cones that crush down on the steel wires of 1x19 rigging cable and are one time use item. If you only have one, you better know how to use it and use it well because you only get one try with it!​

FullSizeRender.jpg

With synthetic rigging, you don't have to worry about corrosion, but you do have to worry about chafe. Be sure to inspect your stays for fuzziness and chafe, and be sure that nothing is rubbing on the stays while you are voyaging. It is very important to make sure that the lazy sheet isn't rubbing on the forward lowers or cap shrouds because they will saw through your rigging in the course of the ocean crossing. 

Synthetic rigging is weaker in the form of chafe, but the tradeoff is very little weight. Since there is practically no weight penalty, you can feasibly carry a full spool of rigging allowing you to fabricate all your stays again. This removes the issue of "which stay to replace" if you break two stays, you can easily replace both! 

Keeping an eye on your sails and rigging before you go out to sea is important, but keeping an eye on your sails and rigging while out at sea is critical!  

Your sails and rigging are the powerhouse that will bring you across the sea. Keeping them in proper working order is paramount to making it across the ocean. The fancy coffee maker might be a cool gadget in the galley to show off at the marina, but it is absolutely worthless when it comes to getting your yacht to the other side of the ocean. Sails and rigging are what make your yacht a sailboat, which is why it is critical that you maintain them in working order and know how to work on them yourself. Accidents happen and you will have no outside help on your yacht. You will need to know how to take care of any and all problems that could arise with your sails and rigging as you cross the ocean.