Running Rigging

Synthetic Lifelines

Synthetic lifelines allow you to replace your questionable steel lifelines with dyneema that will provide you with a very lightweight lifeline that is immune to corrosion and easy to install yourself. The only specialty component that you need to make the conversion is a gate latch that can be spliced onto a synthetic lifeline. These latches cost around $70 each, and are readily attainable at most chandleries.

Synthetic lifelines are tensioned with lashings that attach to the pulpits. If you cut your lifelines a bit short, you don't need to worry since this will only require you to use a longer lashing.

The biggest issue with synthetic lifelines is chafe. You need to be mindful of sheets rubbing on them, as well as chafe from the stanchions that they pass through. The other issue is the spliced portion of the lifeline will not fit through the stanchion.

Chafe from the sheets can be managed by adjusting the sheet leads, but the chafe of the stanchion can not be avoided. The lifeline will rub on the stanchion because the lifeline passes through the stanchion. The trick is to polish the passage through the stanchion so that the chafe point is reduced.

As far as the splicing goes, there is a trick to work the splice around the stanchion. The splice is simply passed over the outside of the stanchion so that the bulk is bypassed. Be sure to leave enough room to scoot the spliced area over to inspect for chafe.

Lifting with your Rigging

Sailboats can be viewed as delicate creations that glide across pressure differentials in the air and water. Following this logic, you would be inclined to fear using your spars and rigging for anything other than sailing.

This is where davit companies take over, offering you an easy way to create a crane arm on your yacht that will lift your dinghy and outboard motor.

If you want to hang your dinghy on the stern and you don't have over-extending spars, then yes, you will need davits. If you are willing to place these heavy objects on the deck where they would be within the reach of the spars, then no, you won't need davits.

Davits are merely miniature replicas of what you already have, a mast and boom. The mast provides the vertical fixation point while the boom offers the horizontal fixation point. Using the two of these in tandem will allow you to easily lift and position any object you want onto your deck.

To do this, the first thing you need to do is stop viewing your rigging as a setup for sails and instead view it as a crane. The halyard is your hoist and your boom is simply the lateral positioning.

To carry this out, all you need to do is run a line from your mast out to the end of the boom and back. You will tie a bowline around the halyard in the end of this line after it has returned from the end of the boom.

This line is your outhaul and will position the object you are lifting along the boom.

To raise an object, you simply need to attach your halyard to it and begin cranking on your halyard winch. The outhaul will position it on the boom, so it is best to start with the outhaul all the way at the end of the boom, that way gravity will aid you in bringing it closer to the mast.

You can lift the object as high as the boom, and the boom can be lifted by way of the topping lift, giving you great flexibility in how you will manage your cargo. Once the object is clear of the lifelines by lifting it with the halyard, you can begin to ease the outhaul to bring it closer to the mast. When it is in the position that you desire, simply swing the boom over and it will bring the cargo with it.

Once it is over the area of interest, you can ease the halyard to lower it onto your deck.

Using this method, you can easily and safely remove and reinstall your inboard engine, as well as launch and retrieve your dinghy if you keep it under the boom behind the mast.

I keep a special line with a large thimble spliced into the end for the outhaul. The thimble reduces the friction and chafe between the outhaul and halyard, increasing their longevity. If this is a one time thing though, fire away with a bowline and get the job done!

Arthwartship Sheet Positioning

Most yachts are equipped to adjust the sheets in a fore aft direction via jib tracks. Some yachts have inhauls and barber hauls on their sheet blocks to allow for arthwartship positioning. Arthwartship is merely something that is in the beam dimension of the yacht. Inhauls and barber hauls simply move the block towards centerline or towards the sheer.

These adjustments may seem unnecessary, but in fact they are very important for headsail control on various points of sail. If your yacht is not setup to adjust these controls, it may be a good idea to figure out another way to still accomplish the end goal. 

When pointing to windward, the angle of attach of your sail is dictated by the location of your clew. If your clew is set far out on the cap rail, you will never be able to sheet the sail close hauled and sail close to the wind. Instead, you will be forced to sail at much wider angles and this will reduce your Velocity Made Good as you work to windward. 

By bringing your sheet block inboard, you also bring your yacht closer to the wind as your headsail can maintain the same angle of attach with your yacht pointing higher.  

When reaching, the opposite is true. If your sheet positions are far inboard, your sail will have to be eased considerably to reach. This will cause the leech to open up and twist horribly. You will have a sail presented to the wind, but all the wind will spill out the twist and provide very little drive. By moving the sheet block outboard, you can alleviate this problem by setting your block far forward (to control the leech) and outboard. Now you're able to pull in on the sheet, close the leech, and reach with power. 

On racing yachts, the sheet block is usually a ring suspended by four lines. One runs forward, one aft, one inboard, and one outboard. The fore and aft lines control the fore and aft position of the block, just like a car on a track. The inboard line is the inhaul which pulls the block inboard to allow better pointing to windward, while the outboard line is the barber haul, which pulls the block outboard for reaching. 

It is not always practical to convert your yacht with a perfectly functional jib track to this system, which is why snatch blocks may be your new best friend. If you have a perforated aluminum toe rail, you can easily clip the snatch block to the rail and lead the sheet from the sheet block into the snatch block. You have now effectively moved the sheeting position outboard and successfully created a barber haul for reaching and running. 

Adding a padeye inboard would allow you to place a snatch block further inboard, thus creating a close hauled sheeting point for beating. 

Life gets easier if you have a cutter, as your staysail will typically have a track that is further inboard than your jib. When beating close hauled, you will have to lower the staysail to reduce interference with the jib as you point higher. Since the staysail is not flying, you can also hook a snatch block onto the staysails jib track and give you a fully adjustable further inboard track to sheet your jib to. This will allow you to point your cutter like if it were a sloop, yet retain all the ocean going advantages of a cutter whine offshore. 

Sheet Leads

An often overlooked component of a headsail is the sheet lead position. While some people treat these blocks as static and permanently set attachment points, the truth is, they are meant to be moved around depending on what you are trying to achieve with your headsail.

Sheet leads are typically only able to move fore-aft, but some yachts are equipped to allow arthwartship adjustment as well. Fore-aft is by far the most common form of adjustment, where the sheet block is setup on a car mounted to a track. 

In the simplest of ways, moving the car forward is ideal in light air situation while moving the car aft is ideal in heavy air situations. The reason is, as you move the car forward, the force of the sheet is transferred up into the leech of the sail, allowing the foot to fill in. This creates a bigger chord in the sail and generates more power. When you move the sheet block aft, the force of the sheet gets transferred over to the foot of the sail. This will cause the foot to flatten and make the sail flatter. A flatter sail will generate less power and thus allow you to maintain control as the winds build. 

As you transfer the force of the sheet from foot to leech or leech to foot, the other side of the sail becomes ignored by the force. So when the car is forward, the leech is under control while the foot is ignored. When the car is aft, the foot is under control and the leech is ignored. This can serve some additional benefits as well. 

When winds build, you want to flatten the sail by tensioning the foot. Moving the car aft will accomplish this and it will also alleviate force on the leech. This will cause the sail to twist and the opening leech will spill excess air from the top of the sail. In high winds, this is ideal and will allow you to continue sailing along comfortably and safely. 

When you are reaching and have eased the sail, you may find that your sail is developing a twist, even though you don't want it to do so. Moving the car forward will allow you greater control of the leech and grant you the ability to close the twist in the sail, maximizing the power from the headsail. 

As of now, we understand that moving the car forward will control the leech and moving aft will control the foot, but where is the car to go to control both? The answer is somewhere in the middle. 

As you move the car forward and aft, the angle the sheet makes to the sail will change. With the car aft, the sheet will come into the sail at a very shallow angle. If you continue this line, it will meet the luff of the sail somewhere down near the tack. As you move the car forward, the sheet will meet the sail at a more extreme angle and the imaginary line will reach the luff further up towards the head of the sail. 

The neutral position where the force on the leech and foot are about equal is when the imaginary line that extends forward of the sheet meets the luff at about 40% the height of the luff (from tack to head). This point is considered to be the neutral position for your sheet block, and anything forward of this position is for lighter airs while anything aft is for heavy airs. 

Rope to Chain Splice

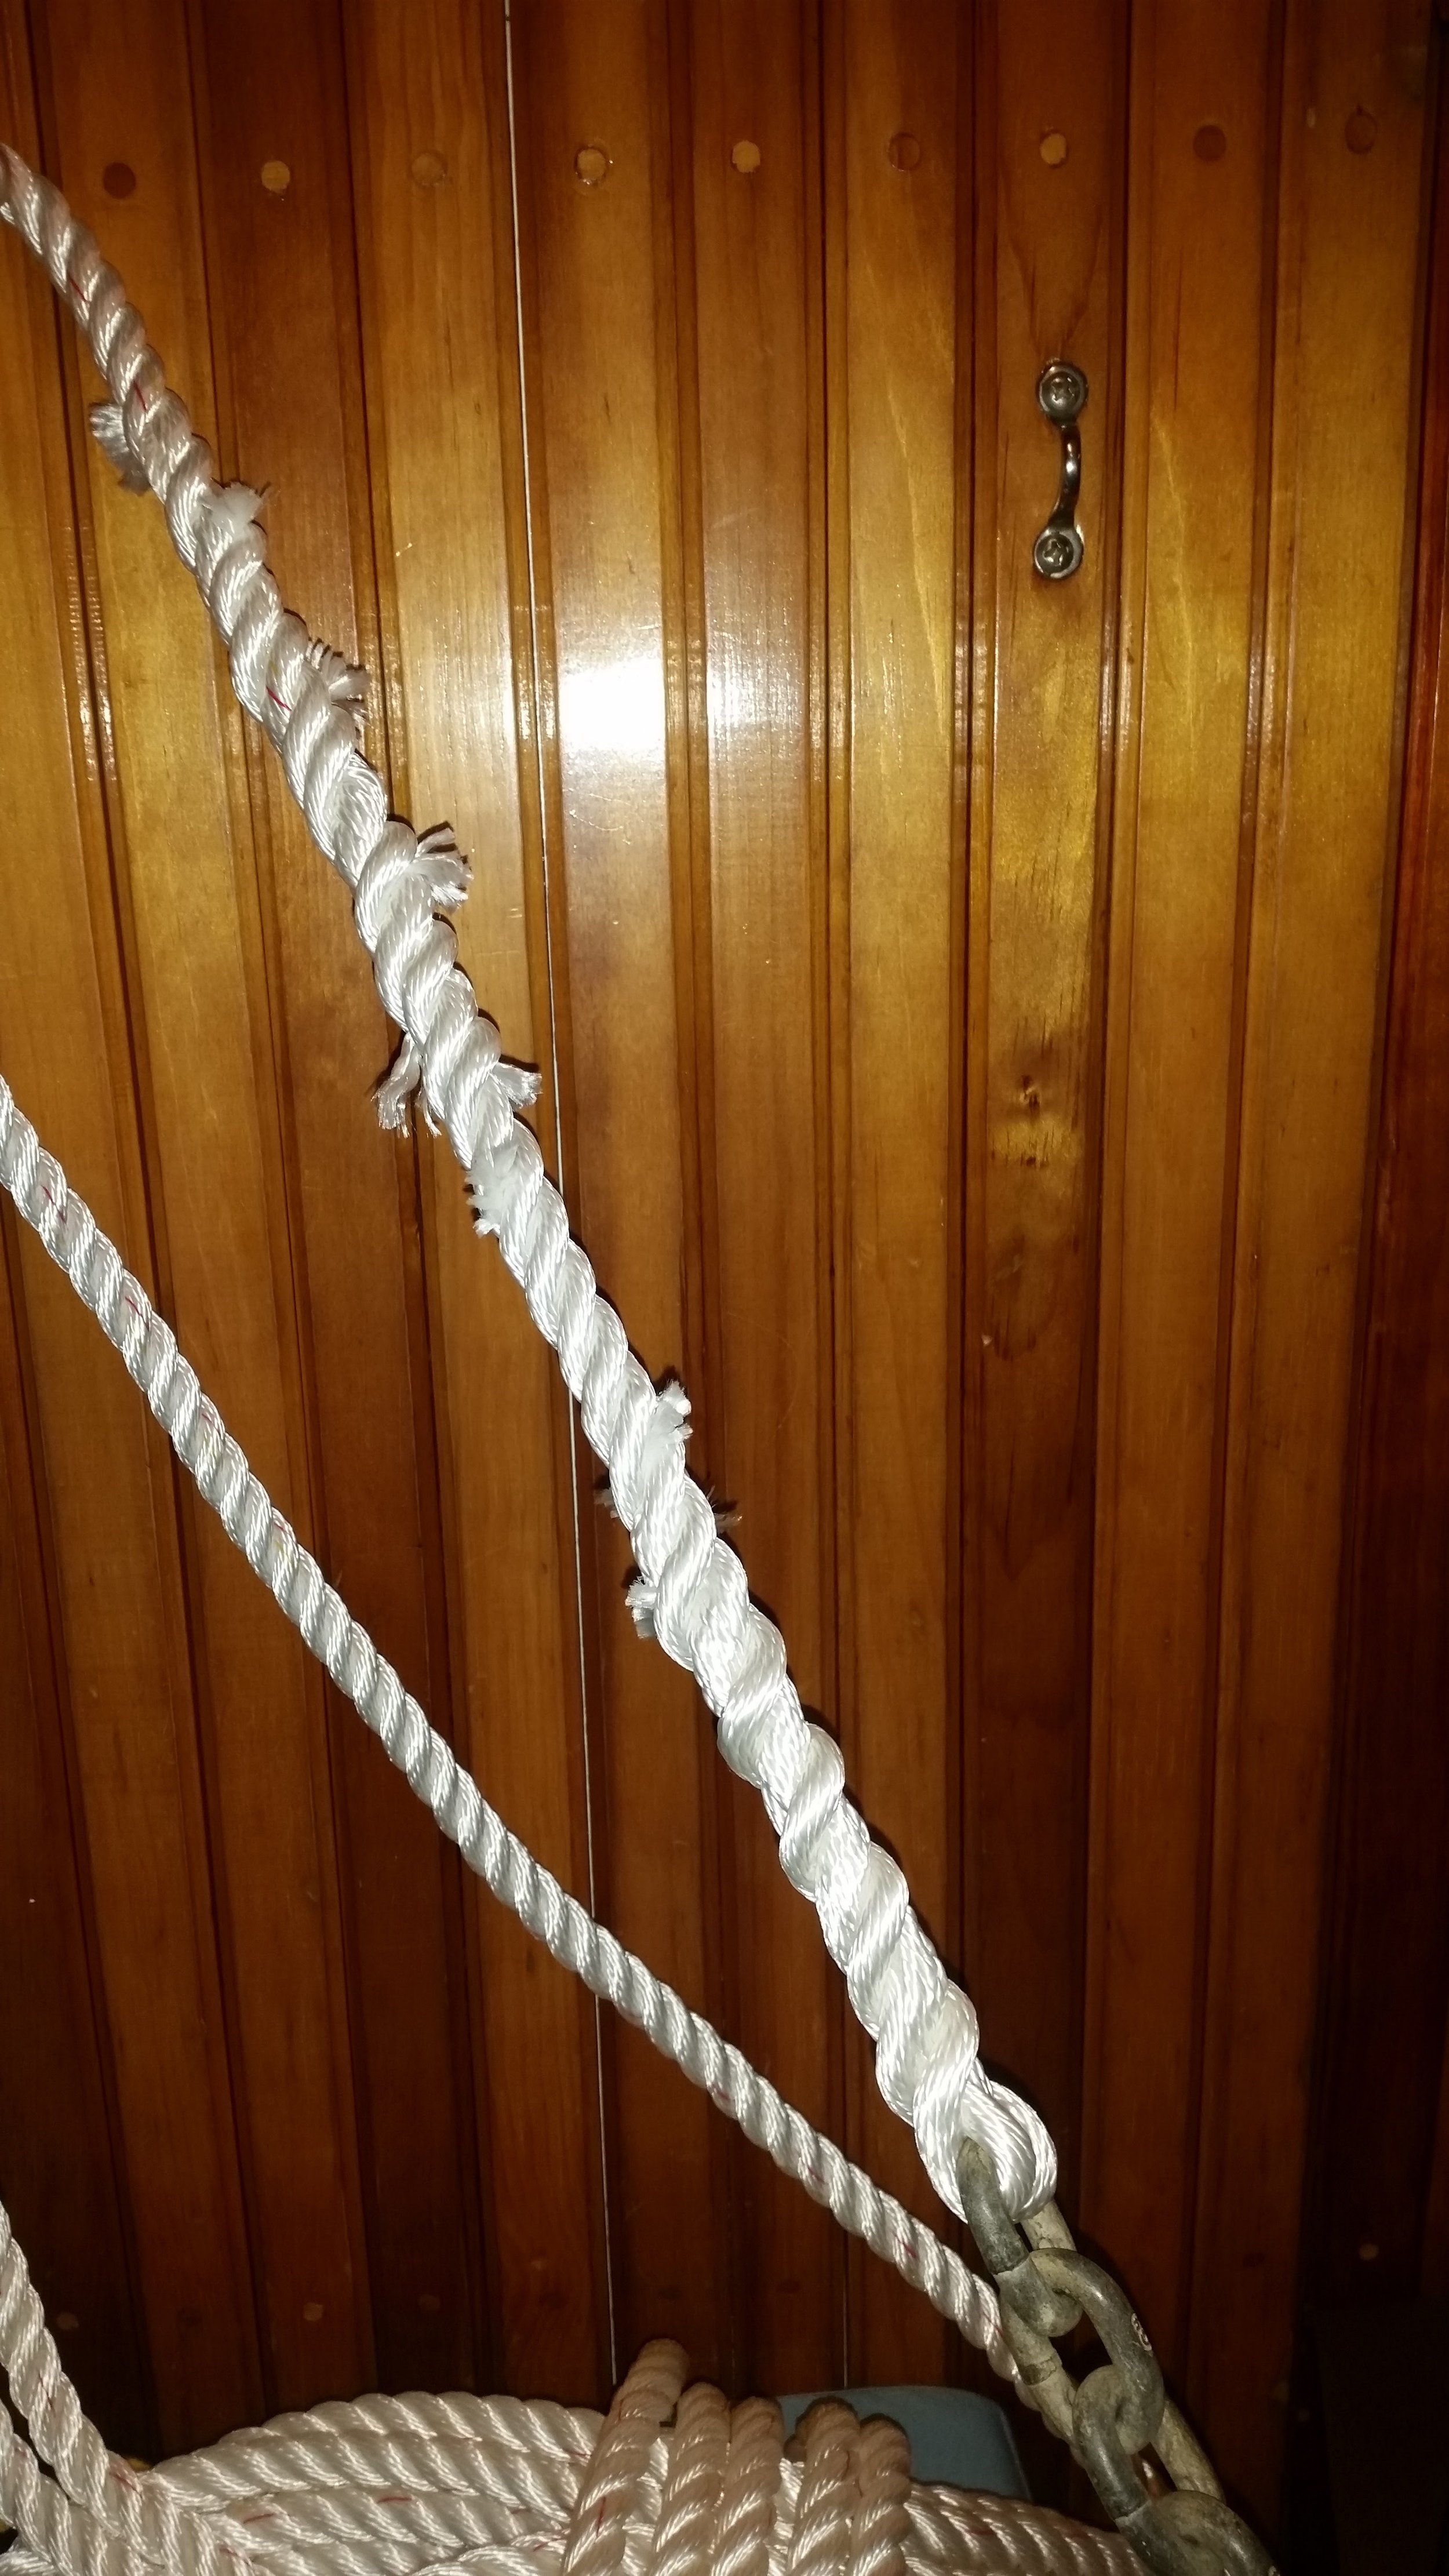
Most windlasses will not accept a thimble connection between rope and chain. Instead, they need to be spliced in a low profile way where the transition from rope to chain goes unnoticed and seamless. 

The rope to chain splice has a lot in common with a long splice, where the lays are removed and replaced to connect the lines. 

FullSizeRender.jpg

To begin, you need to understand a few basic points. First, the length of your splice needs to be at least 2 feet, which means that the start of your splice will occur two feet in from the bitter end.

FullSizeRender.jpg

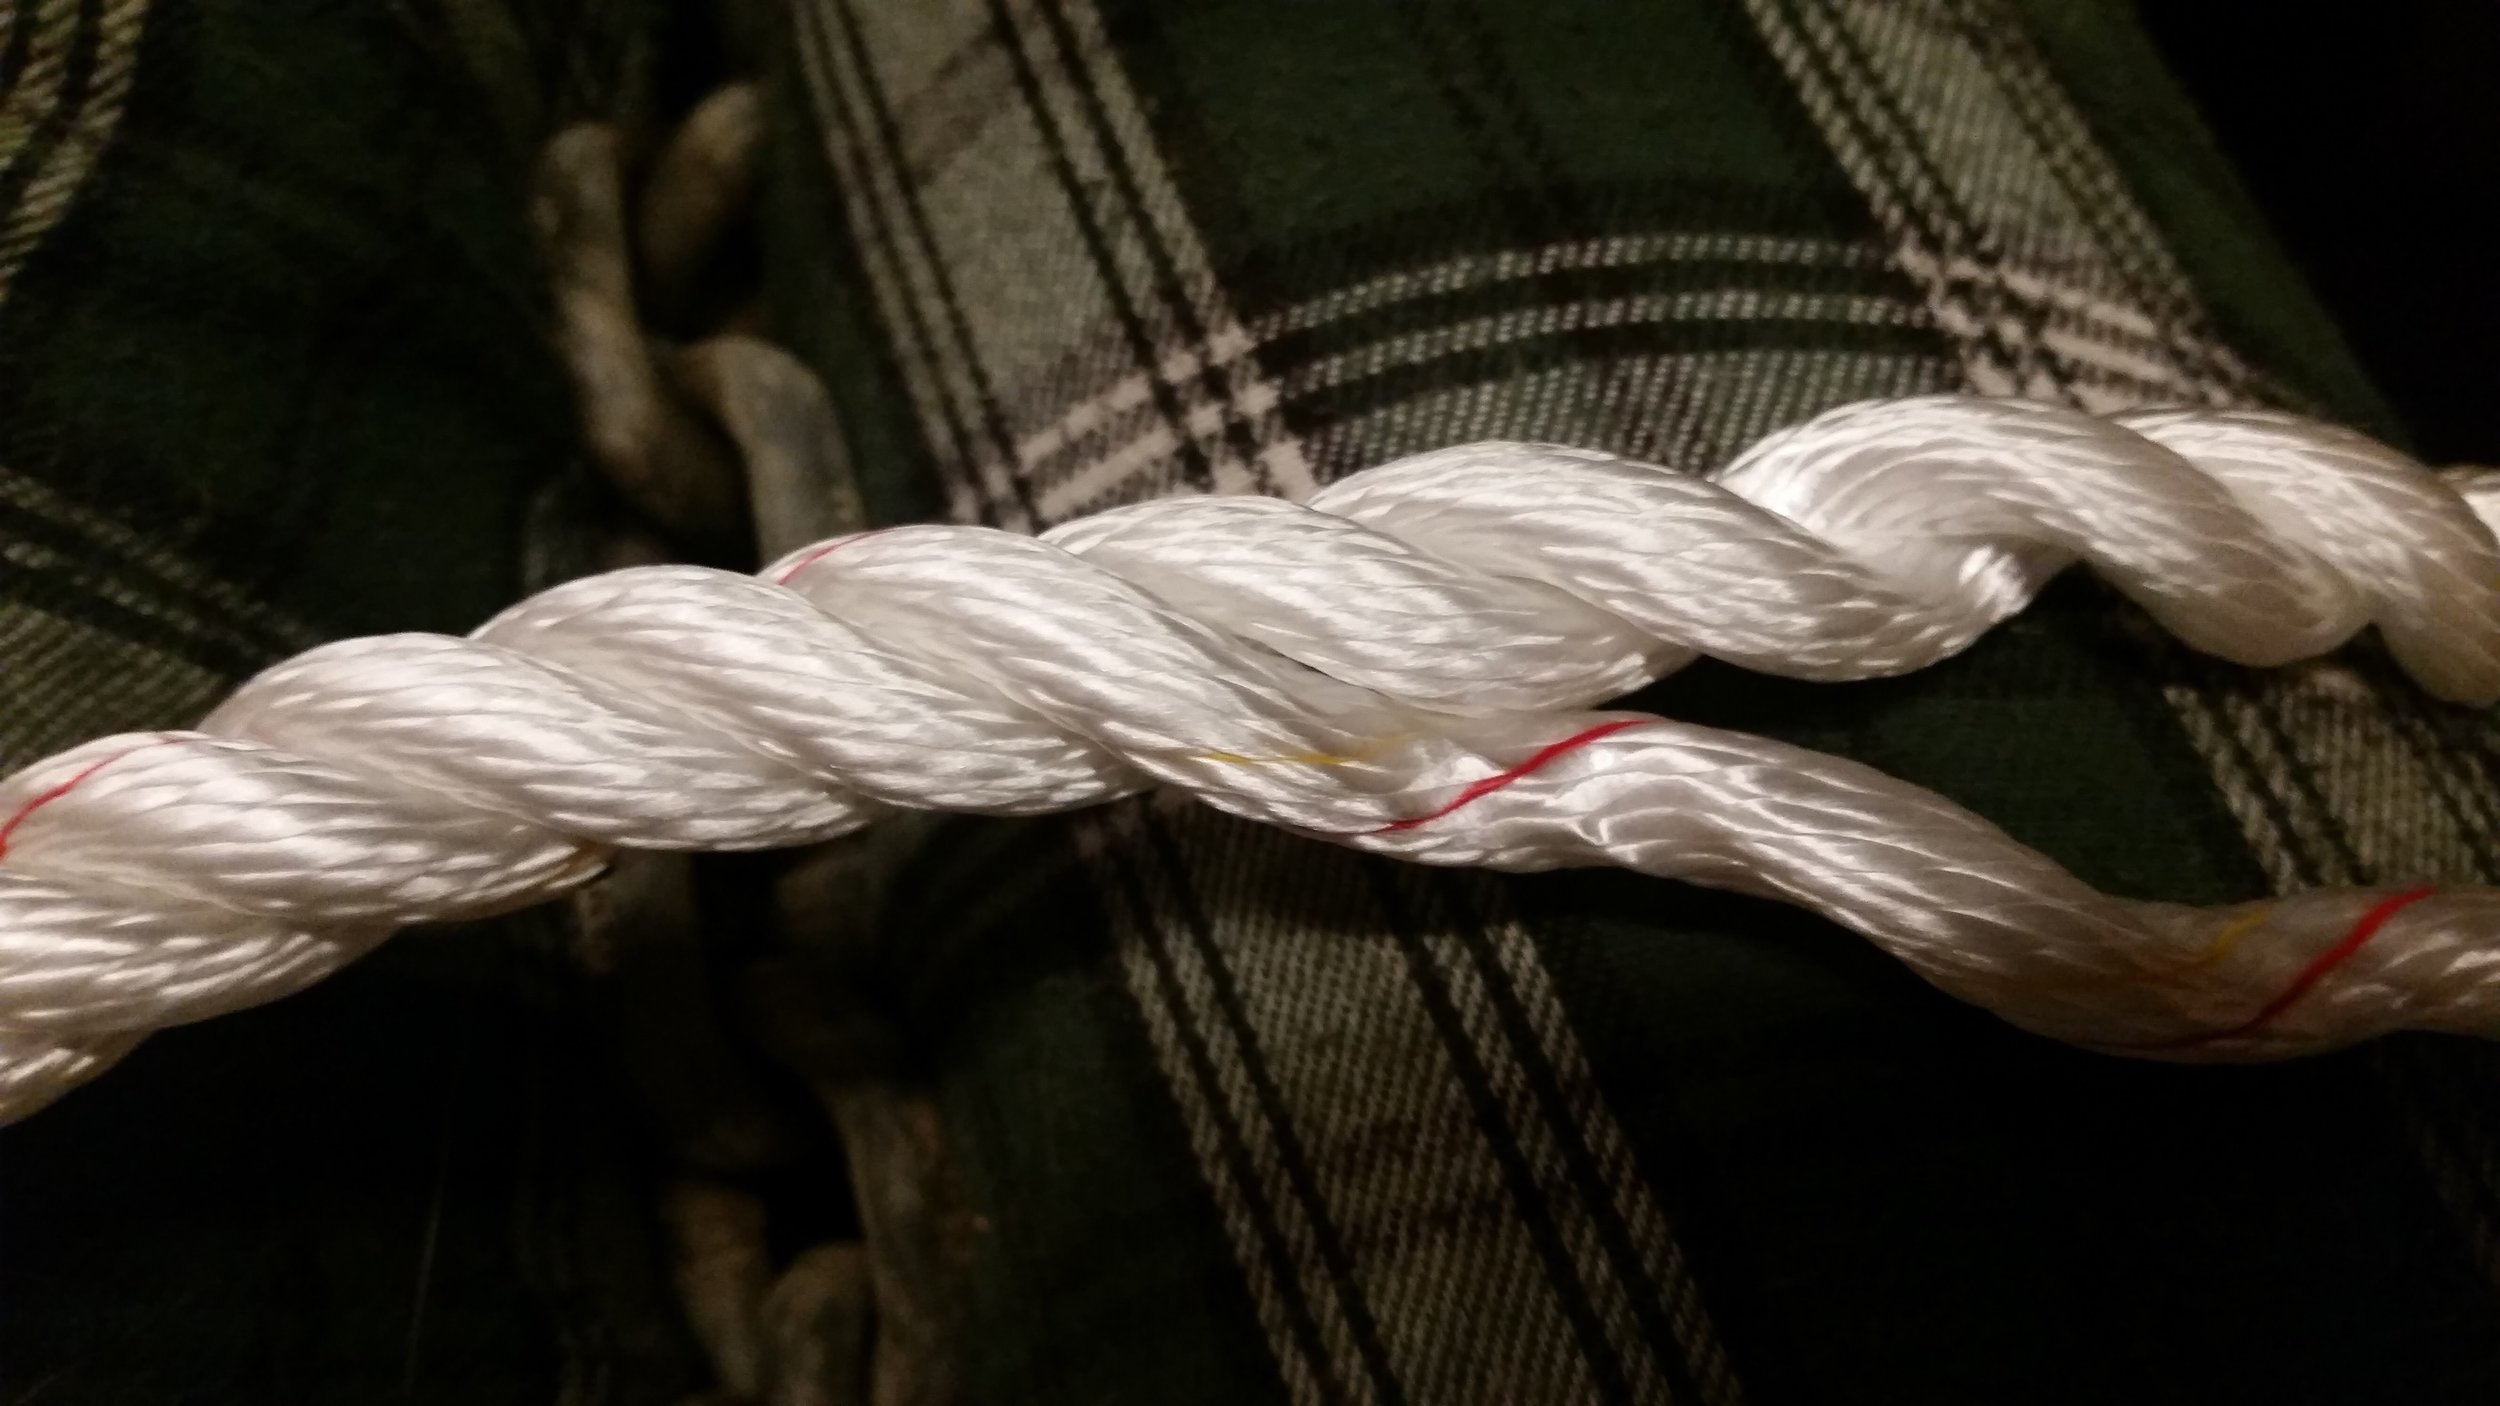
To begin, you will unravel one strand of your three strand rope. The strand will want to unravel, but you must keep it all together. With practice, you will be able to do this on new rope without any added stiffening agents (which is how I am doing it here), but if you have trouble keeping the strands from unraveling, a liberal coating with hair spray might be the answer to your woes. 

FullSizeRender.jpg

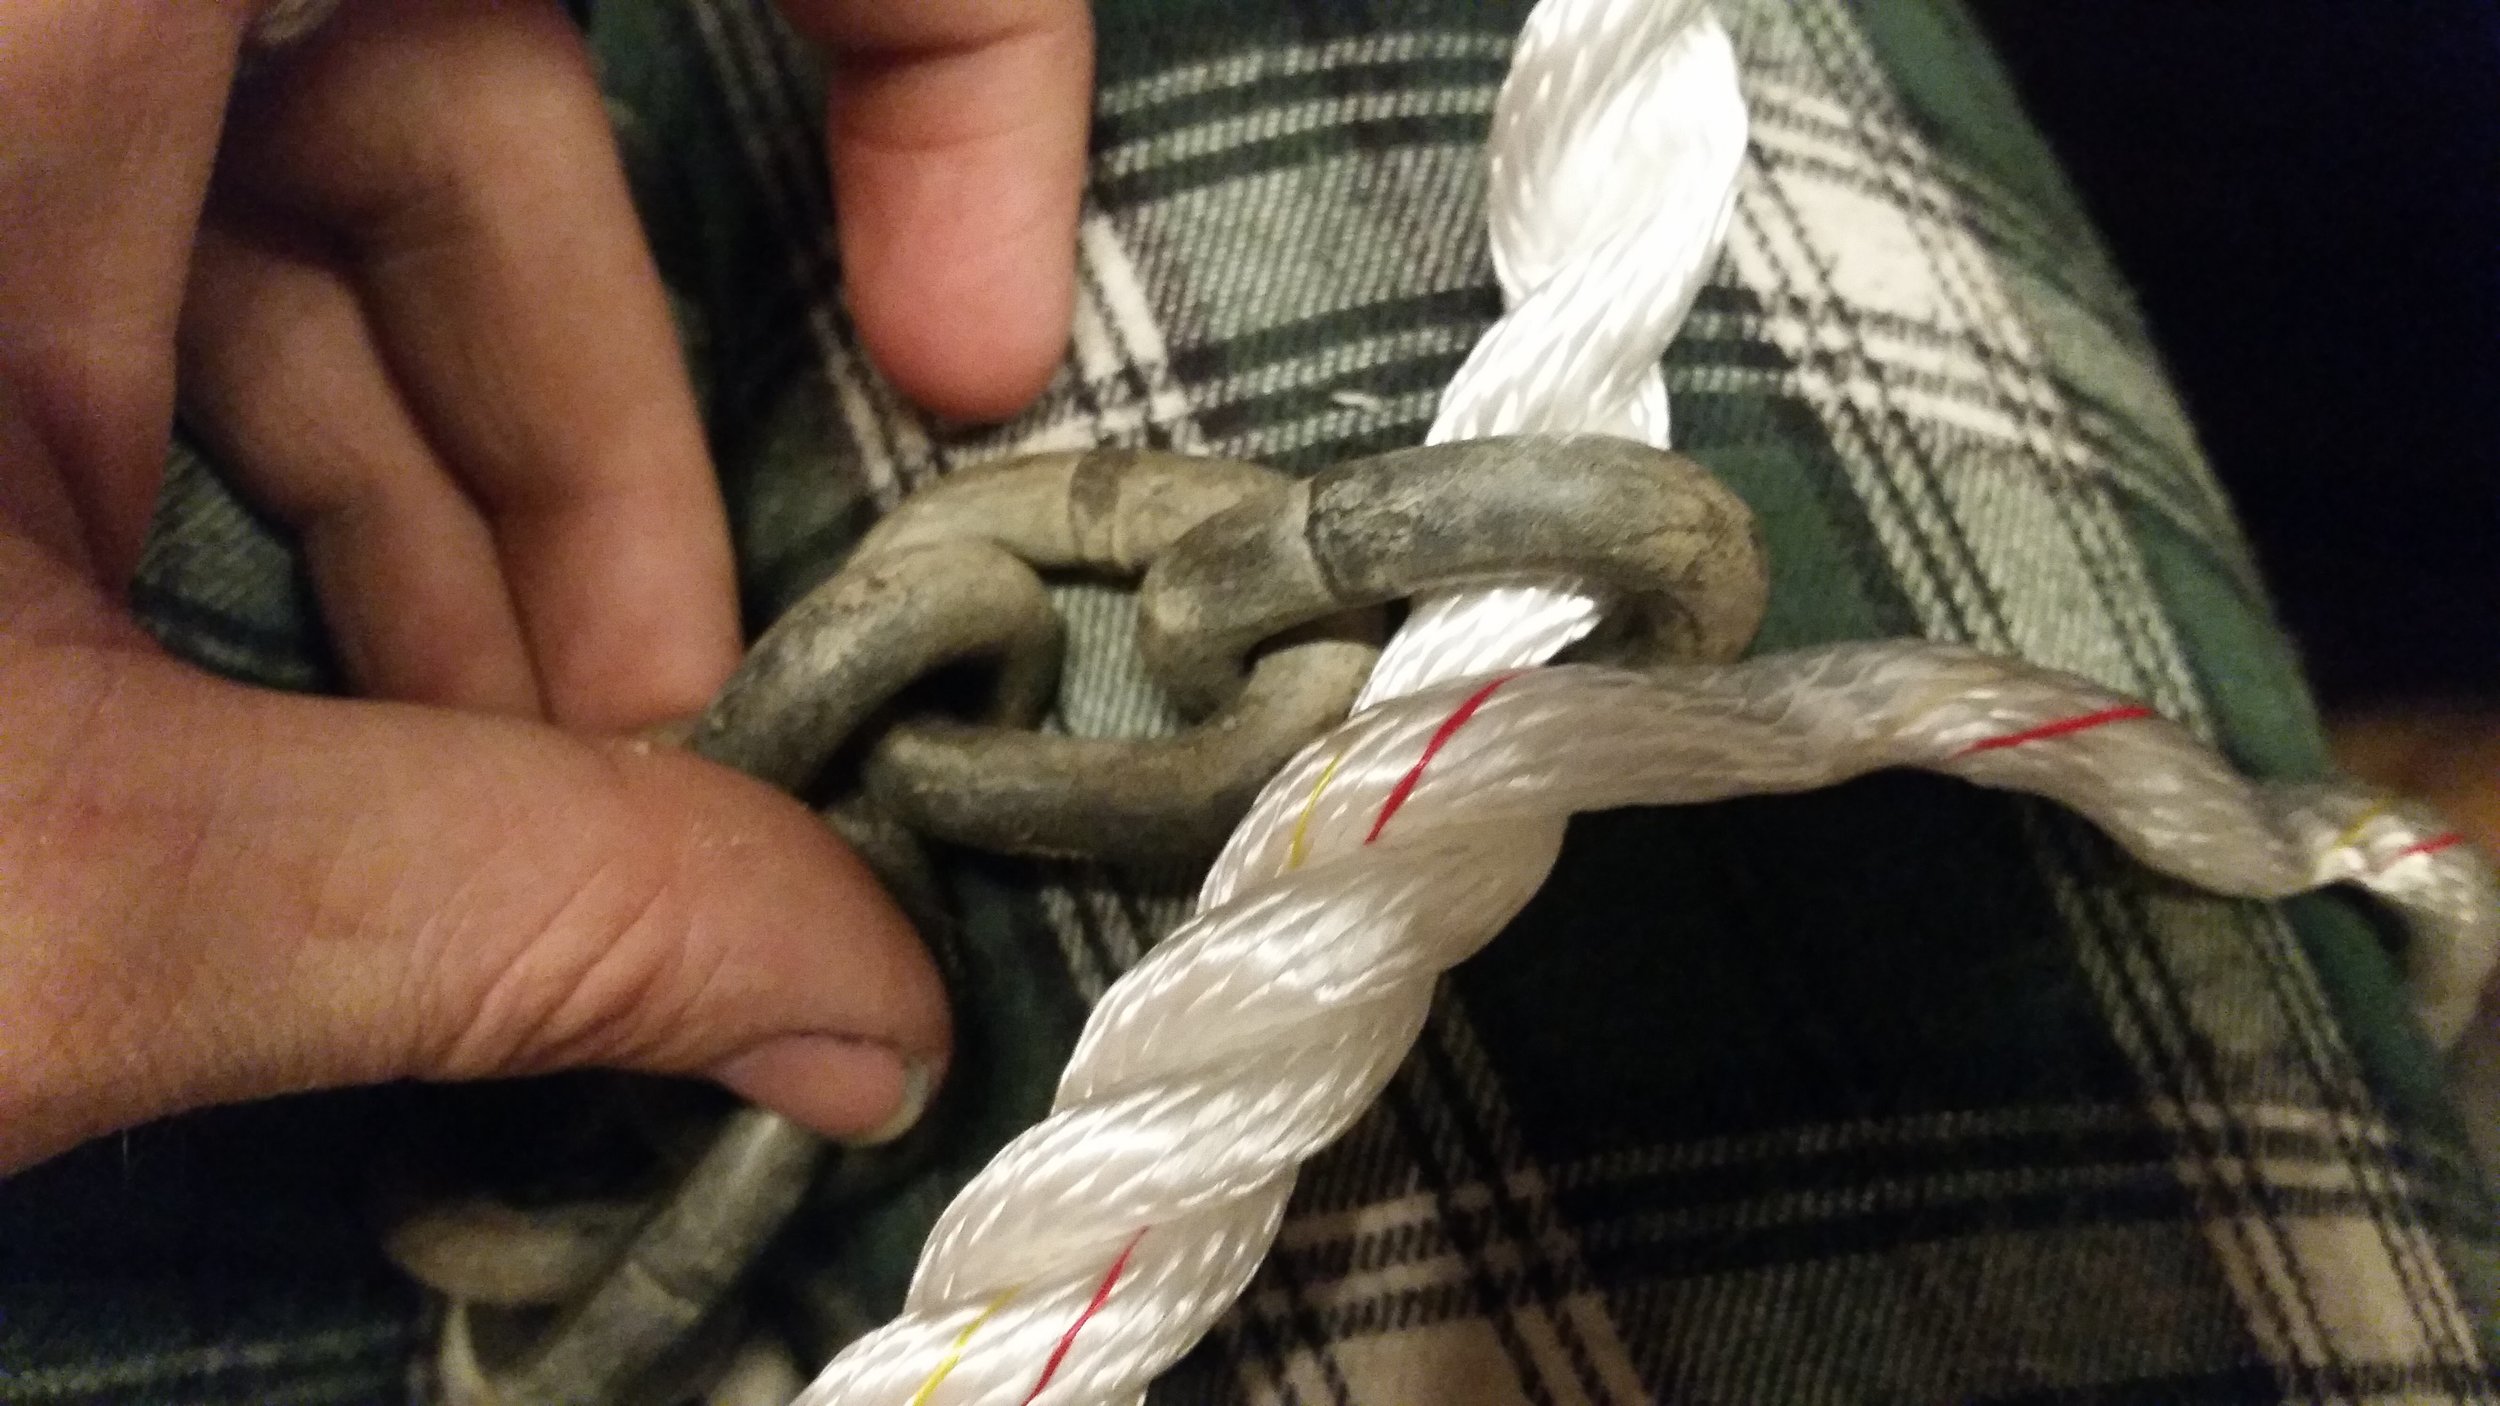
With one strand removed, you now have two strands that are still twisted together. You want to slide the chain link down these two strands until it meets the separated strand. There should be at least 2 feet of tail extending beyond the link. 

FullSizeRender.jpg

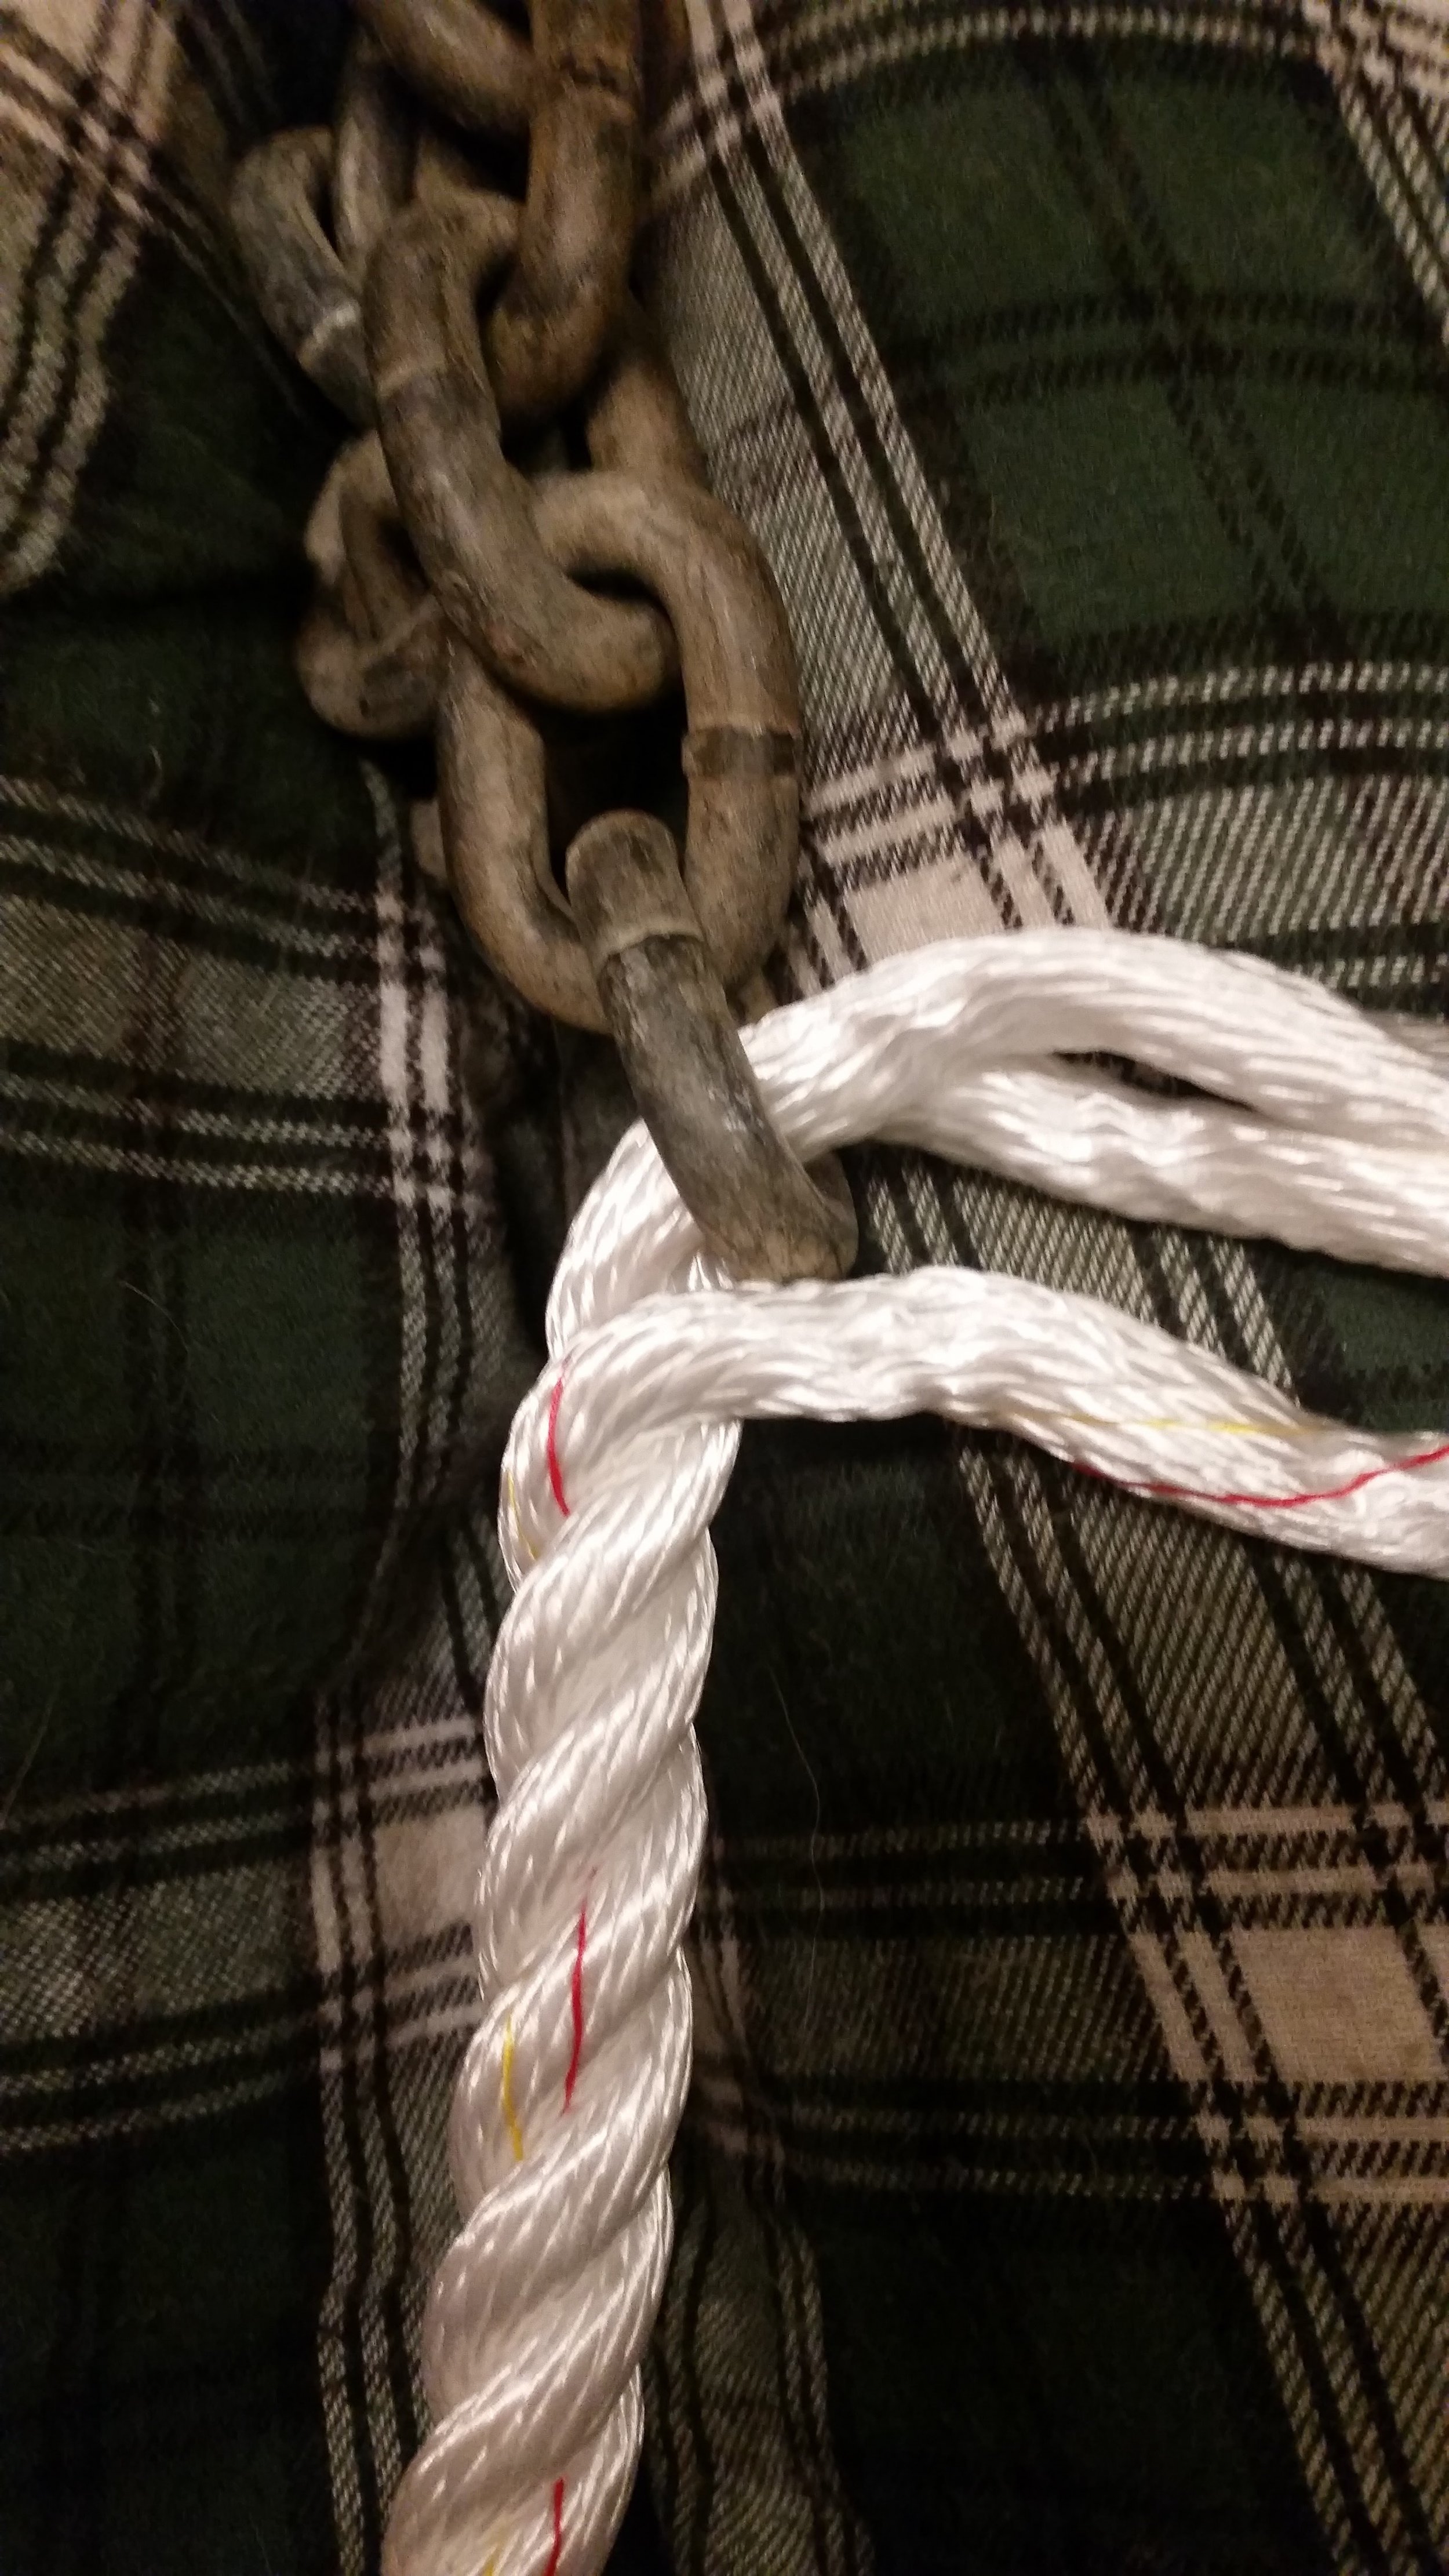
Now begins the splice. I like to bend all three strands over to the side and separate the two that have passed through the chain. The strand that is closest to the outside strand will be the strand of interest for this next step.  We will call this one the second strand.

FullSizeRender.jpg

You are going to unwind the third strand, and wind in the closest strand, which we are calling the second strand.

Let me clarify, you will lift out the third strand that did not go through the chain and you will replace it with the strand that is closest to it that did go through the chain. As you lift out the third strand, you will pack the second strand into the groove it has left behind. You will continue this process as you go burying the entire length of the splice, which is at least 2 feet. 

FullSizeRender.jpg

Down the rope you will go, removing the third strand and closely following it with the second strand. 

FullSizeRender.jpg
FullSizeRender.jpg

When you get down to about 5 inches from the end, you will tie a square knot with the third strand and the second strand. The square knot will sit neatly into the groove of the rope, hiding it from view. The tails of the square knot will then be tucked into the lays of the rope at least 3 times. It is wise to taper the tails as you go through each tuck, that way the transition leading up to and away from the knot is gradual and will not foul the windlass.

FullSizeRender.jpg

Back at the chain, you not have the second strand folding over the link and tucking itself back into the rope. The first strand remains however and needs to be addressed next. 

FullSizeRender.jpg

You will take the first strand and tie a half hitch with itself.  

FullSizeRender.jpg

This half hitch will be tightened down.  

FullSizeRender.jpg

With the knot tightened up, the tail can then be tucked into the lays of the rope. 

FullSizeRender.jpg

The second strand was connected to the rope via a long splice while the first strand is connected to the rope via a short splice. You will want to continue tucking into the rope, at least 5 tucks at a minimum, though 7 tucks would be ideal. 

FullSizeRender.jpg

I personally like to tuck the first strand in 7 times and then begin tapering the rope on the subsequent tucks. Tapering is easy, all you need to do is separate the yarns of the strand that you have worked so hard to keep together and count how many yarns are present. Simply divide the yarns into equal quantities and begin snipping them as you go. I like to do three equal groups, as this gives an even taper that is 33% smaller on each tuck. 

FullSizeRender.jpg

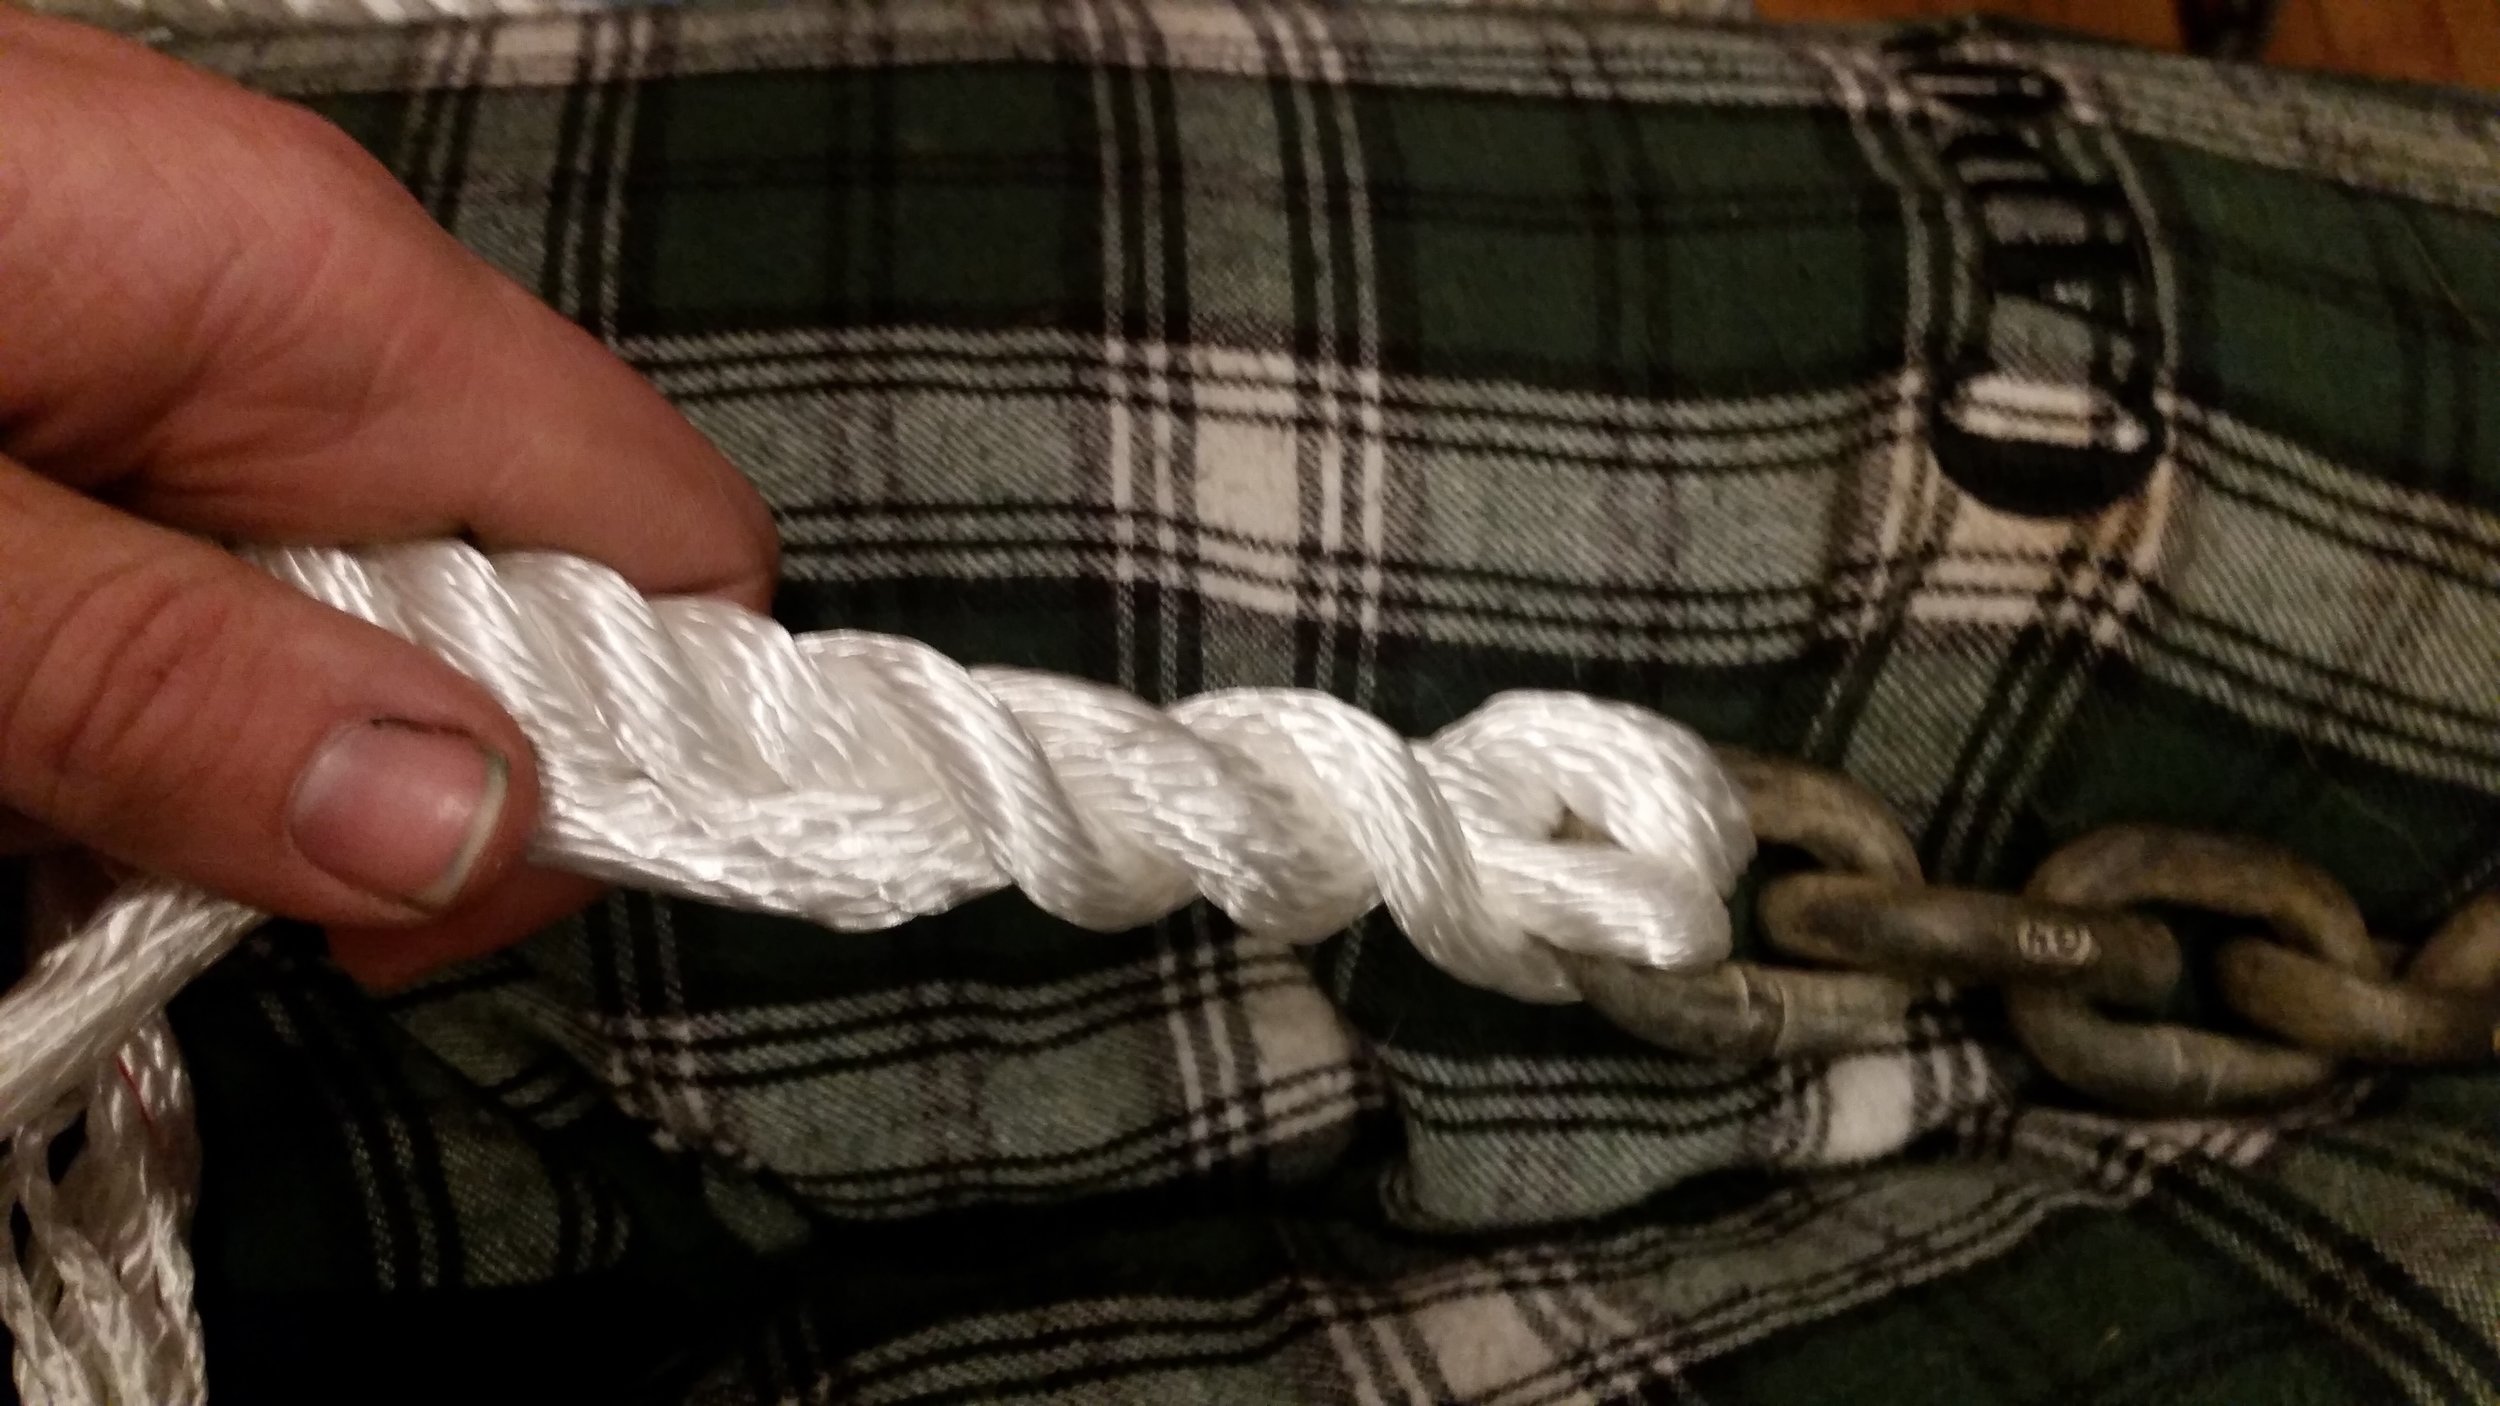
The end result is an even tapered splice that will flow through a windlass with ease. It helps to roll and work the rope to get the lays back into their place. You need not to fret much about this though as the load placed upon it by anchoring will work the strands back into their lay in no time! 

You might be concerned though, about only using two strands to hold your chain instead of all three. In a sense, you have reduced the strength of the rope from three strands to only two! 

The truth is, this splice is stronger than the three strands, as the two strands that are working are folded over and tucked back into the rope. This creates a 2:1 on each strand, meaning that there are actually 4 strands holding the force of the chain! That's right, you started with three strand rope and ended up holding the chain with four strands. 

It is very important though that the link be tied tightly in the rope that way it doesn't wiggle around while in service. Movement will lead to chafe, and chafe will saw through any number of strands in a heartbeat.  

By tightening the strands snugly around the rope and splicing them back into the rope, you will create the strongest rope to chain connection possible without the use of a thimble and with the ability to flow through a windlass undetected.