Running Rigging

Converting to Lines Led Aft: Part 3, Leading the Lines

With the bracket attached to the mast, it is time to begin mounting the rest of the hardware. The tack lines are pretty self explanatory: they will attach to the old tack hook, run up through the tack cringle, and then straight down to the bracket.

The clew is the trickier one to lead. The clew line runs from the boom, up through the clew cringle, back down to a turning block on the boom and forward to a cleat where it used to be secured. Since we are leading the lines back to the cockpit, we need to get the clew line to turn down to the bracket where it can be led aft.

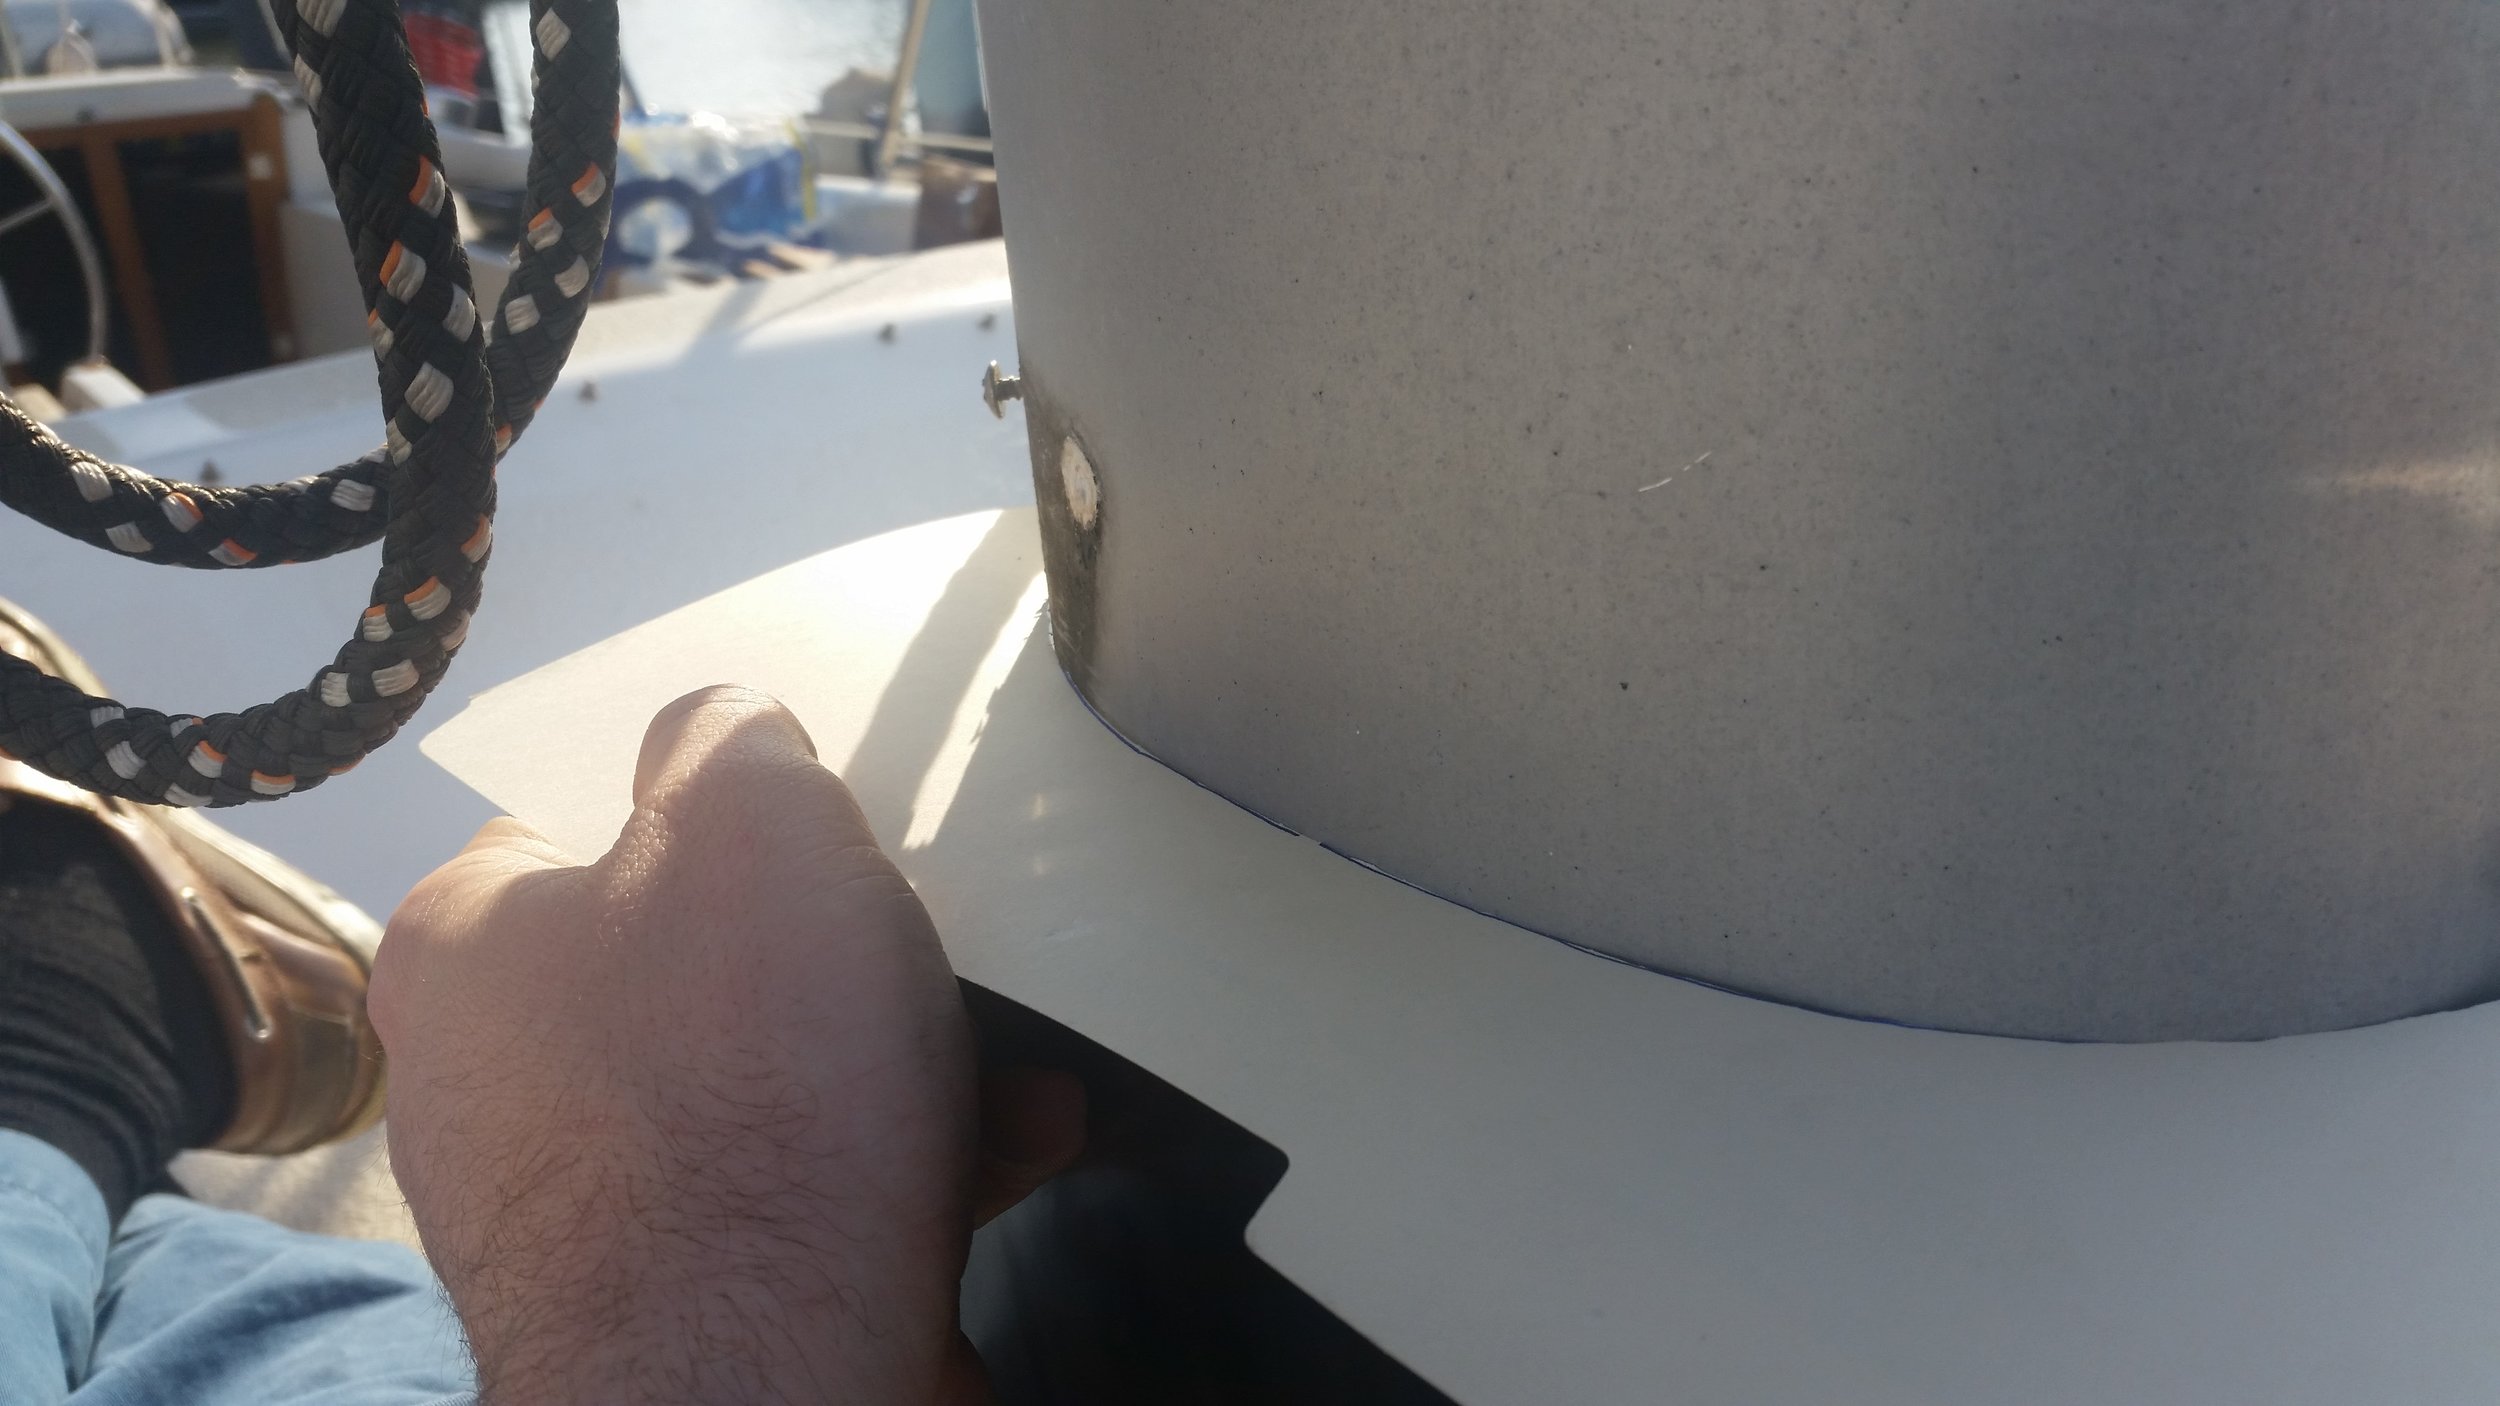
Turning blocks are pulleys that will change the direction of the line. This seems simple enough, but their placement is the real secret to their success. In theory, you could mount the turning blocks on the boom or on the mast, as both are locations where the line can come forward to and then turn down. 

While the actual block doesn't really care about where you mount it, the geometry of the lines does. Imagine you have your reef line block mounted on the port side of the mast. You reef your sails while on port tack and everything is set up perfectly. Then you change tacks to starboard tack and the boom swings to port. All of a sudden, your clew line is slack and the reefed sail begins to fill with air instead of spilling it effectively. What happened is as the boom moved over, the distance from the cheek block on the end of the boom to the cheek block on the mast shortened. As a result, the reef line became slack and the clew was allowed to raise up a bit.

If the reef was setup on port tack, switching to starboard tack would result in a clew line so dangerously tight that it could rip the cringle right out of the mainsail!

To avoid these mishaps, all you need to do is be mindful of the moving parts at play and setup a system that will be geometrically neutral throughout the entire range of motion. Keeping forward cheek block mounted on the boom means that as the boom swings from side to side, there is no change in distance between the forward and aft cheek blocks, thus no change in line length nor tension.

Mounting the turning block at the deck as close to center-line as possible and on a hinging structure also gives more flexibility in the final setup. This allows the boom to swing from one tack to another without causing any changes in the sail shape. 

While this may seem like a very small point to dwell on, it will make all the world of difference when you find yourself in a storm and don't have to worry about lines changing tensions as you maneuver your yacht to safety.

Converting to Lines Led Aft: Part 2, Drilling the Holes

With the template of the mast cut out, I traced the negative onto a new piece of paper to create a positive cross sectional copy of the mast. This analogue will allow me to visualize where I will be placing the holes in the mast and where the bracket will lay with respect to the mast. Having this information allows me to plan out exactly where I want the holes to end up with no surprises!

With the holes planned out, it was time to drill the holes in the stainless steel bracket that will attach to the mast. Drilling stainless steel is one of my least favorite activities, but following a few simple steps, it can be accomplished with ease and efficiency.

After the holes were drilled, the aluminum bushings and through bolts could be test fitted.

The aluminum pipes will run through the mast and house the stainless steel through bolts. To prevent galvanic corrosion between the stainless steel bolts and aluminum pipes, copious amount of grease will be used to protect the dissimilar metals.

The through bolts are needed to attach the bracket to the mast, but if you simply drilled and bolted the bracket to the mast, you would end up crushing the mast when you tighten the bolts. This would spell the end of that spar as the section right above the deck would be severely buckled! The aluminum pipes serve as compression posts between the head and nut and protect the mast from being crushed. This same setup is used where your stays attach to the mast.

If you look at your mast tangs, it might appear as if the stay simply bolts to the side of the mast. In reality, there is a small aluminum pipe that runs through the mast and sits just proud of the surface of the spar. When you tighten down, this pipe takes the compressive loads while sparing the sides of the spar to this un-necessary stress. 

With the bracket fully drilled and setup, it is time to drill the mast to mount and install the bracket!

The bracket had its holes drilled on a drill press, far away from the mast. The holes were positioned based on the template of the mast that I had created. Now it is time to put holes in the real thing!

Drilling the mast is different from drilling the bracket because if I can always make a new bracket if I mess up. The mast, on the other hand, is not so easy to switch out if I mess up the hole! The bracket was positioned around the mast set up on 2x4's. This placed the bracket at a set 3.5 inches above the deck which is a smidgen past the mast boot collar. To adjust the tilt of the bracket, one block of wood was set at an angle, allowing us to adjust the angulation of the with respect to the mast and the deck.

Once everything was lined up perfectly, it was time to mark the points to drill the holes. This is the most important part of the job is. If you mark the wrong spot, everything from here will be misguided and will not end well. If you mark the right spot, the stress is then transferred over to the drilling step which now carries all the stress!

The hole is larger than the pen I used to mark the mast, so I simply traced the inside of the hole in the frame as it drew a circle on the mast. The pen was held directly arthwartships to make sure that there was no deviation in the direction of the hole. 

While drawing the circle does not provide a specific point to drill your holes, it does give you a circle to drill in. Selecting a drill bit that is the size of the inner part of drawn circle takes all the guesswork out of it. In this case, a 1/16" drill bit was the perfect size. This hole is drilled perpendicular to the mast surface and not directly arthwartships.

Using a small drill bit has another advantage, as it will prevent the drill from walking away from the ideal hole and misguide your work. This hole will now serve to position and center the further drill bits that will be used to create the holes in the mast.

The next step is to position a 1/4 inch drill bit into the 1/16 inch pilot hole. This hole is first drilled directly perpendicular to the mast until the drill bit was buried, then it was rotated a bit to position the drill directly arthwartships. If I started the hole arthwartships, I would run the risk of the drill walking sideways and making the hole off center. By starting it perpendicular to the surface, the hole is guaranteed not to walk. Once there is enough hole to hold the drill bit, it is then safe to straighten everything out.

Once the hole is aligned arthwartships, you can then drill the 1/4 inch hole to completion. Be careful when drilling into the mast though, as you never know what lies on the other side. There is usually a conduit carrying electrical wires to the mast head or spreaders that runs on the forward side of the mast, but you never know if someone simply ran wires loose through the mast. If you drill into wires, you will add hours of work to this simple task! Drilling slowly will allow you to perforate the mast and come to a stop without plunging the drill bit deep into the mast. This is especially important for the next step when we will take a hole saw to the mast!

The four 1/4 inch holes are completed and and perfect, it is now time to drill the big holes!

When drilling large holes, it is preferable to use a hole saw. Regular twist bits have a tendency to create oblong holes in larger sizes, hole saws will keep the hole perfectly round as they have no ability to cut on their sides once it is past the teeth. I'm using a Milwaukee 3/4" Hole Dozer because I have found that the teeth will hold up well to the abuse I give them, be it drilling through aluminum, wood, fiberglass, or random fasteners that were present inside a bulkhead I was drilling through! These hole saws are serious about making holes and holding up to the abuses you can throw at them.

Since you are drilling arthwartships, the hole saw will contact the inner portion of the mast well before it contacts the outer portions of the mast. This is very important because the holes you are drilling are supposed to go directly through the mast, not into the mast's center.

Awesome! The first hole has been made in the mast! Only seven more to go!!

Before getting too far ahead of yourself, it is important to remember what the holes are for. The holes are to pass an aluminum pipe that will run through the mast and spread out the stress loads from the stainless fasteners through bolting the mast and to absorb the compressive loads of the through bolted fasteners. They need to pop in and poke out on the other side of the mast and line up with the hole on the other side of the bracket. This is where things get tricky!

When I marked the holes on the mast with my blue pen, I marked all eight holes. Now that I have the hole drilled on this side of the mast for the pipe, it is time to make sure that I am lined up with the hole on the other side of the mast. To do this, I simply need to sight the tiny pilot hole through the pipe in the mast.

With the pipe in the hole, you want to be certain that it lines up pretty darn centered over the pilot hole on the other side. If you are way off, then you did something really wrong while marking the mast and have a very small mistake hole rather than a massive 3/4 inch mistake! Luckily, all our looking, sighting, and marking paid off and we are lined up with the pilot hole on the other side.

Success! The holes lined up and everything is perfect! Time for the truest test of it all, will the bolt pass through and all the holes line up?

Woohoo! One through bolt completed, now all we need to do is drill and bolt the other three.

You might think the stress has passed after the first one worked beautifully, but that is sadly not the case. The same roller coaster of emotions and stress occurred with each and every hole I made in this persons mast! Thankfully, everything lined up perfectly and the job was able to be completed in a timely manner. 

If you are wondering why the bracket is not bolted in place at this moment, that is because we are far from ready to bolt the bracket to the mast. The holes with their pipes are merely there to fasten the bracket to the mast. We still have to drill the holes for the turning blocks that will lead the lines aft to the cockpit.

Converting to Lines Led Aft: Part 1, The Bracket

The client wants to convert his ketch from lines left at the mast to lines led aft. His mast is keel stepped, so we couldn't attach any turning blocks to the deck. Instead, we need to build a bracket that will attach to the mast and serve as a mounting point for all the turning blocks.

The lines that will be led aft are going to be the main halyard, along with the clew and tack lines for the two reefs. Rather than bolting each of these turning blocks to the mast, I chose to make a bracket that attaches to the mast with 4 through bolts and all the related components can attach to this bracket. Each hole you make in the mast will weaken the spar. 4 through bolts will require 8 holes. If we bolted each fitting to the mast, we would be looking at 20 holes!

The mast is elliptical while the bracket is square. This is because I could not easily get a curved bracket fabricated, so instead, we had 3mm thick 316 Stainless Steel plate welded together and reinforced with 6 gussets in the corners. This makes for a pretty strong bracket, but it still doesn't attach to the mast!

I cut a template out of a file folder to match the mast contour. This template will then be used to transfer the information over at my work bench, allowing me to see how the bracket would fit around the mast without being at the clients boat. With this template, I can properly visualize where we want to place the through bolts that will hold it all together without the spar being in my view and blocking my visualization. I will be able to carefully measure and calculate the best location for the through bolts and then transfer that information back over to his boat when the time comes.

Sealing Holes Temporarily

In an ideal world, you will have all the parts you need to complete a task on hand or at least readily accessible. In reality, you need to drill your holes and then measure the actual depth to purchase the correct length and size of fastener. When you drill your holes and then leave to go get the fasteners, what should you do with the exposed holes?

Do you just do a quick cloud check and then head to the hardware store? Or do you seal up the hole to keep any foreign bodies out of the space? The correct answer is to seal it up! 

Sealing the hole is easy, and the better the seal, the harder it is to uncover it once you have all your fasteners. This is where Gorilla duct tape comes into play. 

This duct tape will seal off the outside of the hole, even on non-skid surfaces, yet it won't leave a sticky residue when the tape is removed. I have left this tape in place on surfaces exposed to the sun for a full week and when I removed the tape, no residue remained. Best of all, the tape was still good to reuse! I don't normally care for brand name products as I feel they are overpriced versions of the generic, but Gorilla tape will keep out moisture and not leave behind a sticky mess. 

FullSizeRender.jpg

In this situation, I had drilled the holes for a clutch bank and winch base. The holes were large and encompassed by non-skid. Worse yet, this is a cored deck and rain was on its way! I safely taped up the holes and the wood was dry the next day, even though we had an overnight downpour. 

Heaving To

When the weather becomes intense, heaving to is a wonderful method to ride it out. The concept is simple: back the headsail and turn the rudder towards weather. This will keep the boat pointed at an angle into the wind as it slowly drifts backwards. This creates a slick to windward which calms approaching waves from breakers into rollers. The end result is the motion on board is quite comfortable as we ride out the storm. But what does it look like?

During a rather intense series of squalls we encountered, we filmed the ordeal to help shed some light on what it really looks like. This way you will know what to expect when you find yourself heaving to in a storm as you wait for it to pass.

Riding out a series of squalls in the Choptank river hove to.