Knots

Dinghy Hoist without Davits

Davits are a convenient attachment that will allow you to raise your dinghy out of the water behind your boat. They hang out over the stern like crane arms and allow you to pull the dinghy straight up. When you are ready to launch the dinghy, all you have to do is release the davit lines and lower the dinghy back in.

Davits are convenient but they suffer two major flaws. Their first flaw is that the dinghy now is hanging behind your boat right side up. If you are in a following sea, you risk a boarding wave filling the dinghy with water that will rapidly add a significant amount of weight to the back of your boat. This usually results in the davits being bent or ripped off the back of your boat as your dinghy plummets into the sea behind you. Now, you are dragging a drogue of your mangled davits and dinghy.

The second flaw with davits is they are expensive. Cheap davits are a few hundred dollars and are not worth the money. I purchased some very inexpensive Davits to raise my dinghy out of the water. The arms were too short so the dinghy kept hitting the transom on its way up; and the purchase system was so puny that I couldn't raise a simple 80 pound dinghy. More expensive davits solve these issues by having much longer arms that hold the dinghy further from the boat to solve the transom clearance issues. They also have better purchase systems and sometimes, even a winch system to crank the dinghy right up. These better systems will not cost you hundreds, but instead, thousands of dollars!

So, you decided that you don't want to carry your dinghy like a bucket waiting to be filled with water behind your boat, and you also don't want to fork over thousands of dollars. What else can you do?

The answer is easy! All you need to do is store the dinghy on your deck. If you are coastal, you can keep the dinghy right side up. If you are offshore, simply flip the dinghy over to keep it from being filled with water by a boarding wave. Now, how do you get the dinghy onto your deck?

Your mast and boom are capable of serving more purposes than just holding your sails. They can also be used as your own oversized davit system. All you will need to do is add a length of rope to act as an outhaul. That's it!

In the dinghy, you just need three small lines that run to the two stern corners and one to the bow ring. These are standard on all dinghies and referred to as the lifting rings. The three lines are led to the halyards shackle, allowing you to pick the dinghy up from a single point. It is important to custom tie the lines so that the weight of the dinghy is balanced and the dinghy hangs level. Remember, most of the weight in a boat is located by the stern, so the bow line will be a bit long and the stern lines a bit short.

IMG_1502.JPG
IMG_1501.JPG

Now, the second thing you need to do is setup an outhaul system. An outhaul is merely a line that pulls something away from the center. The outhaul on your mainsail pulls the clew aft, and the outhaul on your hoist will pull the halyard aft. Having the outhaul attach to the end of the boom allows you to control the position of the dinghy with the boom.

IMG_1500.JPG

Now, as you crank on the halyard, the dinghy will raise up. Then you can pull on the outhaul to scoot the dinghy aft. I have found it best to also raise your boom really high up by cranking on the topping lift before you start, as this gets the boom and sails out of the way of the dinghy as you raise it up.

As the dinghy climbs upwards, you can push the dinghy down the boom and pull in on the outhaul. This will cause the outhaul to pull the halyard aft and scoot the dinghy along the boom.

Once the dinghy is up and out towards the end of the boom, you can push the boom over to swing the dinghy out over the water and clear of the boats deck. You might think that a forward guy would be needed to pull the boom outward, but the truth is, as the boom swings outward, the weight of the dinghy will cause the boat to heel in that direction. This then unbalances the system and causes the boom to swing out even further! Basically, it will swing out for you and stay there.

IMG_1499.JPG

Once the dinghy is swung outward, you can then safely lower the dinghy into the water.

Recovering the dinghy is the exact opposite, and just as easy. This lets you easily and safely raise and lower your dinghy onto your deck without risking anyone's back or spending a lot of money. The only real cost to you will be an outhaul line, which ideally should be twice the length of your boom. This will allow you to lead the line from the dinghy, out to the end of the boom and back to the mast. You also need a shackle that will allow the halyard to fit through. You don't need to have a shackle, but it will reduce the resistance and chafe that the lines will endure.

Dinghy Dock Tie Up

When tying up to a dinghy dock, it is important to know that the line you use to tie up your dinghy will both hold your dinghy in place as well as be tied over and under other peoples bow lines.

When you tie up, you will be tying up to a cleat that is used by many many people; all holding a variety of dinghies up to the pier. Should your tying fail, your dinghy will drift away! This means that not only do you need to tie up well to secure your dinghy, but you risk the holding of your dinghy to the tying skills of others.

If you tie up to a popular cleat, anyone who was there before you will need to untie your line to be able to untie their line. Then, you hope that they tie your line back up in a proper manner. This is where you risk losing your dinghy!

Instead of tying a standard cleat hitch over the cleat and over all the lines of other boaters, why not tie a bowline through the cleat below everyone else? This will allow everyone to tie and untie their dinghies without ever affecting your knot.

IMG_1485.JPG

Climbing Your Mast on a Wire Halyard

First off, I want to emphasize that you should never climb a mast with a wire halyard, or a wire-rope spliced halyard. 

Now, if you have a wire halyard and you need to go up, then you need to make due with what you have! 

If your halyard isn't long enough to reach your harness, now you need to attach a length of line between the end of the halyard and your harness, that way when you are finished, you will end up on the deck and not suspended a few feet above the deck when you are tired and want to get out of the harness! 

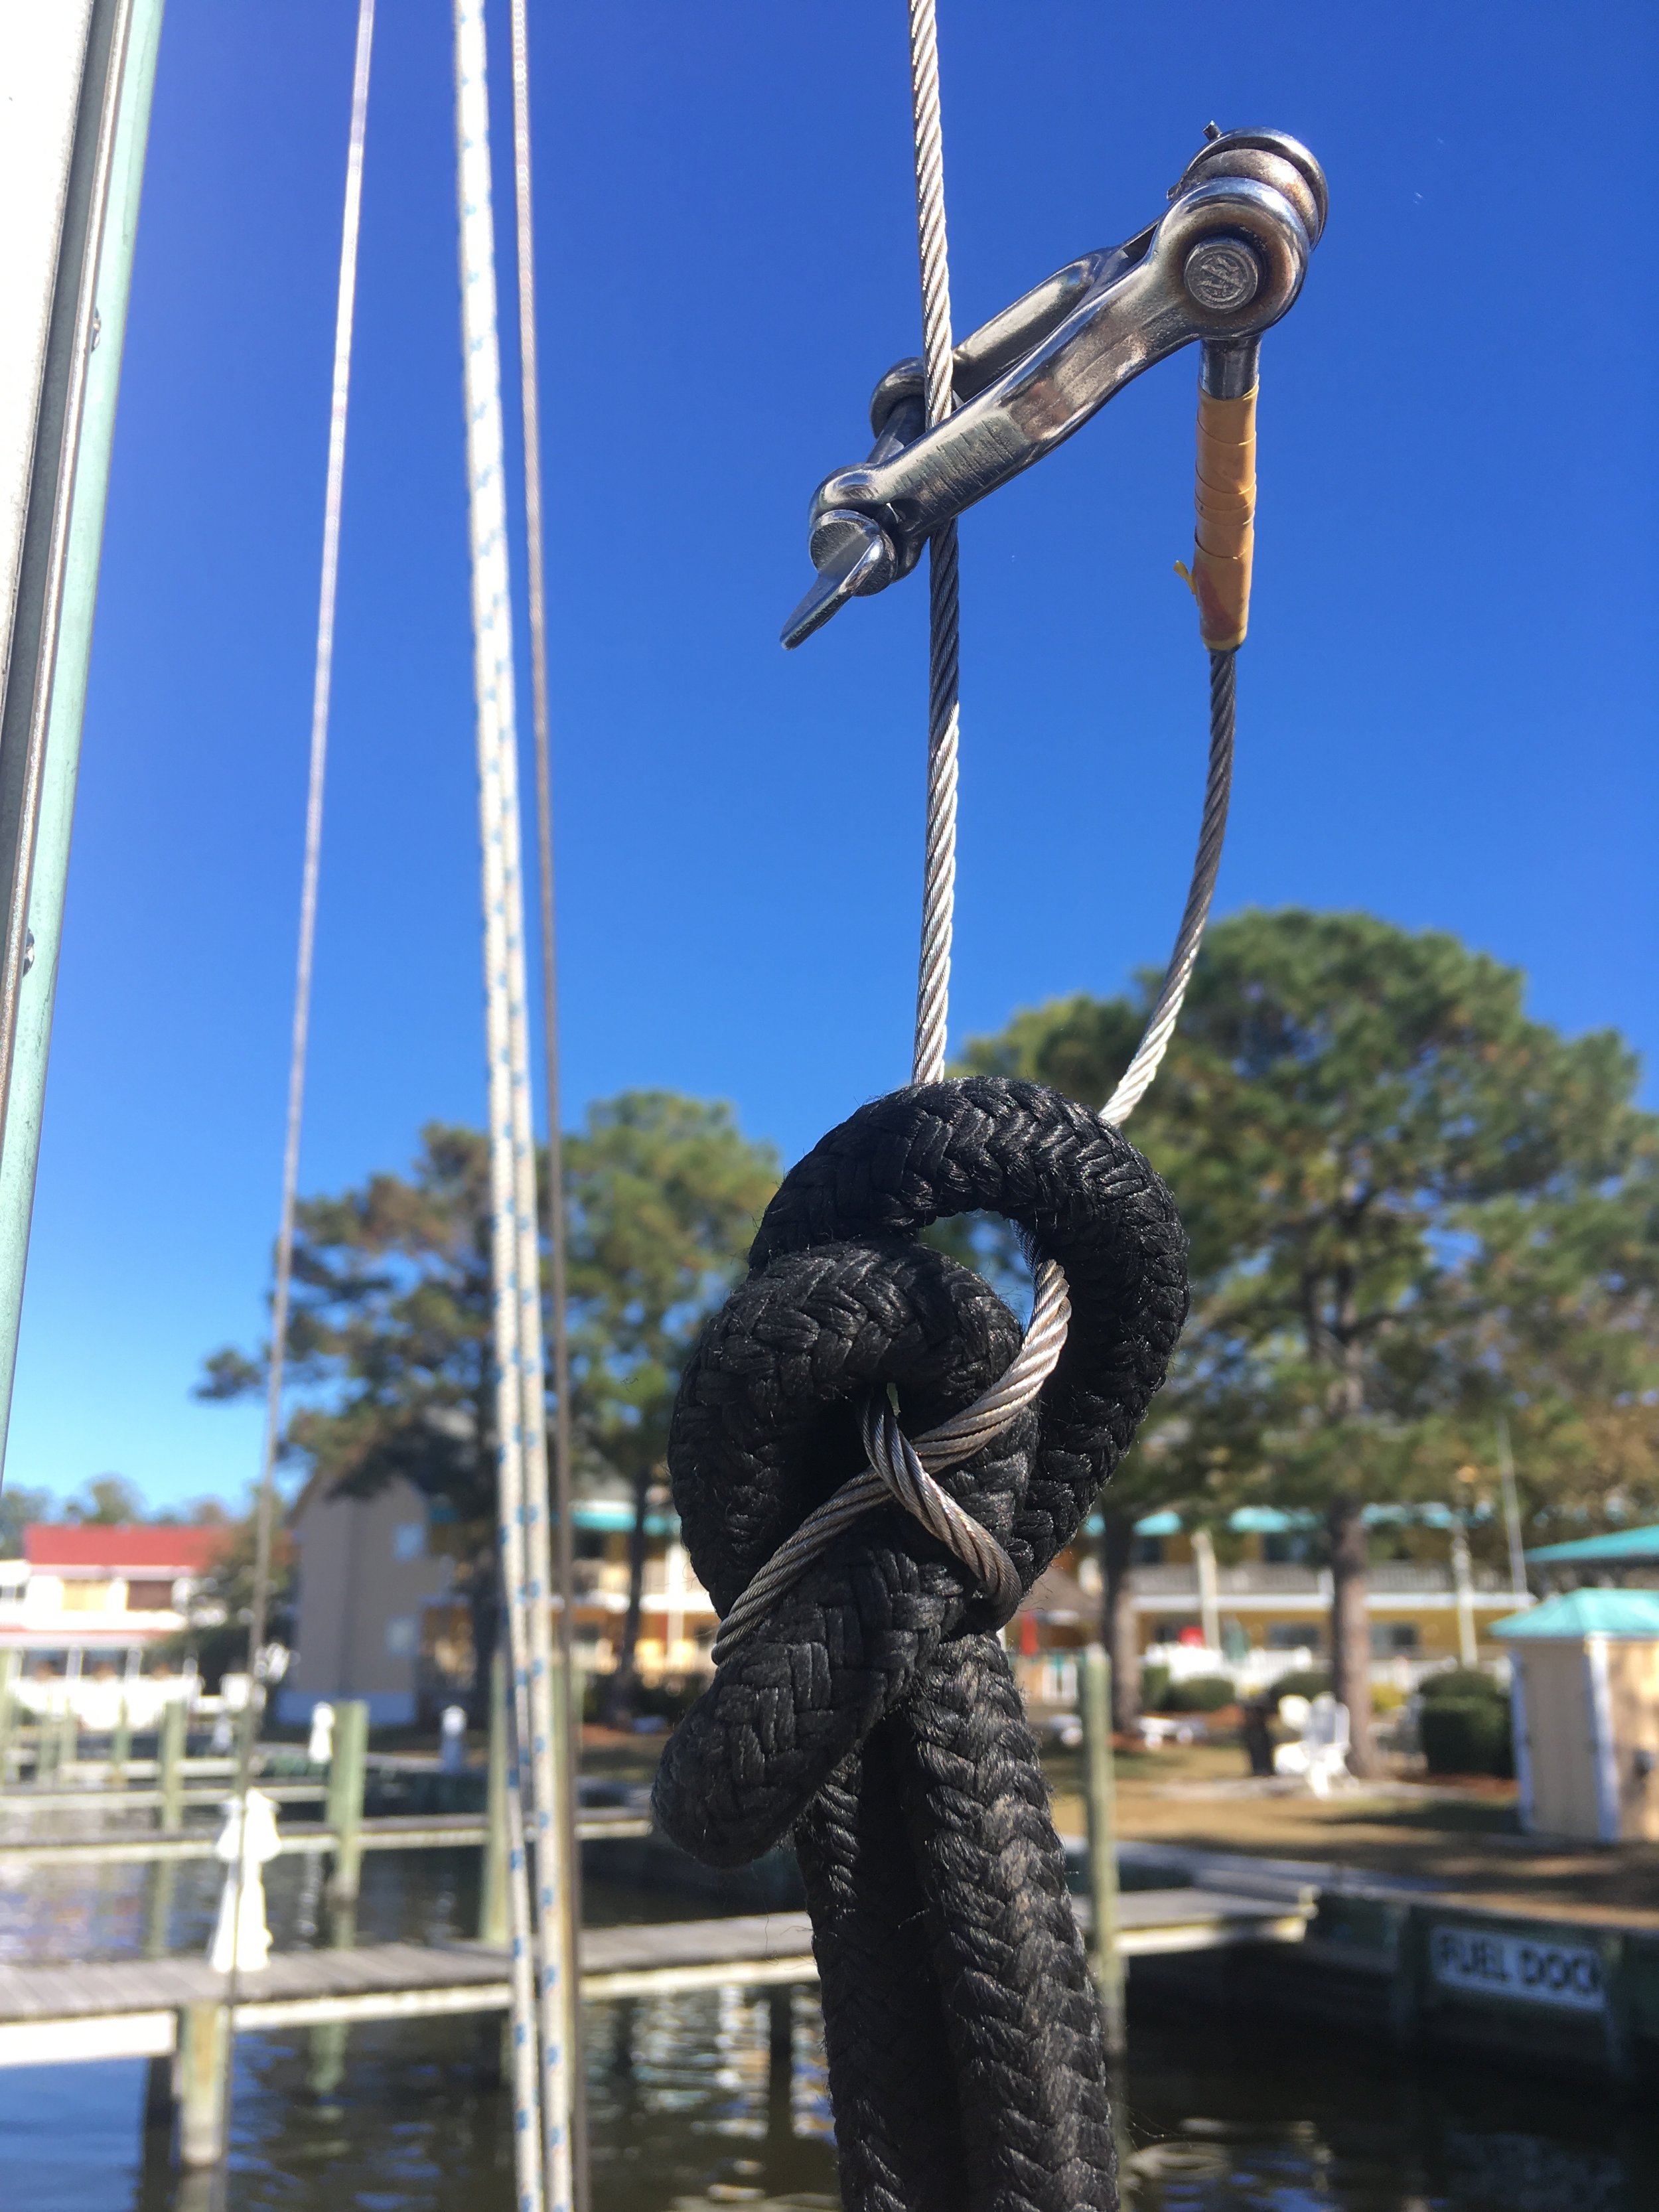
Wire is dangerous to tie knots in because it is both slippery and brittle. If you bend it too tightly, it will crimp and kink, damaging and weakening the wire strands and leading to its eventual breakage. Keeping bends open will also make it easier for the knot to slip and come untied. Thus you encounter the dilemma of tying a knot in wire and rope! 

IMG_1874.JPG

While helping out a cruiser climb her mast, I tied this knot between the two materials to allow her to hang safely from her wire halyard. The knot is a combination of a sheet bend and a figure eight in a bight. An important thing to do with this knot is to certainly secure the bitter ends. I attached the shackle of the wire onto itself and the bight of the rope had the tail passing through it. These added features are merely present so that if the knot were to slip, it would slid onto the attached bitter end and stop moving from there. 

Naturally, since this knot is new to me and created on the fly out of necessity, our cruiser friend who was in the harness and at deck level was encourage to drop from her feet to a seated position to test the knot and verify that there is no slippage or other concerns that might occur while she was aloft. 

While creating a new knot, be sure to test it at its desired function, and incorporate some method that will facilitate ease of untying after the knots intended purpose has been completed. 

Snubber

All chain anchor rode has the advantage over rope in that the chain is heavy and produces a more pronounced catenary curve. This curve will allow your anchor rode to pull horizontally on the anchor, which will allow it to hold well, as opposed to a slight upward pull, which would cause it to drag. The problem with all chain rodes is that the chain offers no elasticity. If your yacht is lurched back, the curve will straighten out and snap on the chain with a considerable shock load as the yacht pulls the chain tight and then ends in an inelastic lurch. To avoid this minor issue, it is best to use a snubber made out of a very stretchy material, such as 3-Lay nylon rope. 

IMG_1739.JPG

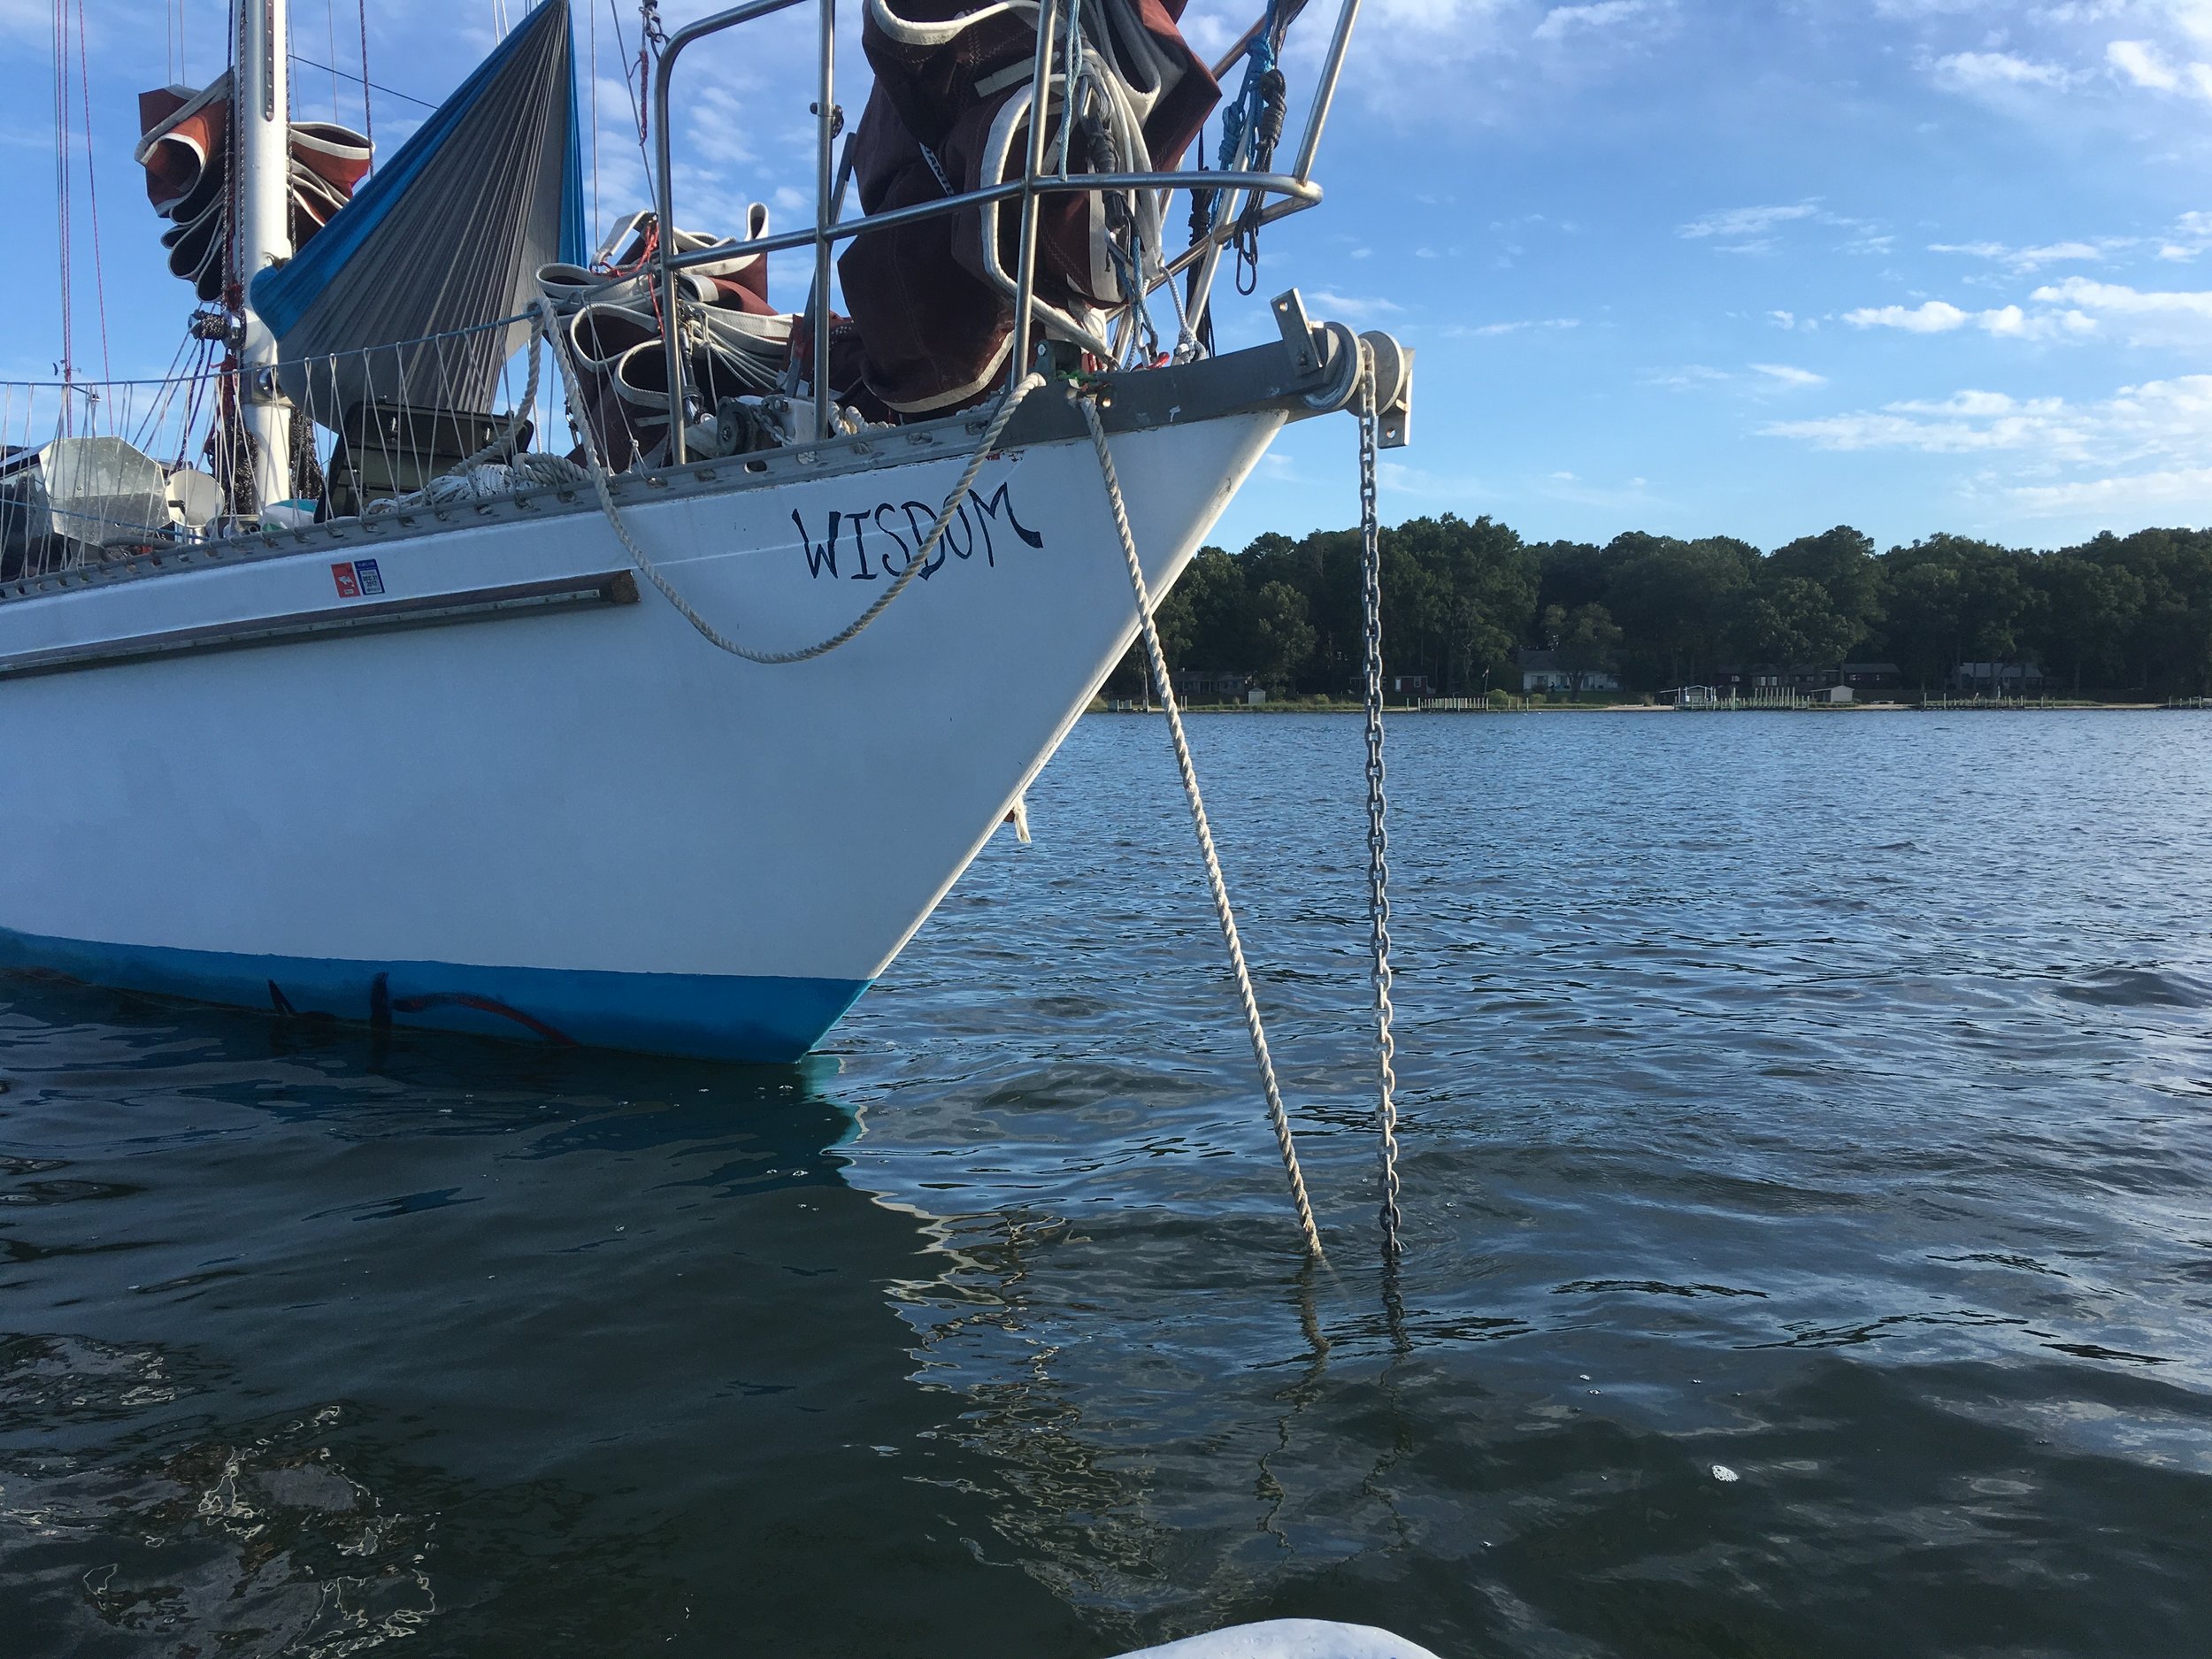
A snubber is merely a piece of line that is tied off to the chain and to a cleat on the bow. It can either come off the bow through the roller or through a rope chock on the side of the bow. Either way, it will remove the last bit of shock that could be present if the chain were to be pulled tight. 

Setting up a snubber is very easy. Once the anchor is set properly, simply tie the end of the snubber to the chain with a secure knot, then let out more chain until the chain hangs straight down from the bow and the snubber has taken up the full load. 

IMG_1755.JPG

A common knot used to tie a snubber is a Rolling Hitch, but I personally use a Magnus Hitch. Both knots will hold onto chain very well, I just find that the Magnus Hitch is much easier to untie after it has been loaded and stressed. 

IMG_1741.JPG

You can see how the snubber is transmitting the load from the bow to the chain, and the chain that lies between the boat and snubber hangs slack off to the side.  

When I will be anchoring for a long time, or during a storm, I will also add two Half Hitches to the knot, that way the snubber has even less chance of coming untied in a desperate situation. 

Snubbers are easy to setup and offer a lot of security and comfort to an anchored yacht. They only take a few minutes to setup and will give you peace of mind for the entire time you are at anchor. 

Rope to Chain Splice

Most windlasses will not accept a thimble connection between rope and chain. Instead, they need to be spliced in a low profile way where the transition from rope to chain goes unnoticed and seamless. 

The rope to chain splice has a lot in common with a long splice, where the lays are removed and replaced to connect the lines. 

FullSizeRender.jpg

To begin, you need to understand a few basic points. First, the length of your splice needs to be at least 2 feet, which means that the start of your splice will occur two feet in from the bitter end.

FullSizeRender.jpg

To begin, you will unravel one strand of your three strand rope. The strand will want to unravel, but you must keep it all together. With practice, you will be able to do this on new rope without any added stiffening agents (which is how I am doing it here), but if you have trouble keeping the strands from unraveling, a liberal coating with hair spray might be the answer to your woes. 

FullSizeRender.jpg

With one strand removed, you now have two strands that are still twisted together. You want to slide the chain link down these two strands until it meets the separated strand. There should be at least 2 feet of tail extending beyond the link. 

FullSizeRender.jpg

Now begins the splice. I like to bend all three strands over to the side and separate the two that have passed through the chain. The strand that is closest to the outside strand will be the strand of interest for this next step.  We will call this one the second strand.

FullSizeRender.jpg

You are going to unwind the third strand, and wind in the closest strand, which we are calling the second strand.

Let me clarify, you will lift out the third strand that did not go through the chain and you will replace it with the strand that is closest to it that did go through the chain. As you lift out the third strand, you will pack the second strand into the groove it has left behind. You will continue this process as you go burying the entire length of the splice, which is at least 2 feet. 

FullSizeRender.jpg

Down the rope you will go, removing the third strand and closely following it with the second strand. 

FullSizeRender.jpg
FullSizeRender.jpg

When you get down to about 5 inches from the end, you will tie a square knot with the third strand and the second strand. The square knot will sit neatly into the groove of the rope, hiding it from view. The tails of the square knot will then be tucked into the lays of the rope at least 3 times. It is wise to taper the tails as you go through each tuck, that way the transition leading up to and away from the knot is gradual and will not foul the windlass.

FullSizeRender.jpg

Back at the chain, you not have the second strand folding over the link and tucking itself back into the rope. The first strand remains however and needs to be addressed next. 

FullSizeRender.jpg

You will take the first strand and tie a half hitch with itself.  

FullSizeRender.jpg

This half hitch will be tightened down.  

FullSizeRender.jpg

With the knot tightened up, the tail can then be tucked into the lays of the rope. 

FullSizeRender.jpg

The second strand was connected to the rope via a long splice while the first strand is connected to the rope via a short splice. You will want to continue tucking into the rope, at least 5 tucks at a minimum, though 7 tucks would be ideal. 

FullSizeRender.jpg

I personally like to tuck the first strand in 7 times and then begin tapering the rope on the subsequent tucks. Tapering is easy, all you need to do is separate the yarns of the strand that you have worked so hard to keep together and count how many yarns are present. Simply divide the yarns into equal quantities and begin snipping them as you go. I like to do three equal groups, as this gives an even taper that is 33% smaller on each tuck. 

FullSizeRender.jpg

The end result is an even tapered splice that will flow through a windlass with ease. It helps to roll and work the rope to get the lays back into their place. You need not to fret much about this though as the load placed upon it by anchoring will work the strands back into their lay in no time! 

You might be concerned though, about only using two strands to hold your chain instead of all three. In a sense, you have reduced the strength of the rope from three strands to only two! 

The truth is, this splice is stronger than the three strands, as the two strands that are working are folded over and tucked back into the rope. This creates a 2:1 on each strand, meaning that there are actually 4 strands holding the force of the chain! That's right, you started with three strand rope and ended up holding the chain with four strands. 

It is very important though that the link be tied tightly in the rope that way it doesn't wiggle around while in service. Movement will lead to chafe, and chafe will saw through any number of strands in a heartbeat.  

By tightening the strands snugly around the rope and splicing them back into the rope, you will create the strongest rope to chain connection possible without the use of a thimble and with the ability to flow through a windlass undetected.