Knots

Reef Clew Line Setup

When setting up your reef lines, you have many choices. 

Single Line Reefing
Double Line Reefing
Slab Reefing

I want to discuss the clew lines which are run in a similar fashion through the sails in all of these different systems. The standard way of running the clew lines involves running the clew line from a fixed point on the boom, up through the sail's clew cringle, and down the other side of the sail. This will pull the sail down to the boom when reefing, but it will also bunch up under the cringle and get pulled into the cringle by the reef line. This can pull a chunk of sail through the cringle with the line and make a nice hole in the leech. To fix this problem, the clew line can be run a different way and avoid the whole problem all together.

Standard reef line setup

Standard reef line setup

Alternate reef line setup

Alternate reef line setup

The alternate way to run the clew reef line is to pass it up between the boom and sail (putting the line on the same side as the cheek block), through the cringle, over the leech and back down the same side to the cheek block. This will cause the sail to be pushed to the side of the boom as the reef is being drawn in. Since the sail is out of the way, it will not bunch up and get pulled through the cringle. While this sounds wonderful, it will cause more wear on the leech of the sail, leading to chafe issues which are easily remedied with chafe patches.

The sail will be dumped to the side of the boom, avoiding any risk of it getting caught in the cringle and torn. It is helpful to have lazy jacks to collect the sail as it gets tossed to the side.

Dyneema End to End Splice

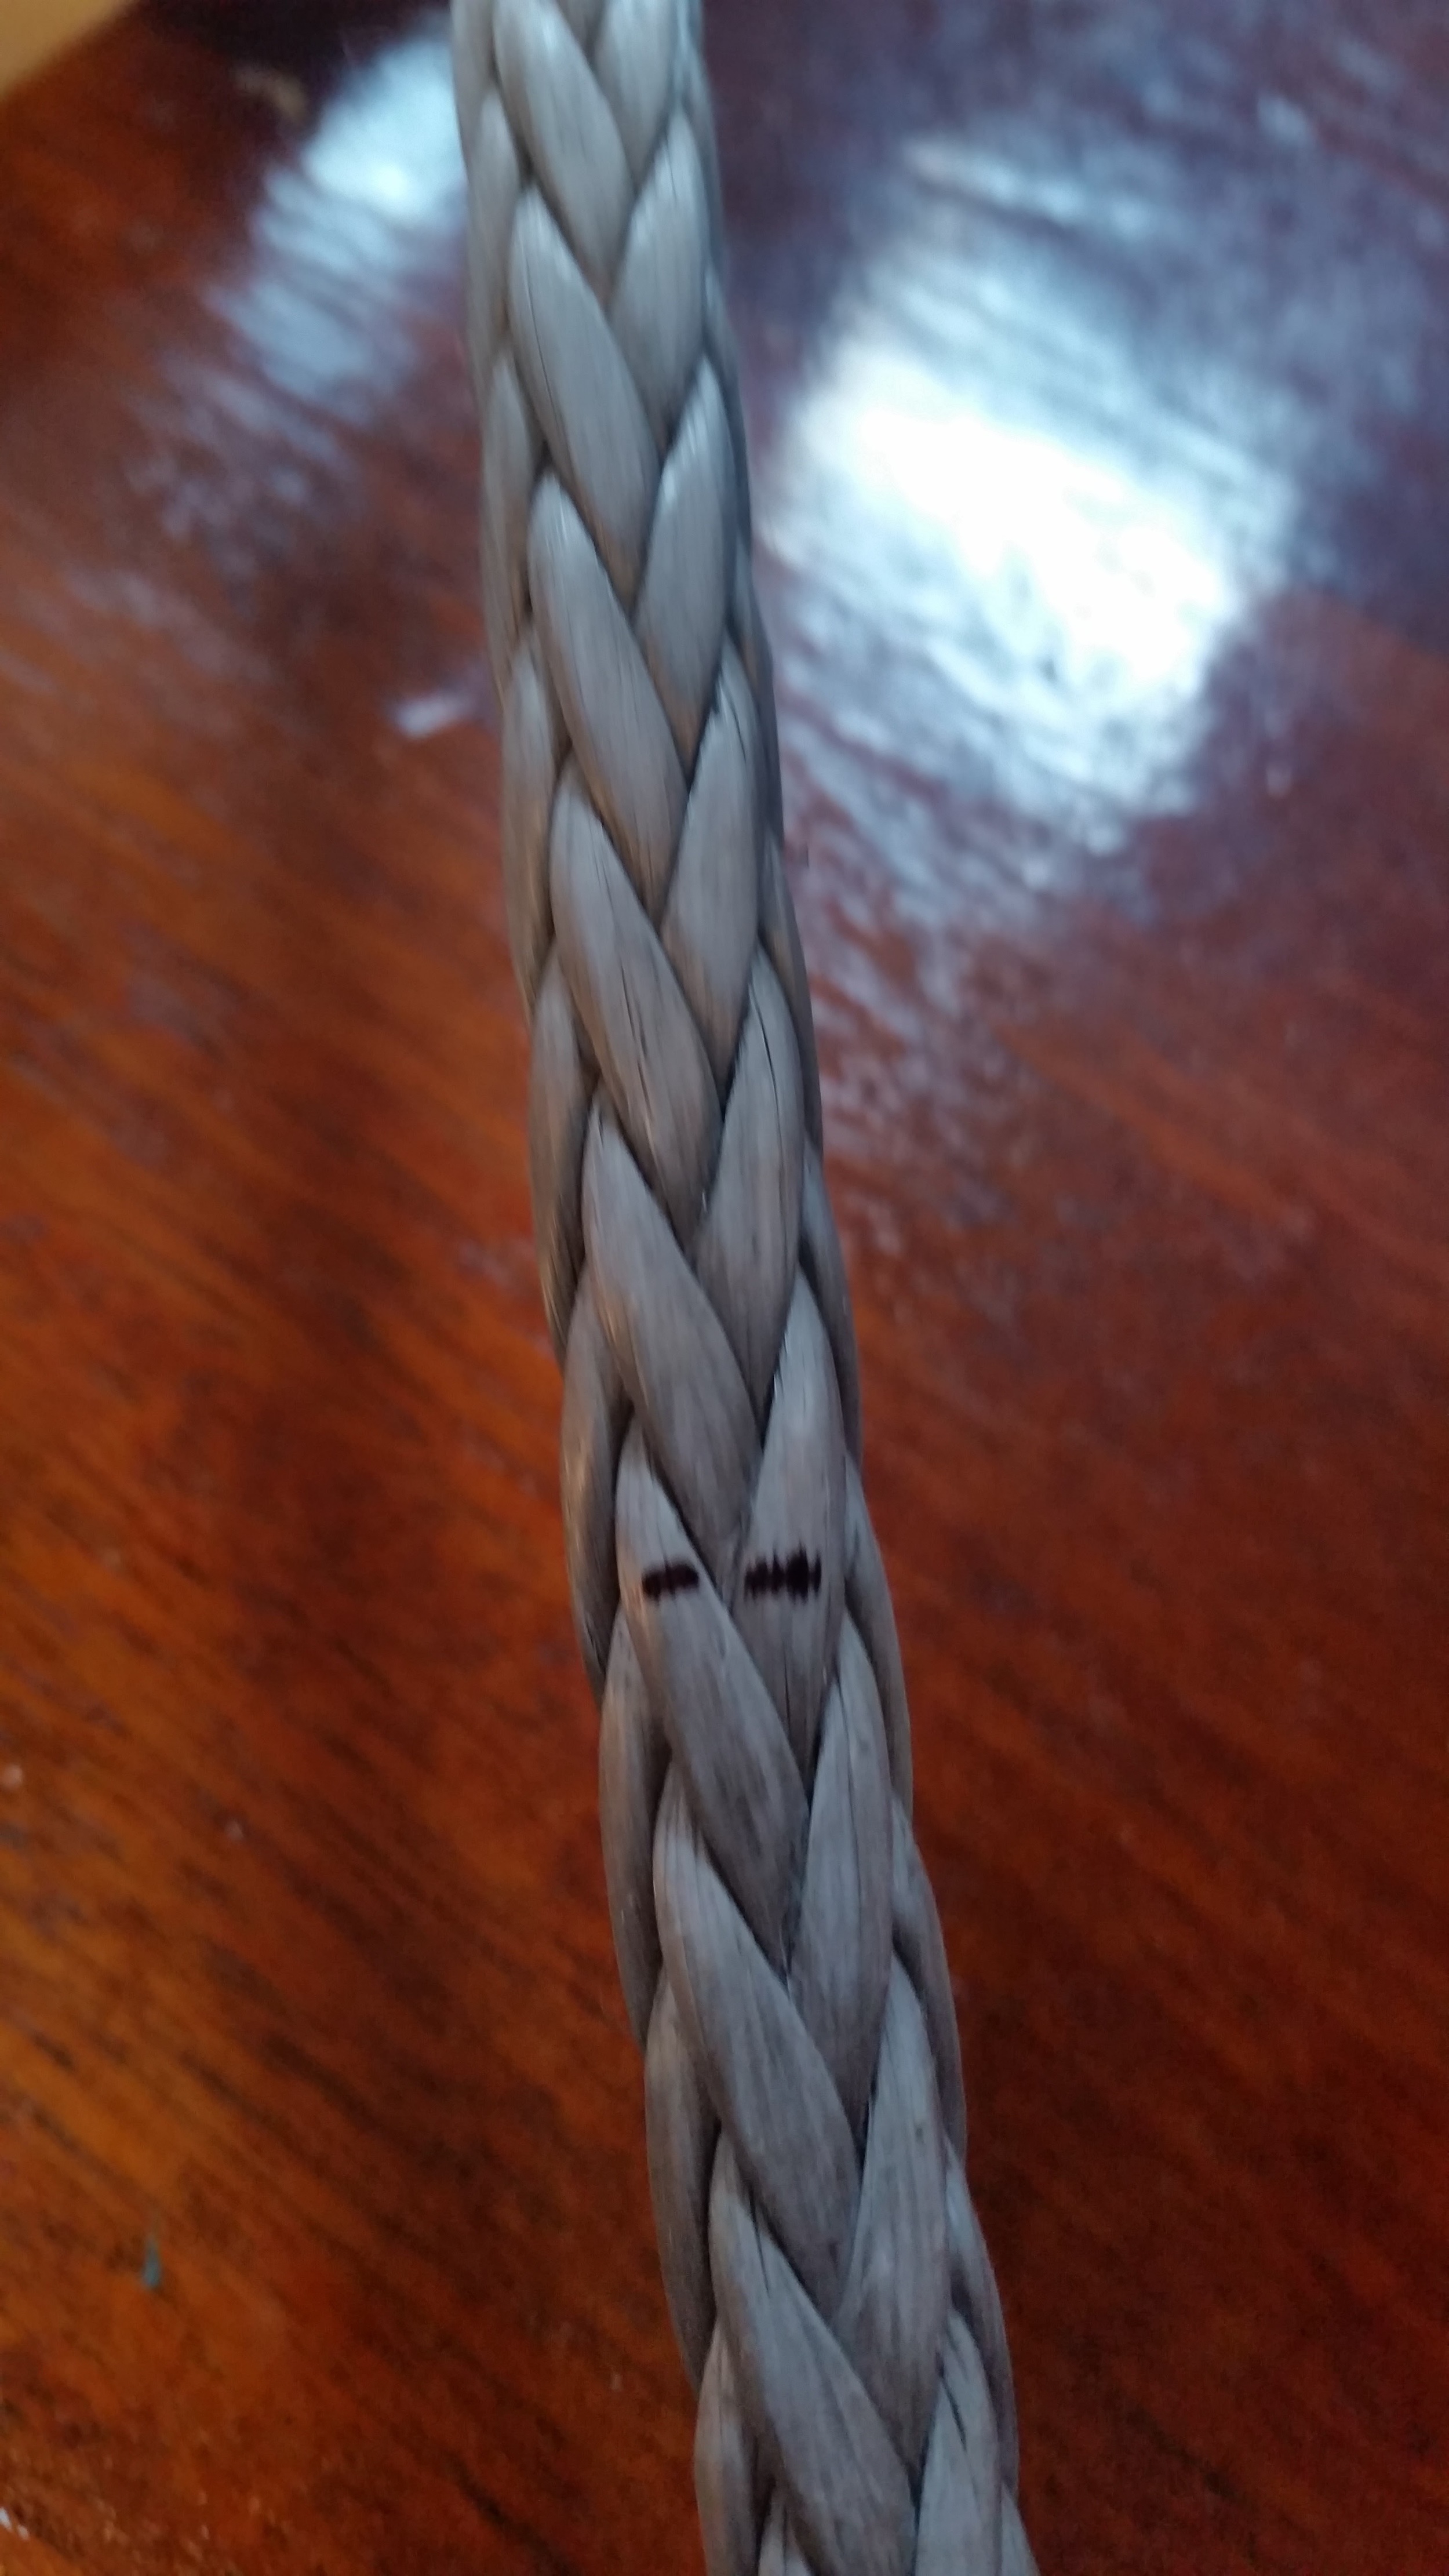
Connecting two pieces of dyneema is a simple task, it simply requires a lot of material to bury and a properly executed taper. The end to end splice consists of a Mobious Brummel splice with tapered buries. 

When I re-rigged Wisdom with synthetic standing rigging, I left the storm stays (inner forestay and check stays) in metal. We were going out into the Atlantic and I had no idea if the synthetic standing rigging with deadeyes would actually work. All the people I spoke to at the time about converting over to synthetics told me that it couldn't be done on a boat this size. I came up with this method, but it was till untested. If we came upon a severe storm, I wanted to know that the mast would stay up! Now that I know it works, I'm replacing the check stays with dyneema.

I originally designed an intricate cascading backstay adjuster which turned out to be unnecessary since it could be easily pulled by hand. Now I made 4 pieces for the backstay cascade out of STS-HSR which I never used. They ended up residing as expensive coils in a locker, waiting for the day they would become useful again. Since the checkstays are not under much tension, I decided that I would splice the scrap pieces together to make a piece that is long enough to reach from deadeye to mast tang.

I thought about ditching these pieces of dyneema, but they cost around $6 per foot or $240 for each stay.So I decided to save some money and use these shorter cut pieces by splicing them together to achieve the length I need.

Since these are going to be stays, I decided to go overboard with the buried sections. 9mm Dyneema needs (9mm x 72) 648mm or 25.5 inches of bury. This measurement usually includes the tapered end. I decided to make 25.5 inches of bury before the 25.5 inches of tapered section. This results in a buried section that is 51 inches long! When done on each side of the splice, this makes 102 inches of buried material. 

20160326_152655.jpg

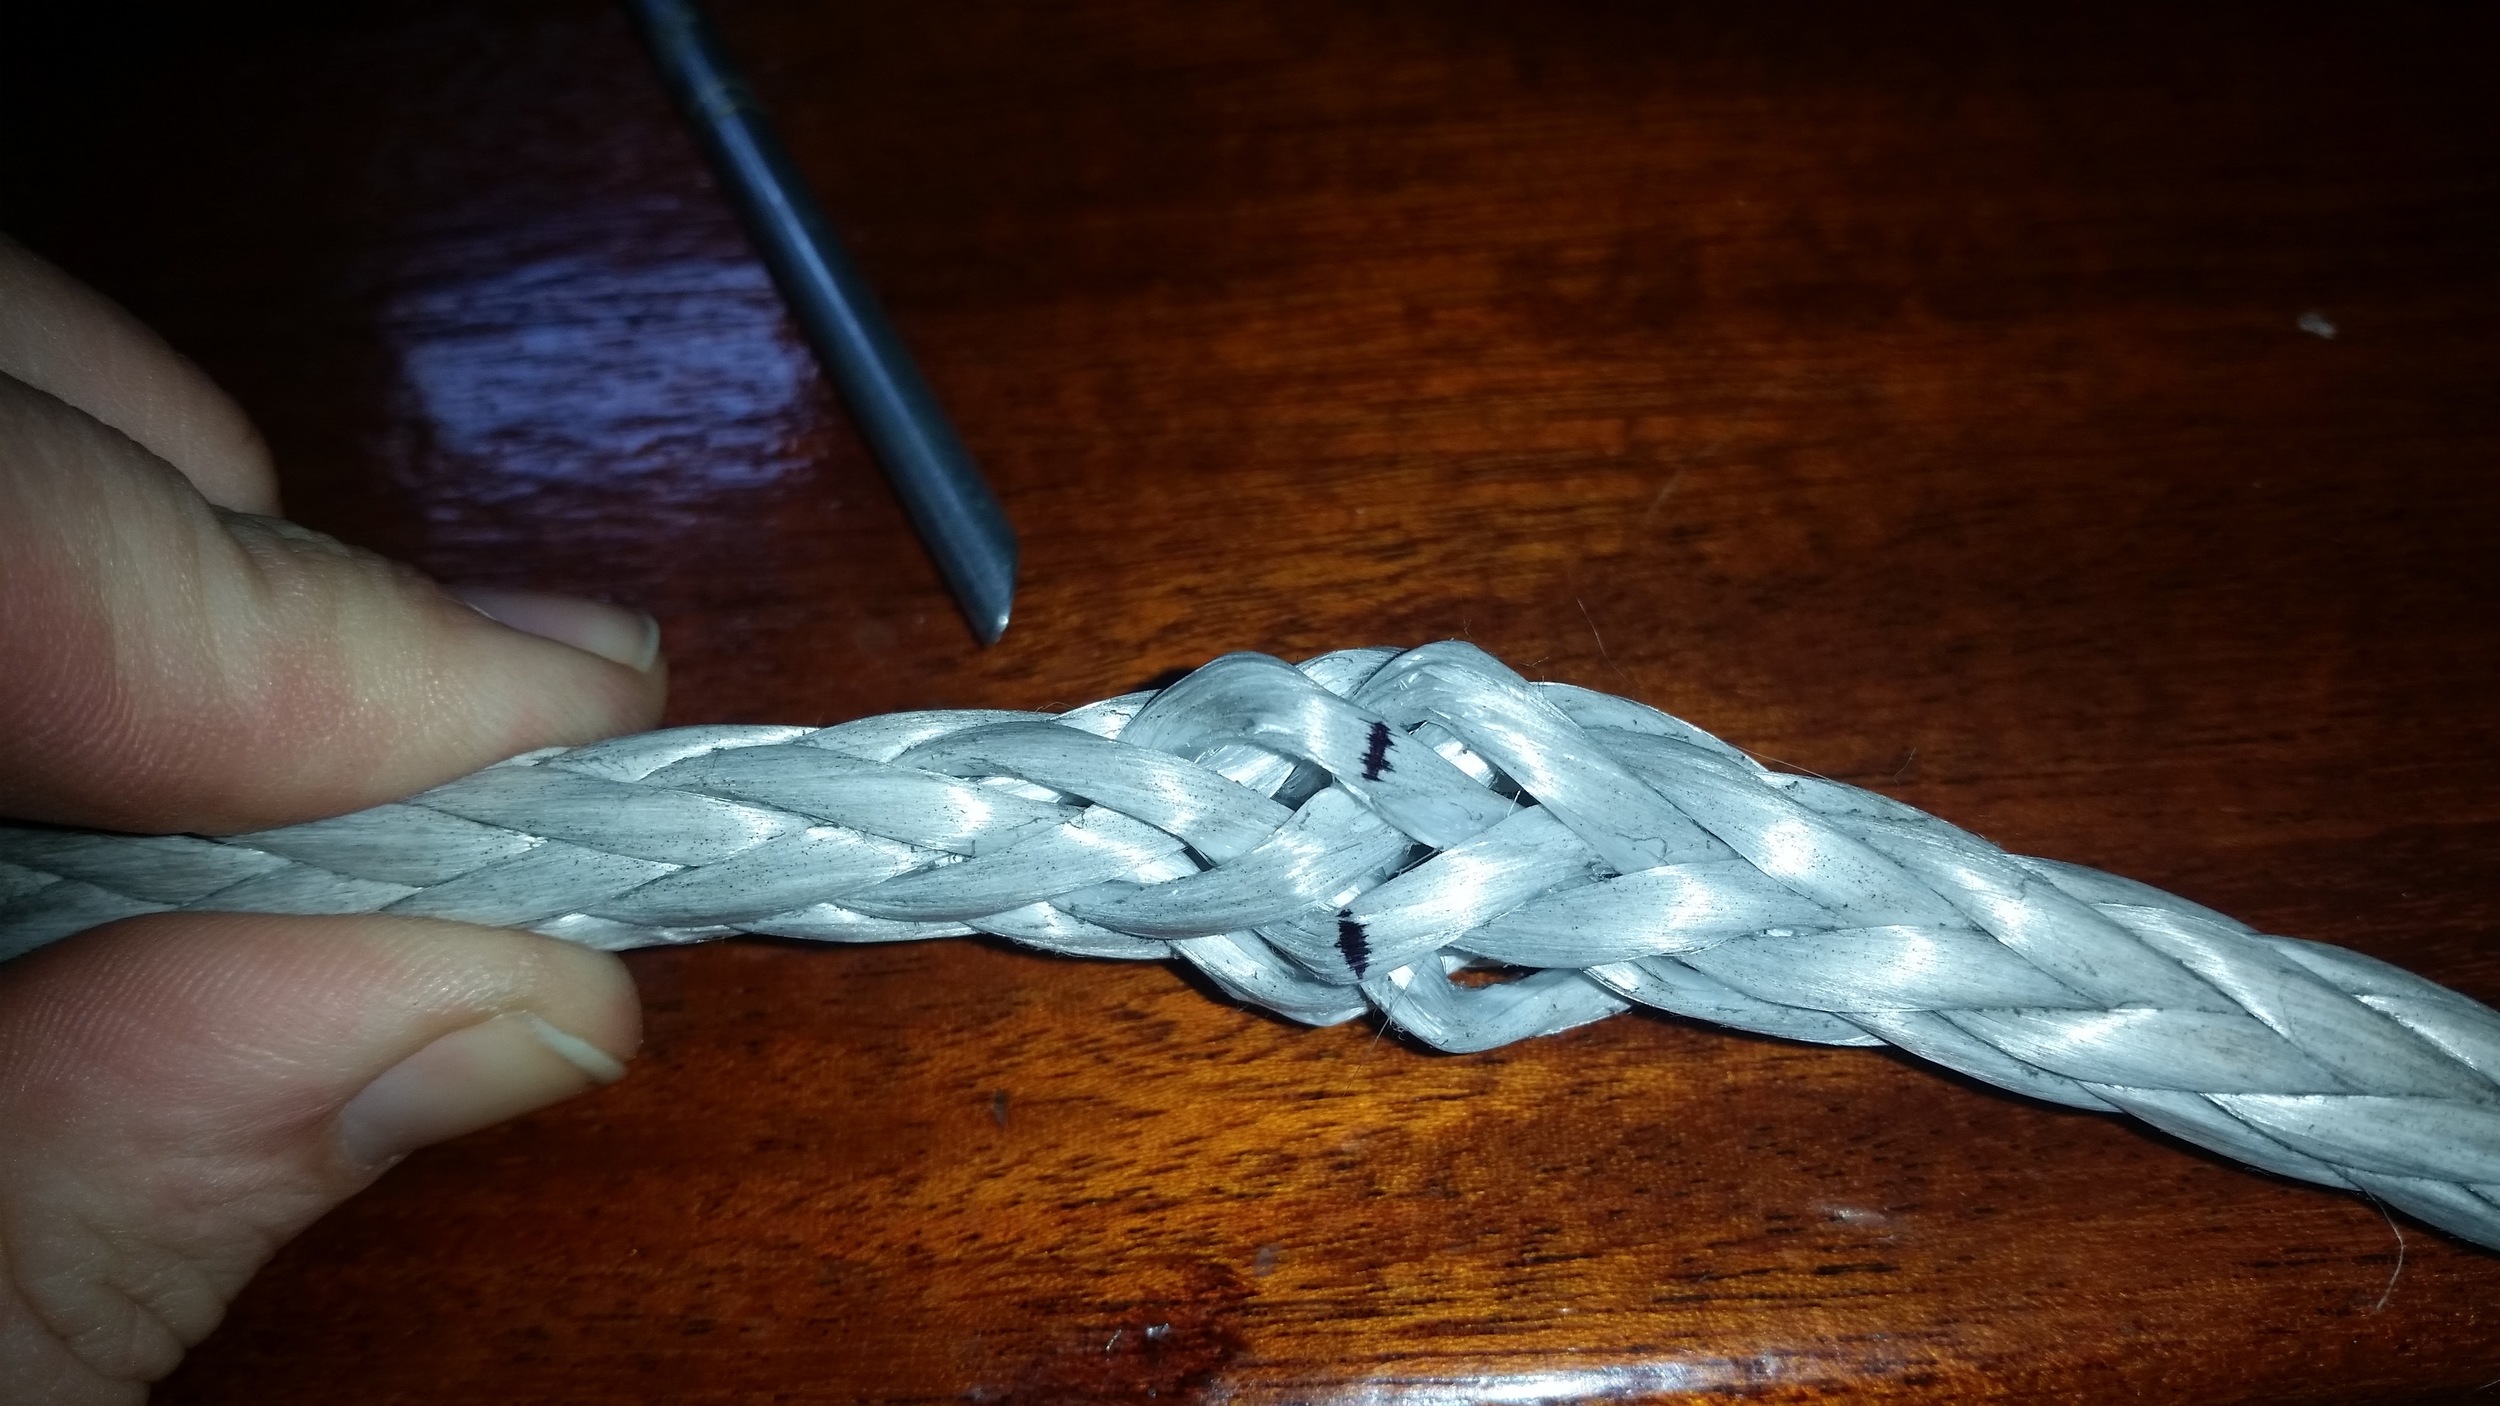
To begin, simply measure the tails and mark the strands with a marker that way they are easy to find later. I like to mark both strands on the V that I want to pass through. If you only mark one strand, you wont be sure if you are supposed to enter or exit above or below the neighboring weave. This might seem like an insignificant concern, but as a dentist and a perfectionist, being on the wrong side of the weave can alter the measurements by several millimeters. 

I marked the section where the splice will cross, and then again for where the taper is to begin. This leads to a rather long tail, as you can see.

20160326_152856.jpg

Then scruch the line together and pass the first line through the opening.

20160326_153156.jpg

I like to secure this crossing with a pin that way the lines don't move while I'm working.

Now, repeat the process on the other line, creating a mobious brummel splice.

20160326_153548.jpg
20160326_153601.jpg

If you are unsure if you properly executed the splice, push back on the tails, if the splice opens up, you did it right! If it won't open up, then you simply passed one line through the other line twice, creating a very weak splice called the "Long Bury Splice". 

20160326_153736.jpg

Now, pull the tail back and insert the fid into the weave to open passage for the tail that will now be buried inside the other line, securing the splice.

Pull the tail into the weave a sufficient distance to bury the whole tail and now pop it out of the weave. 

20160326_154353.jpg

Pull the tail out until the marks you made to begin the taper show and push a pin through with a dirty paw (heat set dyneema is hard and offers a lot of resistance to a passing needle).

20160326_155220.jpg

Now begin the tapering, this is purely mathematical. Count the number of strand rows from the mark to the end and divide by 12. This will tell you how many strands to skip between tapers. In my case, I trim every 5th strand, resulting in a slow and even taper.

Now work the tapered end back into the rope and be proud of yourself! You just completed one side of an end to end splice! Repeat the same process on the other side and you will have yourself a very secure splice! 

I didn't put in a locking stitch since I went overboard with the length of the tails and will be keeping a close eye on the splice as I take the constructional stretch out of the line. If you want to, a locking stitch will offer more security to the splice.

Fixing a Burst Hose with Fancy Knots

A squall passed through and caused the boats in the marina to bounce around with the kicked up seas. This is not usually an issue, except that the water hose that I use to fill the tanks snagged on a cleat's horn, ripping the hose open and making it useless.

Some people would replace the entire hose, but the rest of it is just fine! I decided to cut out the torn section and reconnect the good ends using a double barbed fitting. The repair is going to be around ankle high and I didn't want anyone to snag themselves on a hose clamp, so I opted to use a much softer material: Rope!

I tied double constrictor knots over the barb section and pulled it tight by using two sticks with marlin spike hitches. This allowed me to use my full body strength to constrict the knots down, ensuring a leakless junction.

The true test came when I turned on the water and let the hose hold pressure. Not a drop came out of the junction! If you ever find yourself in a situation where a hoseclamp might not e the best choice, consider using a double constrictor knot instead.

Making Dyneema Deadeyes

Deadeyes serve one purpose, that is to connect the synthetic stay to the chainplate. Chainplates have a small hole in them desinged to connect the rigging via a clevis pin attachment. Normally, the clevis pin is connected to a turnbuckle, but with deadeyes, the clevis pin connects a toggle to the chainplate.

This toggle serves as a metal strap that will hold the deadeye securely in place.

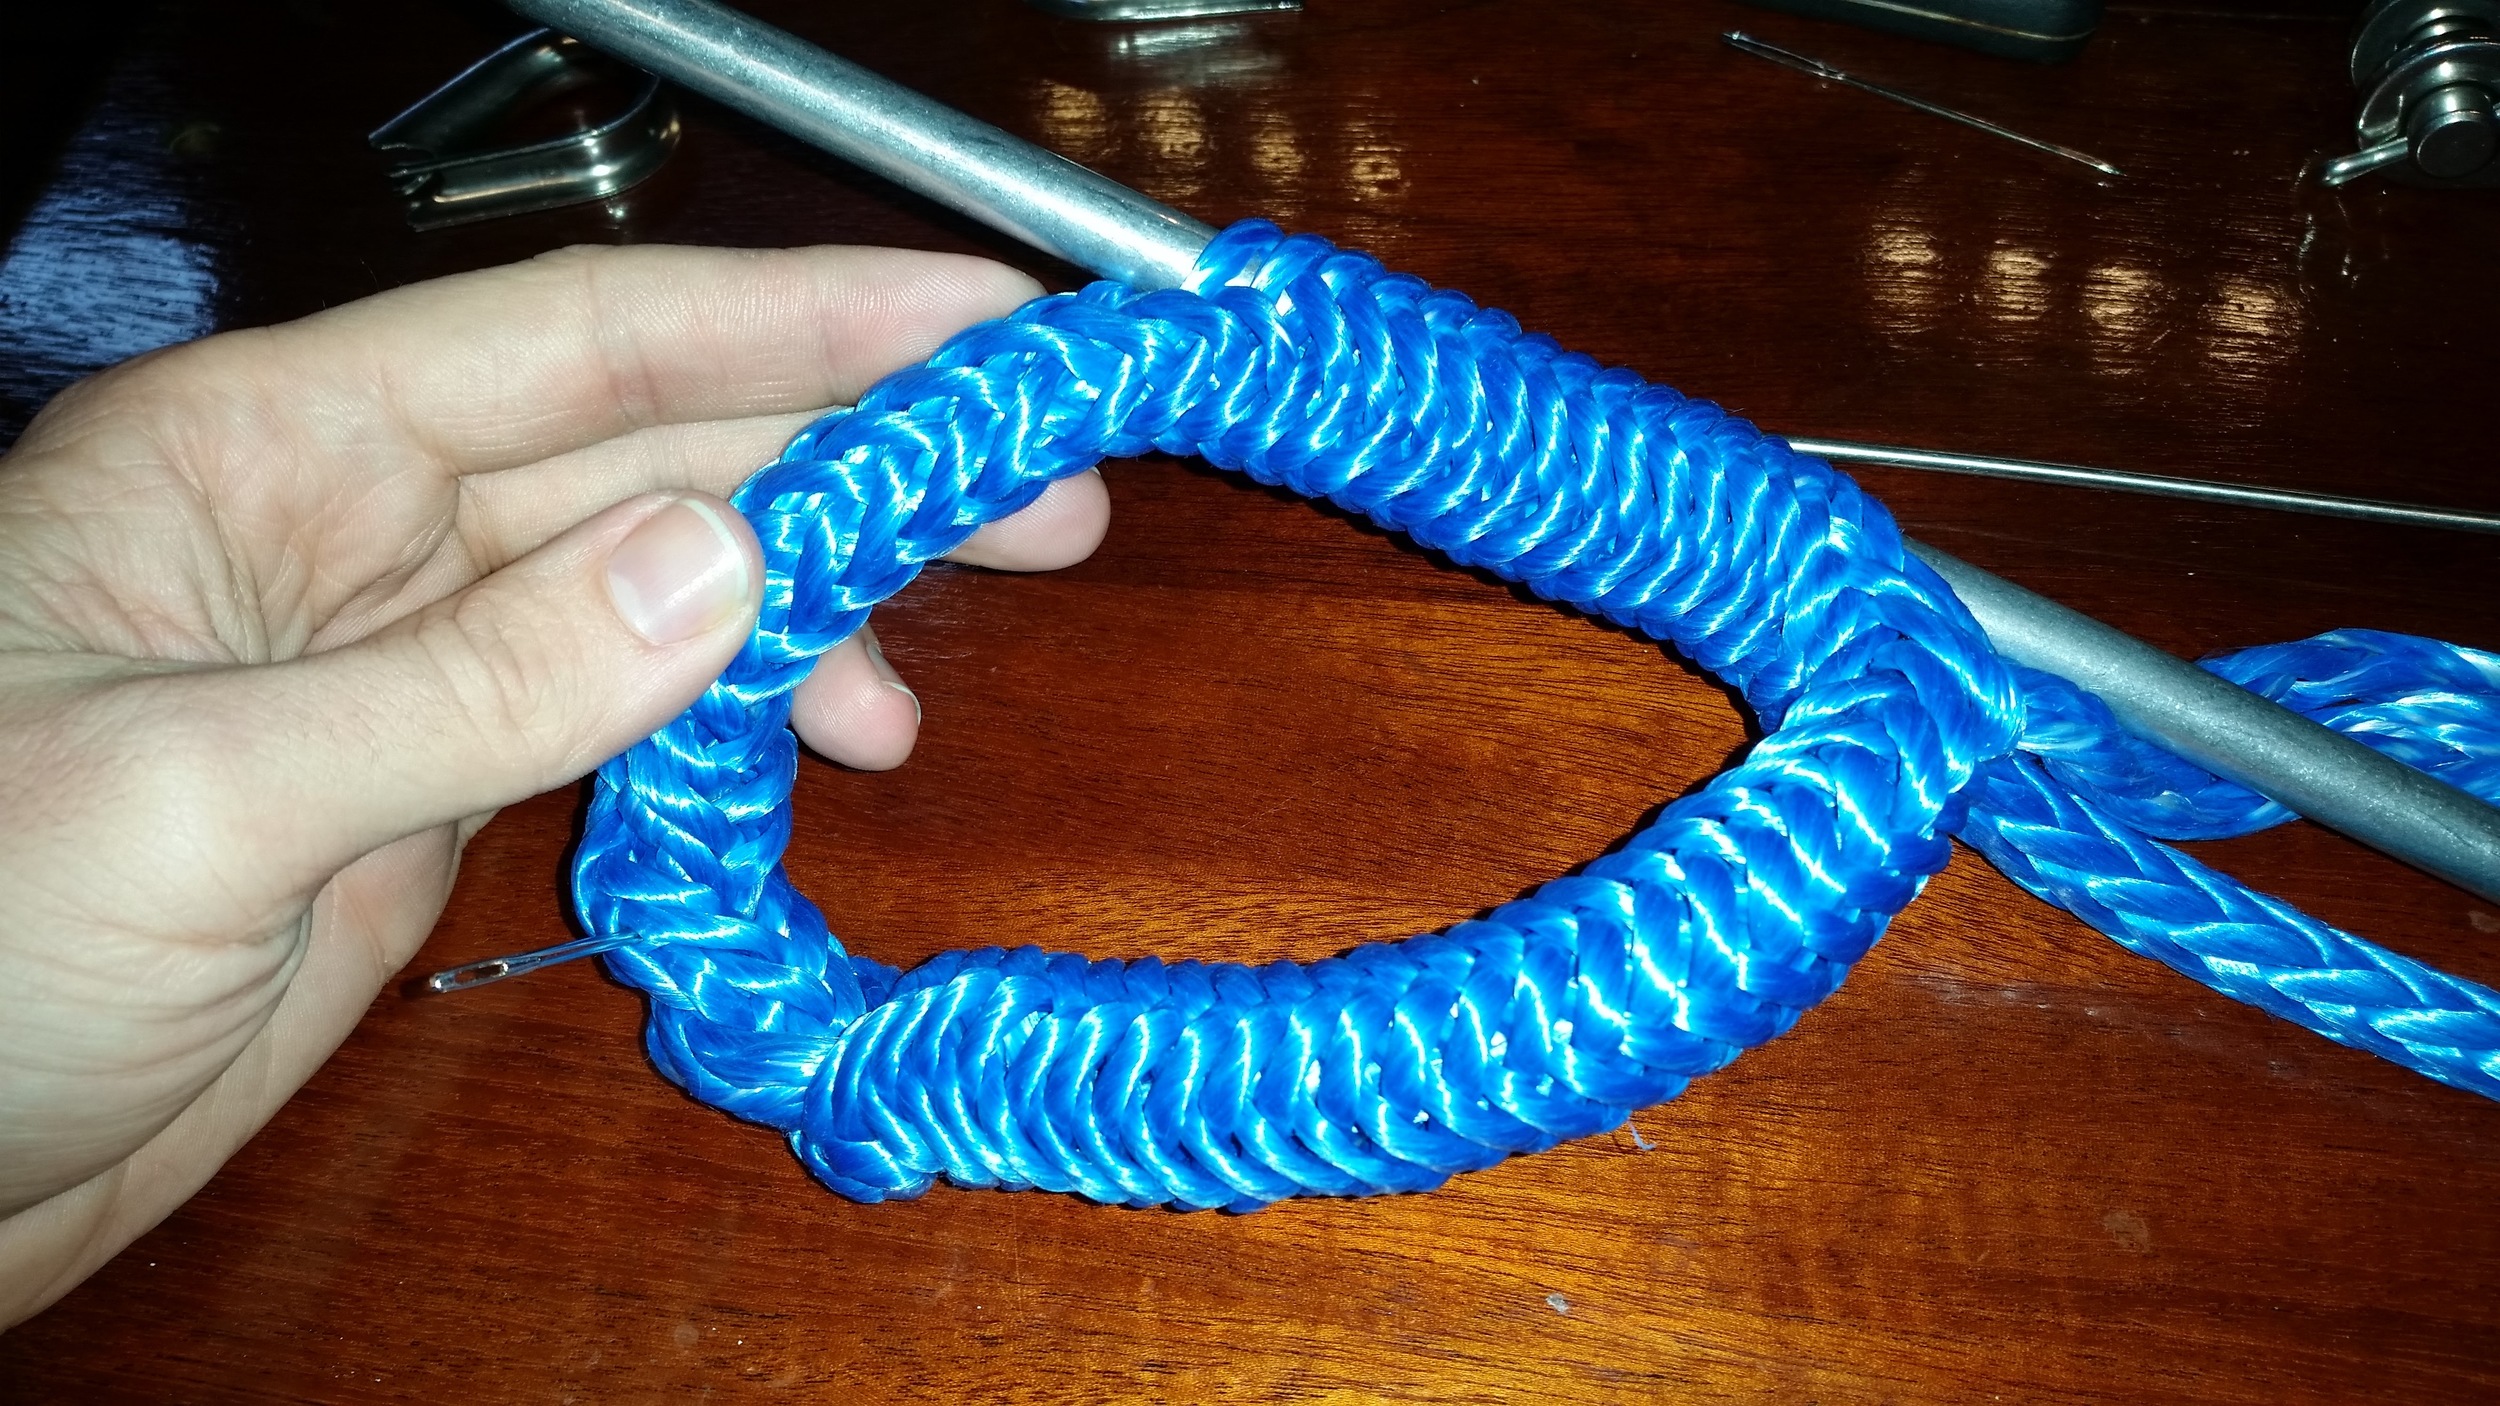
Dyneema deadeyes may look fancy with their loops and fittings, but the are actually just a dyneema grommet with two thimbles in them. The central tie is only there to hold the thimbles in place.

Making a grommet is a tedious task, and making one out of dyneema proves to be all the more complex. Dyneema is classified as 12 Strand Class II rope, and relies on a long bury to securely hold the splice. The typical recommended bury for a dyneema splice is 72 times its diameter. This means that for the 9mm line I'm using for these deadeyes, I need to bury 648mm (25.5inches) on each side. In other words, the grommet would need to be 25.5 inches in long. Mind you that dyneema deadeyes are less than 12 inches long! How can this be done?!

The trick is understanding how the line works and how splices work. 12 strand Class I and II ropes are simply made of 12 lines woven in a tube. When you scrunch the rope together, the hollow center will open up. When splicing 12 strand, the tail is slid through the hollow center and left untouched. There is no fancy weaving involved because the 12 strands surrounding it will crush down on it like a Chinese Finger Trap when you try to pull it apart. Class I fibers are not very slippery, so they require less bury; Class II fibers are very slippery, and require a longer bury. Dyneema is a Class II and is very slippery!

A secret to side step the bury requirement is to perform a Mobious Brummel Splice. A Mobious Brummel works by passing the ropes through each other, causing them to lock against each other when pulled. The tail is then burried, further locking the splice in place. For the junction to open up, the 12 woven strands need to unravel and separate in order to pull apart. The pressure from the woven tube crushing down on the burried tail will not allow the strands to unravel and will keep the splice secure. Locking stitches will add extra insurance to make sure that nothing slips and everything holds

Mobious Brummel splices are easy to do, simply pass the two free ends through each other and bury the tail. When making a grommet, this is not possible. There is no way to pass the other line through as it is trapped on the other side of the grommet. To get around this, you simply deconstruct and reconstruct the line as you make the splice.

As usual, the first side is the standard and simple way. Simply open the braid with the fids and pass the line through.

Now balance the tails to ensure that everything you are doing is symmetrical. I pierce the splice cross with a pin to keep everything in place. If you are doing multiple grommets, do them all at the same time so they all come out relatively the same size.

Now prepare to do the second pass of a Mobious Brummel splice. Separate the 12 strands into two groups of 6 strands. The goal will be to reassemble the 12 strands on the other side of the line, thus completing the Mobius Brummel splice. If you feel talented and gifted at weaving, you may re-weave the 12 strands into a hollow tube, as if nothing had happened. I am not that gifted, so I take a different approach.

When you look at a cross section of 12 Strand Dyneema, it can be grouped into 4 clusters of 3 strands. 

I simply take the 12 strands, split them into two groups of 6 which I weave into 4 groups of 3 strands. This takes the unruly 12 strands and makes it a much more manageable set of 4 strands. Now I have two sets of 2 strands on each side of the line. I pass them around the line and begin weaving them together.

All the weaves are made loosely that way the lines can be stretched and curled back into a round shape. 

At the end, I have a Mobious Brummel splice made over a grommet. Now to bury the tails!

The midpoint of the grommet is marked with a pin, since the midpoint will move and change as the weave is opened up during the splicing. 

I pass the tails down to the end and have them exit just next to the midpoint.

Now I work the tails through the grommet all the way, making sure everything is even and symmetrical. 

Now I pass one of the tails through a few more weaves so that they both exit from the same hole.

20160320_173846.jpg

From here I bury the tails halfway through the other side and pull them out.

I then work the dyneema to open the grommet back up and assume a close to finished size and mark where the tails exit the grommet with a pin.

Now pull the tails back out and cut them off just after the pin. The pin marks the length that will go back into the grommet when it is worked out and stretched. Now that the longest point is marked (and cut off), you can begin tapering the tails. 12 strand has 12 tails, which means that you need to trim 11 of the strands to shorter lengths in a gradual and systematic method. 

On grommets, everything is condensed, so I trim back every row of the rope. I pull out the bottom six strands and trim them off, then I evenly trim off the remaining 5 strands. Be sure to keep the first and second strands you cut off as you will use them later.

After the tails are tapered, work them back into the grommet and work the grommet back to its expanded size. The tails should disappear into the grommet as if nothing had happened at all.

Now take the long strands of Dyneema that you cut off while tapering the tails and thread it through a needle. Stitch the strand of Dyneema through the line being sure to cross over the strands of the outer line, piercing through the line inside. This will act as a locking stitch to further ensure strength and stability.

Now you have a finished grommet made out of Dyneema that will be able to hold the rigors of standing rigging.

You may be wondering if it will be strong enough since you are grossly under burying the tails? The answer is "Yes", it will be strong enough. The buried tails will wrap 3/4 of the way around the grommet. The tapers will ensure an even transition from tail to no tail, preventing any sharp changes in the weave of the outer line. This will prevent any stress points from arising in the grommet. The locking stitches will keep the tails from sliding around, which will also help keep everything in place and avoid the tails from sliding out to unravel. Since the tails can't move, the Mobious Brummel will serve to lock the grommet closed and keep it secure.

I used 9mm Samson AS-78 for my deadeyes which will support 9mm dyneema stays and have no problems with them. They will stretch out a bit and grow very thin as the weave settles back into place when tensioned to a few thousand pounds! This is why the gradual tapers are so crucial. It may look oversized for the thimbles, but once it is loaded up, it will be just right.

Each deadeye consumes 4 feet of 9mm AS-78 and takes me around 1 hour to make.

Now that the grommet is made, simply insert the thimbles and hold them in place with a flat seizing knot set in the middle of them to create the finished deadeye.

To see these deadeyes in use, check out the links below.

You can also check out this video where I walk you through the entire process, start to finish, of making the grommet for the deadeye.

Check Everything!

Just because you tied your boat up properly, doesn't mean that it is still tied up properly! The marina I'm in is currently re-planking the piers and replacing the cleats as they go.

Progress is slow, but steady as planking the pier is not as simple as it may seem. The problem comes into play when they reach a cleat. Boats that have been tied to these cleats for years need to be untied so the new planks and cleats can be installed. This means that the guy laying the planks is also the guy who ties your boat up when he is done!

The spring cleat on this large motoryacht was replaced when the pier was re-planked. The new knot tied to secure the spring cleat is "interesting".

The cleat was tied this way after the job was completed.

By morning, the knotted mess began to untangle itself.

If this were your boat and no one noticed the poorly tied cleats, imagine what could happen as the lines begin to fail. This is why it is so important to regularly inspect everything on your boat. Just because you did it correctly the first time doesn't mean it's still done that way!